Lenovo Tablet: Lenovo IdeaTab A2109 Battery Replacement Guide
Duration: 45 minutes
Steps: 5 Steps
Ready to breathe new life into your device? This step-by-step guide will walk you through replacing the battery. Follow along and you’ll be back up and running in no time! If you need help, you can always schedule a repair.
Step 1
– Flip the tablet and check out those speakers up top on the rear cover!
– See that tiny indentation running across the top? That’s your spot.
– Take your plastic opening tool and slide it under the center of that cover, push it up, and voila—the cover pops right off!
Step 2
Don’t forget to pop out that SD card if it’s hanging out in there!
– Unscrew those two black 3mm Phillips #00 screws and let the adventure begin!
Step 4
The top right corner screw is hiding beneath a yellow ribbon. Gently lift the ribbon without unplugging it and unscrew the screw.
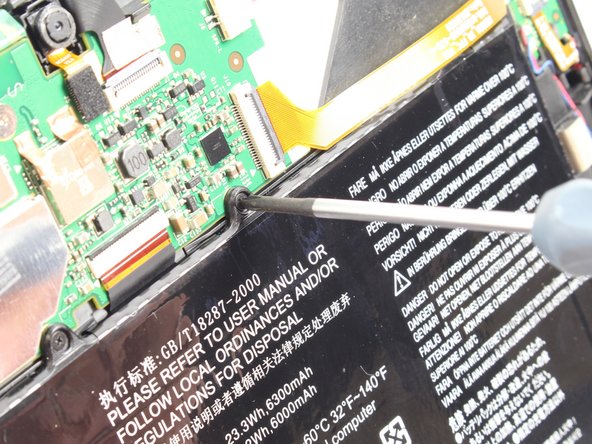
– Unscrew seven black 3mm Phillips #00 screws with care.
Step 5
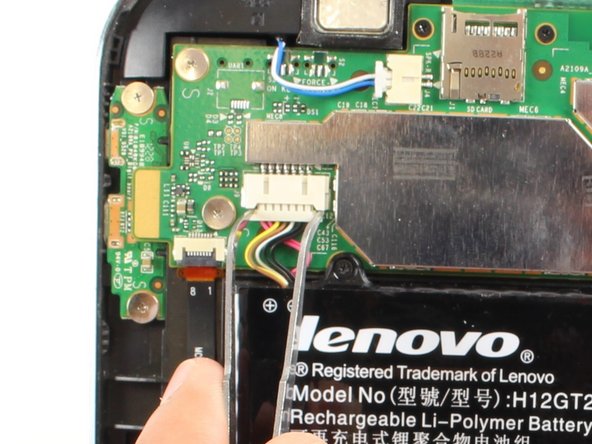
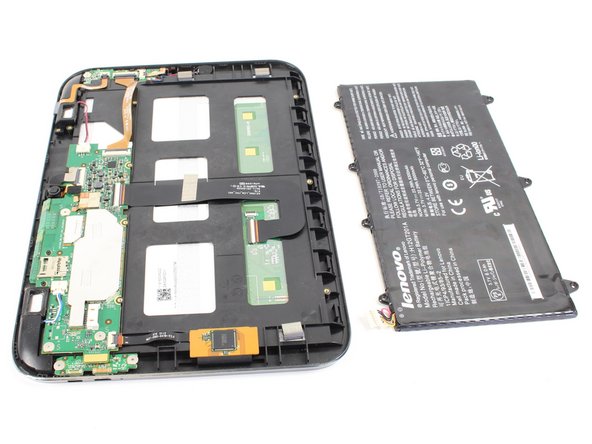
– Now it’s time to pop that battery out! Whether you’re swapping it for a shiny new one or just diving deeper into the guts of your device, you’ve got this!
Success!


