Nintendo DS Lite Top Screen Replacement Guide
Duration: 45 minutes
Steps: 18 Steps
Hey there! We’ve given this guide a fresh makeover! Check out the latest and greatest version right here.
Hey there! We’ve given this guide a fresh update just for you! Dive into the latest official guide right here. Ready to tackle the challenge of swapping out the top screen on your Nintendo DS Lite? Let’s get started!
Step 1

Grab your trusty Phillips screwdriver and twist that screw out!
– Flip your device over so it’s chilling upside down, then scope out the battery compartment.
– Spot the Phillips head screw doing its thing in the bottom right corner, holding down the battery cover.
– Give that screw a little twist to loosen it up—just enough to pop the cover off. Let the screw hang out in the cover for easy reassembly later. You’re on a roll!
Step 2

Be sure to gently take off the cover so you don’t accidentally lose that Phillips screw hiding in there. You’ll need it when it’s time to put everything back together!
– Gently pry off the battery cover using your trusty opening tool. Take your time and enjoy the process!
Tools Used

Step 3


For some devices, you might just flip the DS over and let the battery take a little tumble right into your hand. Easy peasy!
– Grab your trusty opening tool and gently coax that battery out of its cozy little home.
– Once the old battery has taken its leave, pop in the new one, making sure it’s facing the same way it was when you opened the cover. You’re almost there!
Tools Used
Step 4

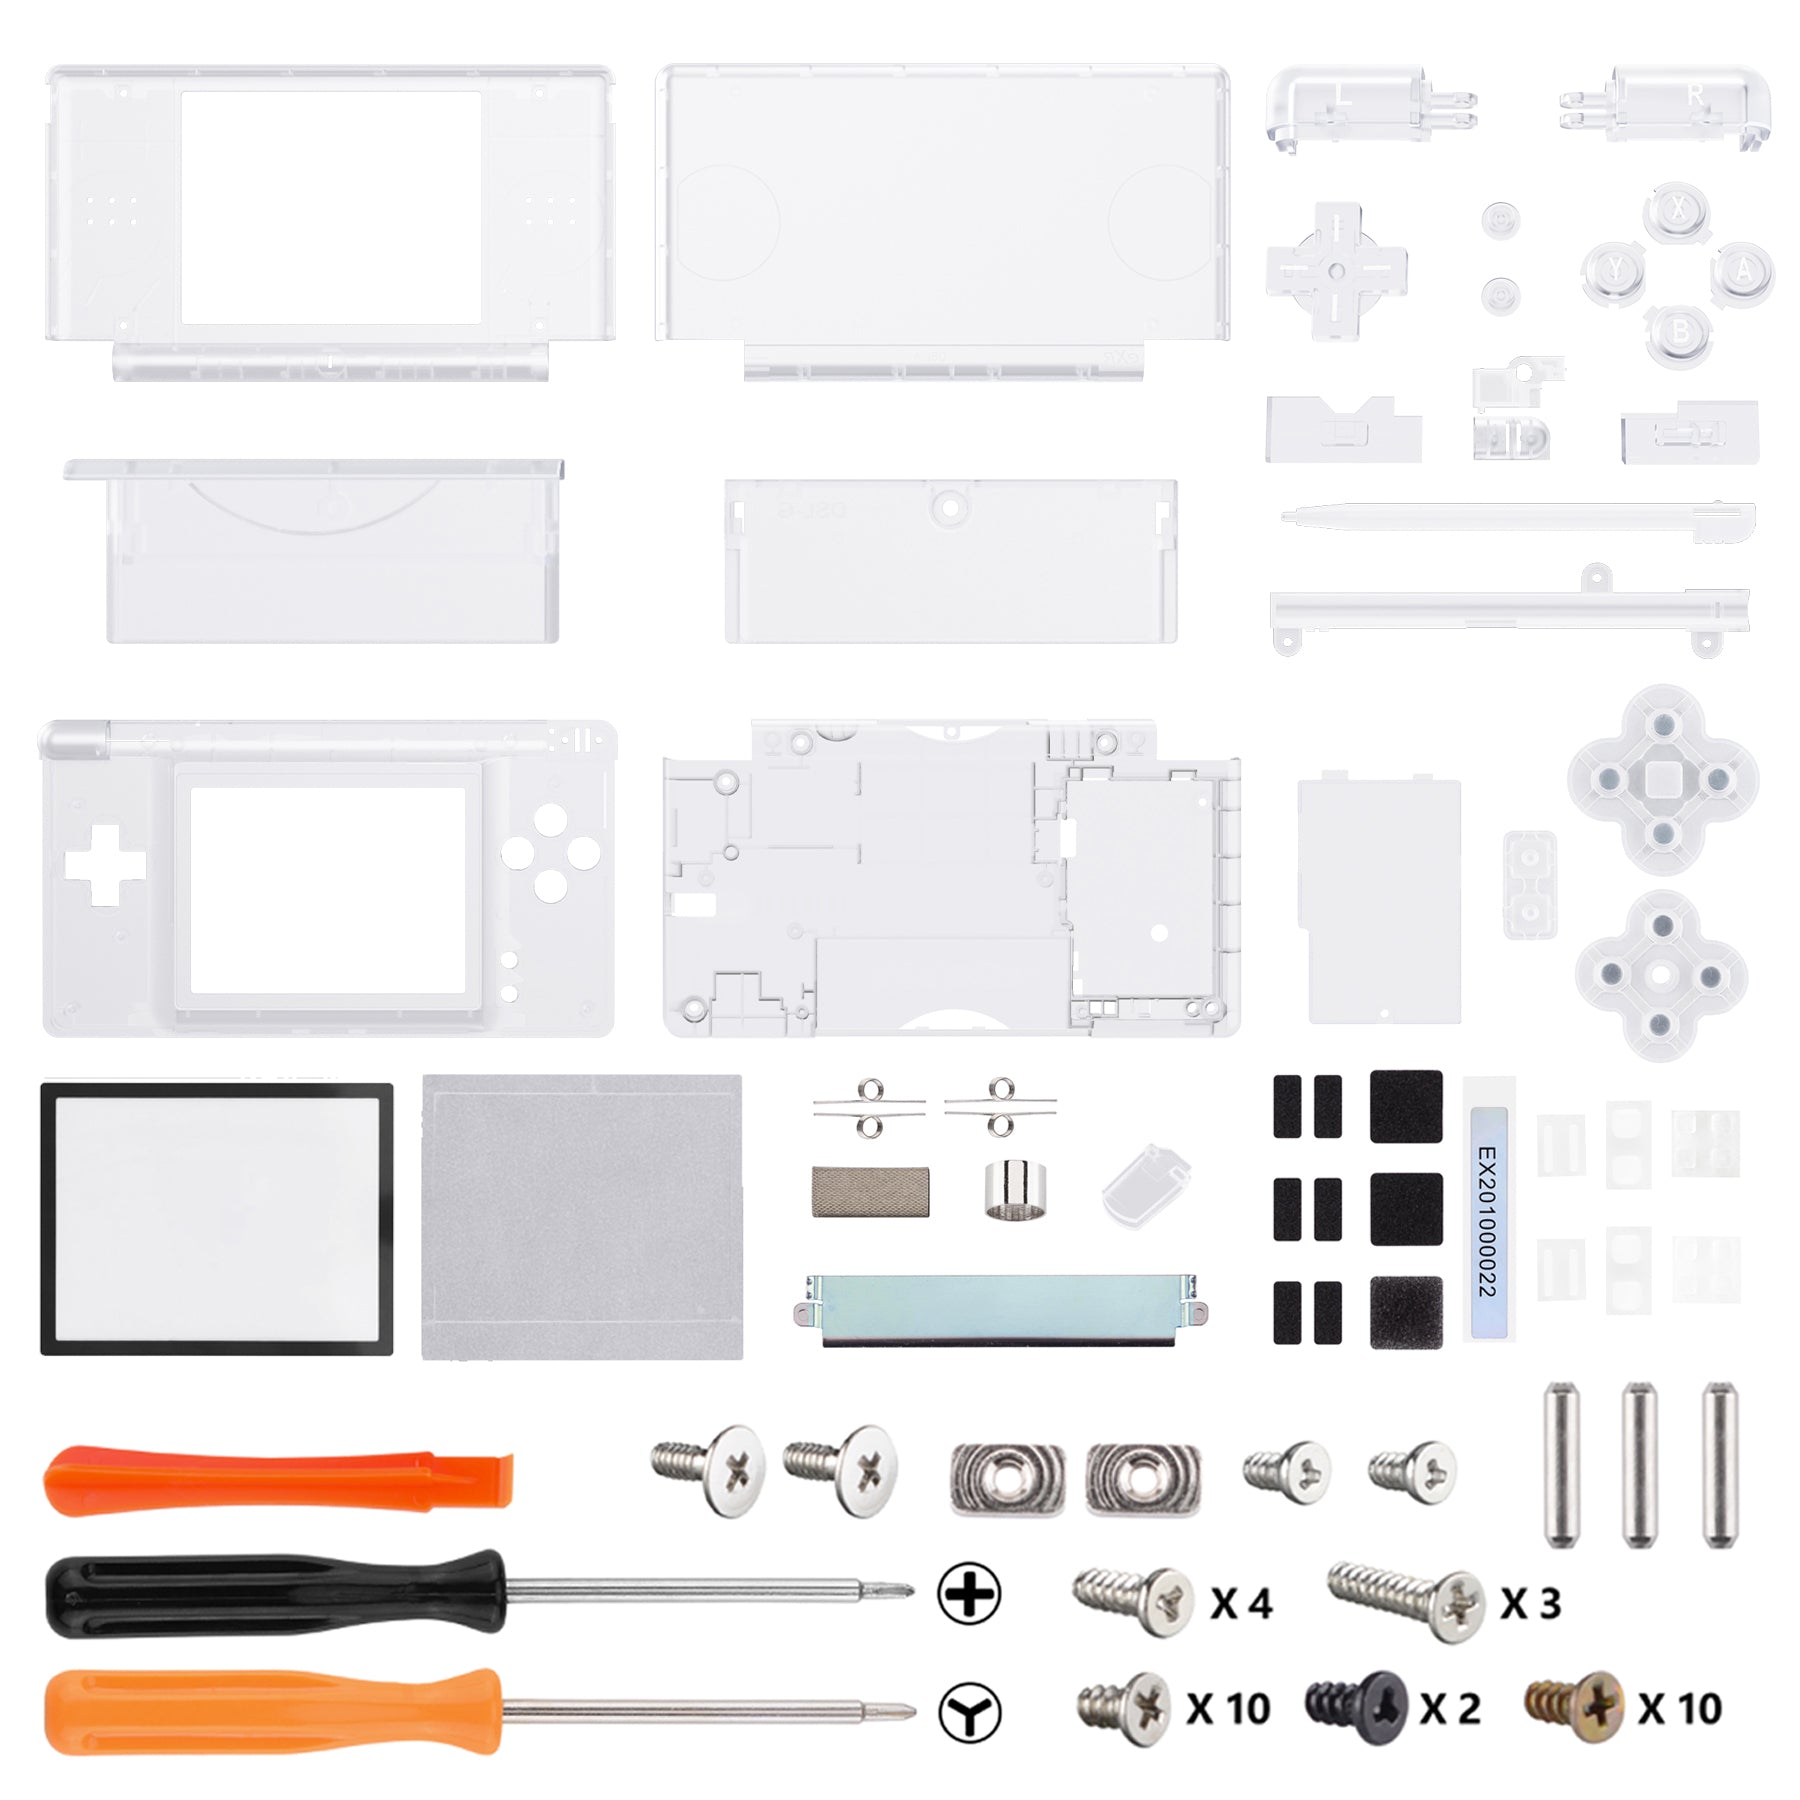
– Alright, let’s get started! Take out these seven screws that are keeping the lower case locked down on your DS Lite:
– Hold up! Don’t touch that silver PH screw (3mm) in the battery compartment just yet—it’s holding the main PCB steady, and we’ll get to it later.
– You’ve got three silver tri-wing screws (5mm long) to remove.
– Next up, one black tri-wing screw (4mm).
– Then, two gold Phillips screws (4mm).
– And finally, one silver Phillips screw (3mm).
Step 5

– Hey there! Let’s get started. First up, gently pop out the plastic insert (or cartridge) from the lower slot (Slot 2) on the front edge of your Nintendo DS, right between the headphone jack and volume controls. Easy peasy!
Step 6


– Flip the unit over so it’s facing right-side up.
– Use a spudger to gently pry open the gap between the bottom case and the front panel. Work your way around the case until the panel is free.
– Avoid touching the L and R shoulder buttons—they pop off easily and are a pain to reassemble. Keep the bottom case flat on your workbench to help hold those tricky shoulder buttons in place.
Step 7

– Gently pry apart the two pieces by hand. Take it slow—no need to hulk out here.
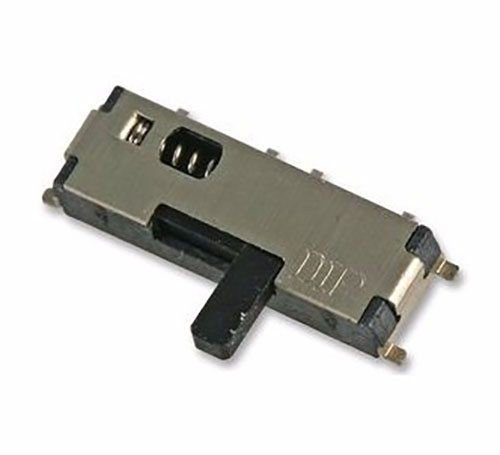
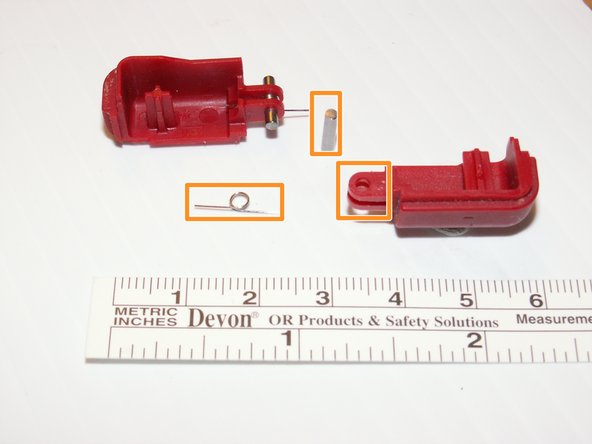
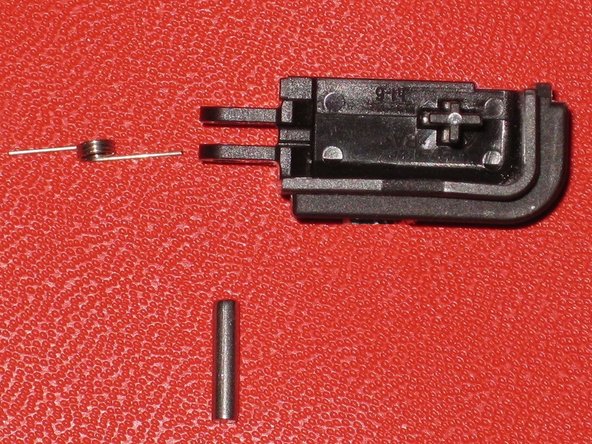
– The shoulder buttons actually consist of three parts: the plastic button, a pin, and a spring. If these little escape artists pop out while you’re working, check out the picture to make sure you put the spring back in the right spot. No stress—you got this!
– When snapping the cover back on, be sure the power switch cover on the bottom case is in the off (down) position. This little move will keep things from breaking, and you’ll be good to go!
Step 8

– Spot those two screws securing the logic board to the device? Let’s get those bad boys out!
– Use your Phillips head screwdriver to unscrew the pair of screws.
Step 9
Before you start, a quick heads up: the ribbon cable and two wires are still hooked up to the logic board, so be careful not to damage them.
The buttons might pop out, but no worries—just pop them back in place!
– Using a plastic opening tool, carefully pry the logic board away from the device base. Take your time and be gentle—it’s like giving your device a little hug!
Step 10


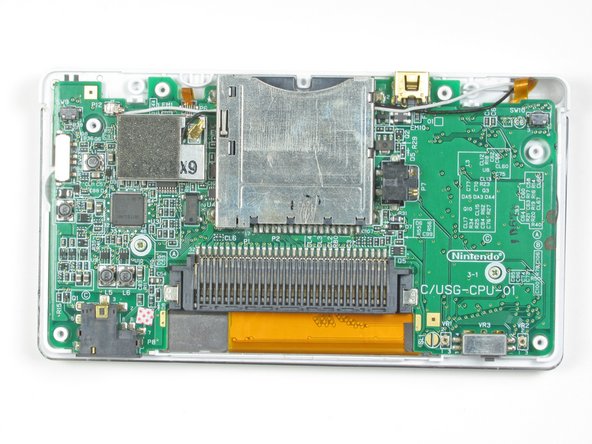
– Flip that logic board over so the touch screen side is facing the sun—just kidding, just make sure it’s facing up.
– Grab your trusty metal tweezers and gently unplug that ribbon cable linking the touch screen to the logic board. Slow and steady wins the race!
Tools Used

Step 11

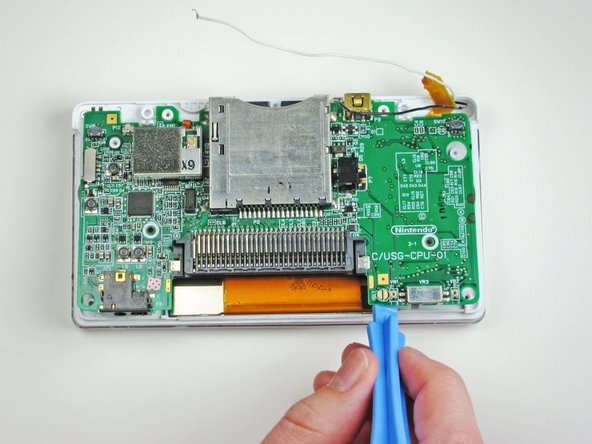
– Gently pop up the brown locking flap on the connector using your fingernail or a trusty plastic opening tool. Once it’s up, slide out the ribbon cable that links the logic board to the upper screen. Easy does it!
Step 12


– Unscrew those two Phillips-head screws holding the hinge snugly in place. You’ve got this!
– Now, gently open up the system as if you’re about to dive into a fun app or game. Let’s see what’s inside!
Step 13


Just a heads up: be careful not to pinch any wires while you’re at it—no need to pull things apart too aggressively!
– Once you’ve got it open, gently slide the bottom piece to the left and the top piece to the right to separate them. Easy peasy!


Step 15


Handle those wires and ribbon cables with care—let’s keep them safe and sound!
– Pop out those four Phillips-head screws and lift off the top panel.
Step 16


– Gently take out the two speakers and the green wireless card from the top panel. You’ve got this!

Step 18

Handle the ribbon cable with care—don’t yank it or fold it too much. Treat it like the delicate little superstar it is!
– Now, just retrace your steps and put everything back together like a pro!
– If you hit any snags along the way, don’t hesitate to schedule a repair.
– You’ve got this, and soon your device will be as good as new!
Success!