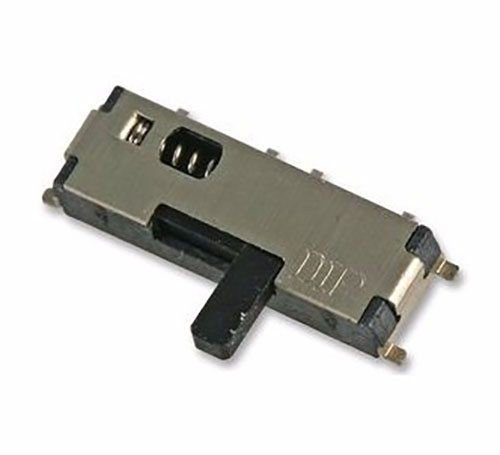
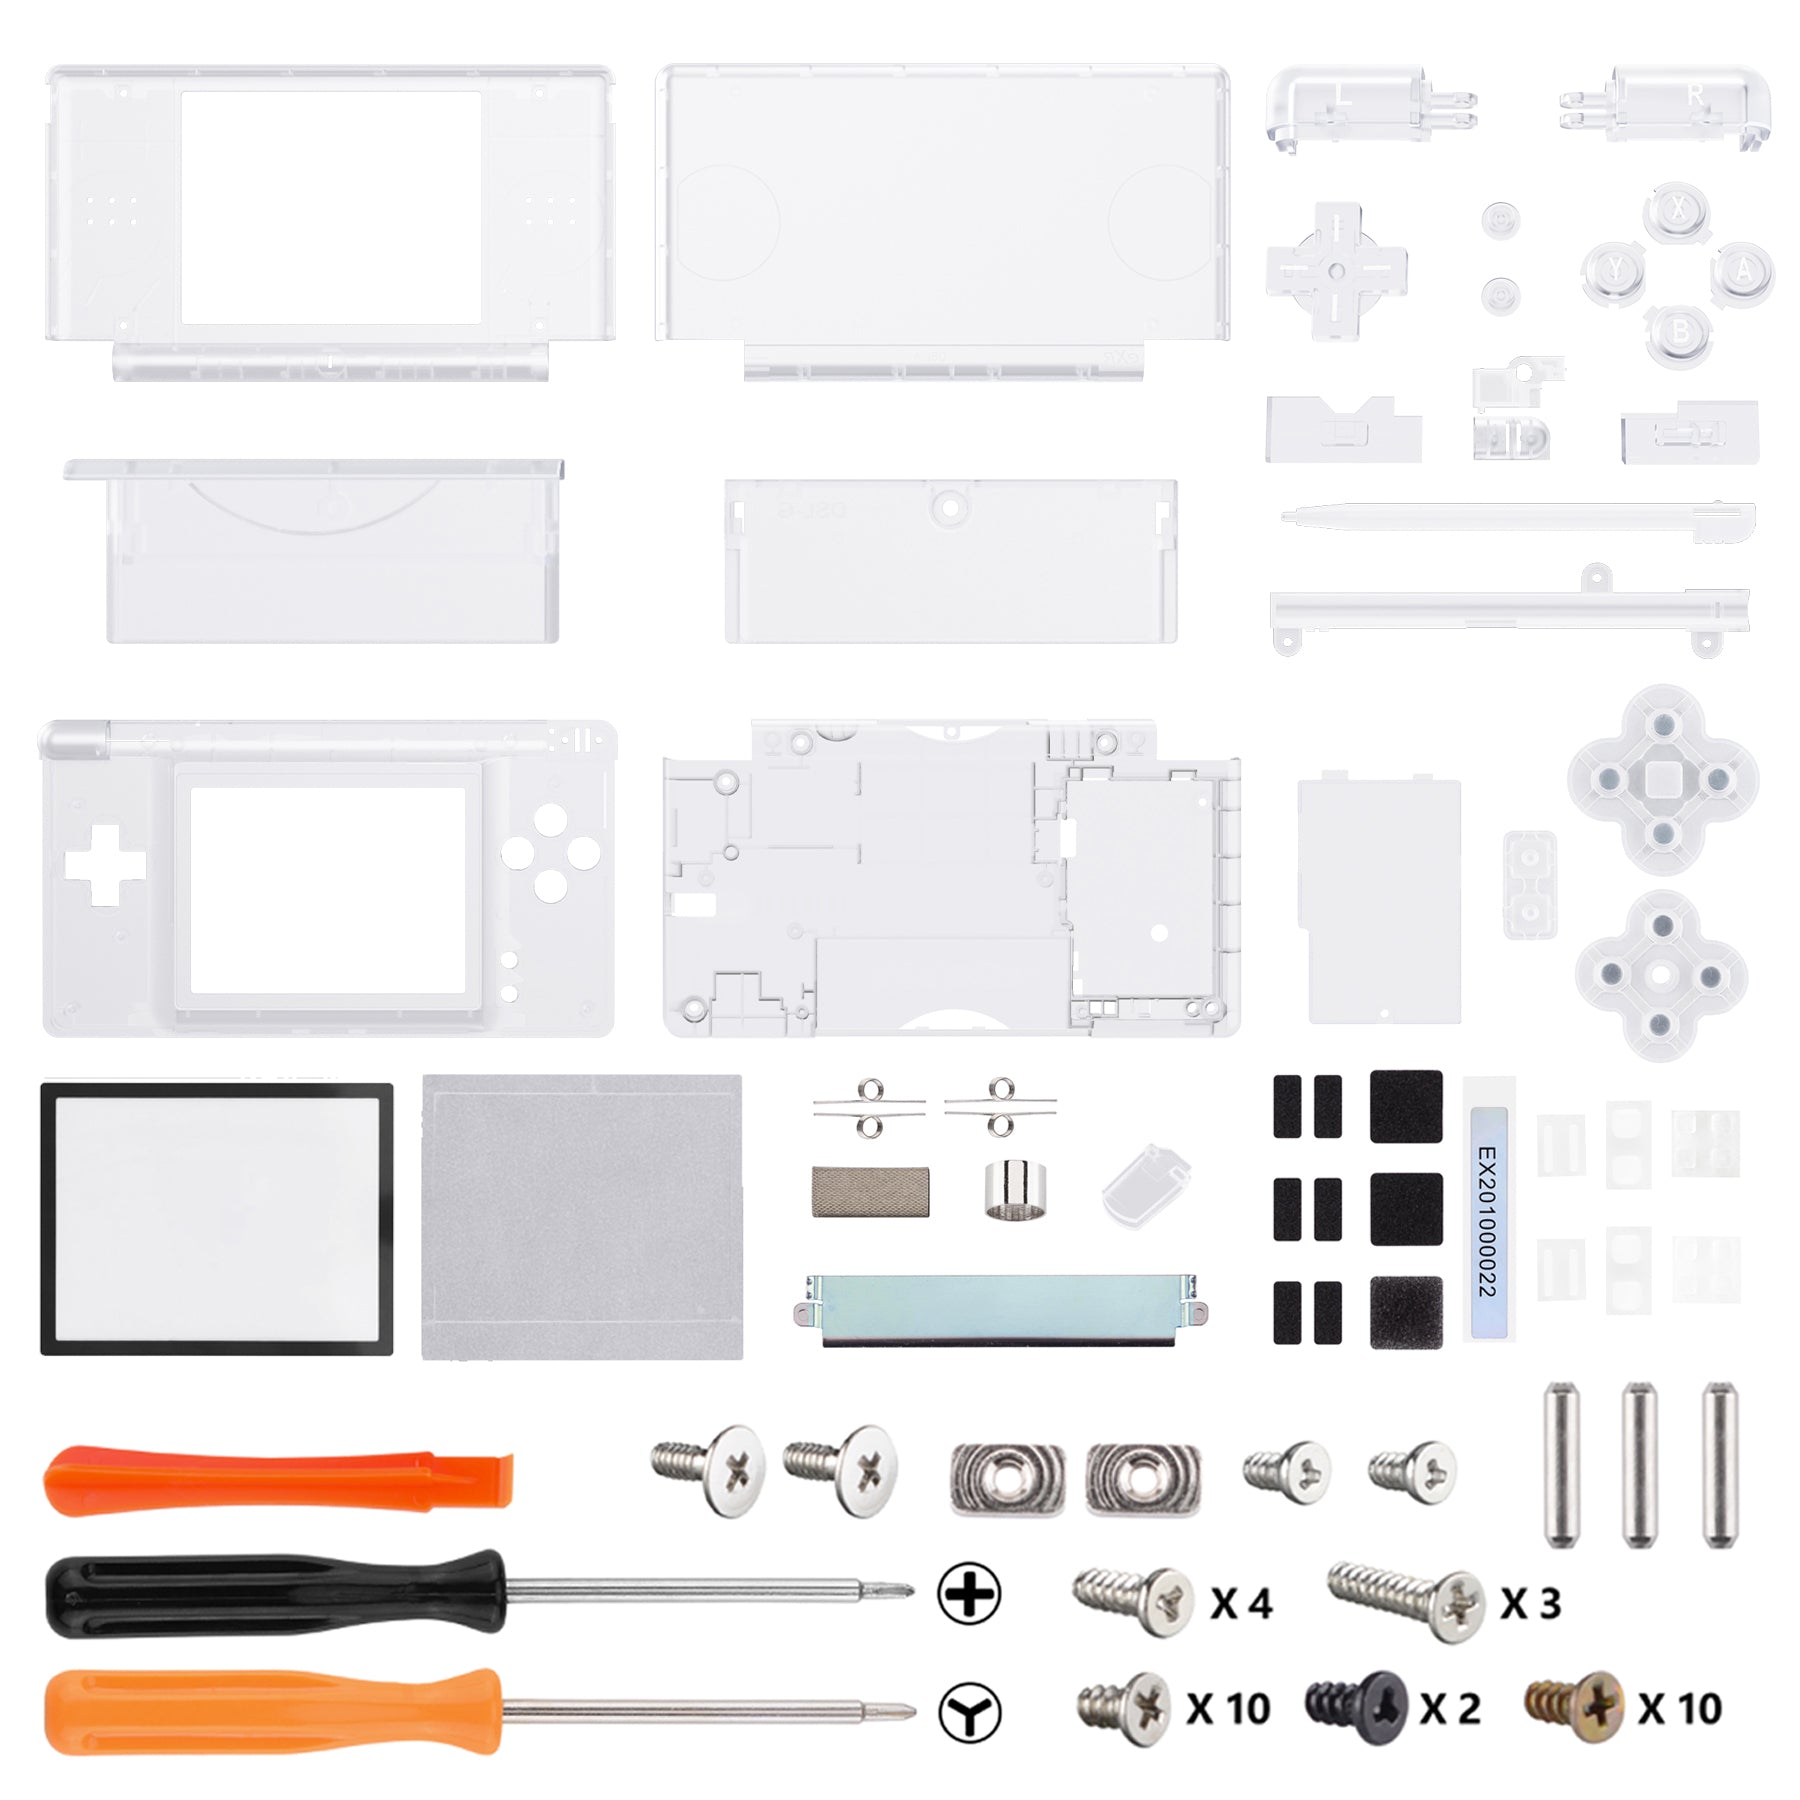
DIY Guide: Nintendo DS Lite Power Switch Replacement Tutorial
Duration: 45 minutes
Steps: 7 Steps
Switch up the Nintendo DS Lite power switch like a pro! We’ll walk you through the steps so you can get back to gaming in no time. If you hit a snag, you can always schedule a repair.
Step 1
The screw is snugly held in place by the battery cover.
– Let’s get started! Remove the Phillips screw that’s holding the battery cover in place – it’s the first step to freeing your battery.
– Now it’s time to carefully pry the battery cover open with a spudger or your trusty fingernail. Gently lift it up and out of the lower case, and you’ll be one step closer to fixing your device.
Tools Used
Step 4
– Time to loosen up! Start by removing the screws that are keeping the lower case attached to your DS Lite:
– Two 4.3 mm gold Phillips screws
– One 3.9 mm black Tri-Wing screw
– One 3.3 mm silver Phillips screw
– Three 5.5 mm silver Tri-Wing screws
Step 5
Pop the cover off the Game Pak slot before getting started!
– Slide the edge of a spudger between the lower and upper case near the top right corner of your DS Lite. Easy does it—no need to rush!
– Gently glide the spudger along the right edge of the DS Lite, creating some space as you go. You’re doing great, keep it steady!
– Keep working the spudger along the back of the DS Lite until most of the lower case is loosened from the upper case. Almost there—nice and smooth!
Tools Used
Step 6
Gently pull! Some devices are held together with adhesive, so too much force might cause a mishap with the power switch.
When putting everything back together, double-check that the power switch and volume sliders are lined up just right with the connectors on the motherboard.
– Gently detach the lower case from the rest of the DS Lite like you’re peeling a banana!
Step 7
– To get your device back together, just retrace these steps in reverse. You’ve got this!
– Cancel: Didn’t quite make it through? No worries, take a breather and try again later.
– If things went sideways or you hit a roadblock, you can always schedule a repair and let us help out.
Tools Used
Success!


