DIY Guide: Replace PlayStation 2 Slimline SCPH-700xx Step-by-Step
Duration: 45 minutes
Steps: 4 Steps
Step 1
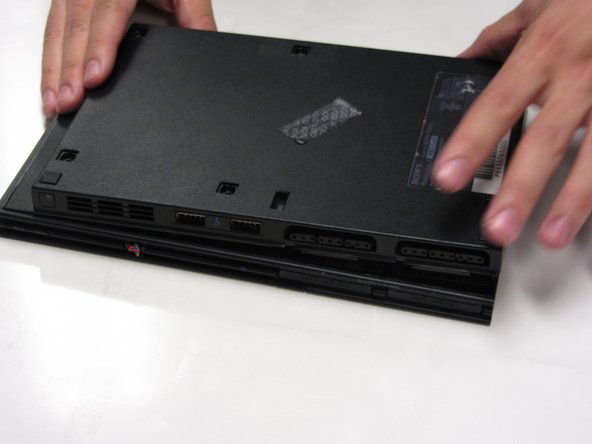
– Unplug all the cables from the console and gently flip it over to uncover its base. Let’s get started on this journey together!
Step 2
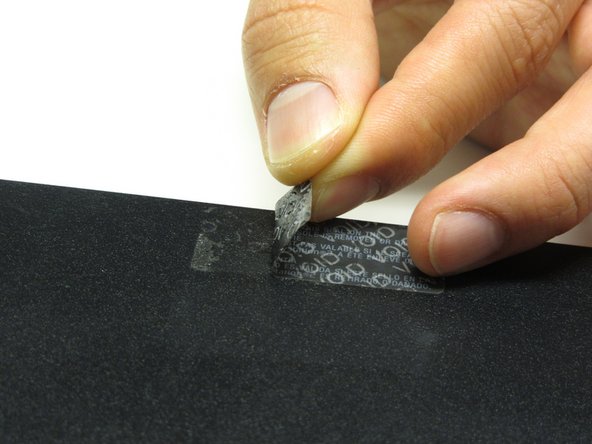
Heads up: One of the feet is hiding under the sticker shown in the photo. Peeling off this sticker will void any warranty with Sony, so proceed with care!
Step 3
– Using a #1 Phillips screwdriver, carefully take out all six 4.0 mm screws from the bottom of the device. You’ve got this!
Step 4
Pro tip: A little extra muscle from your hands can help pop these two outer shell pieces apart. You’ve got this!


