Samsung Galaxy Tab 3 Lite Battery Replacement Guide
Duration: 45 minutes
Steps: 5 Steps
Get ready to dive into the world of battery replacement for your Samsung Galaxy Tab 3 Lite! This guide will walk you through the steps to swap out that battery with care. Just remember to handle those tiny ZIF (zero insertion force) connectors gently—no one wants a mishap! So, roll up your sleeves and let’s get started. And if you find yourself in a pickle, don’t hesitate to schedule a repair!
Step 1
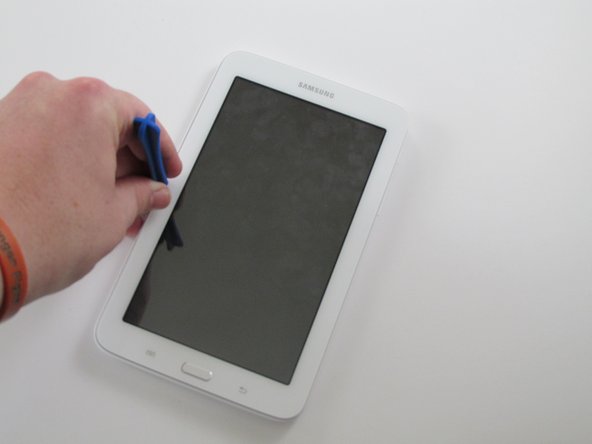
– Let’s get started by using a plastic opening tool to pry into the seam between the screen and the case. Gently work it in there, and you’ll be on your way!
– Now, rock the tool back and forth, moving it towards and away from the middle of the screen. This will help loosen the tape that’s holding everything together. Be patient, it might take a bit of time and effort, but you’ve got this!
– Remember, this process can be a bit of a challenge, so don’t rush it. Take your time, and be careful not to apply too much pressure. If you’re feeling stuck or unsure, don’t worry! You’re doing great, and you can always schedule a repair if you need a little extra help.
Step 3
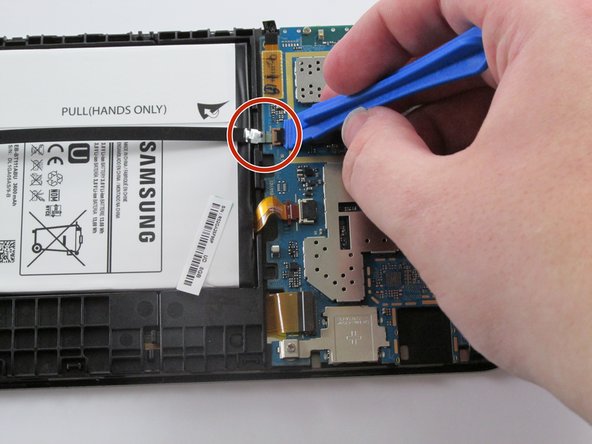
– Spot the ZIF (zero insertion force) connector in the picture, circled in red—easy peasy.
– Grab your plastic opening tool and gently nudge the black ZIF connector in the red circle. It should pop right out!
– Using your precision tweezers, carefully pull the black cable out of its slot.
Step 4
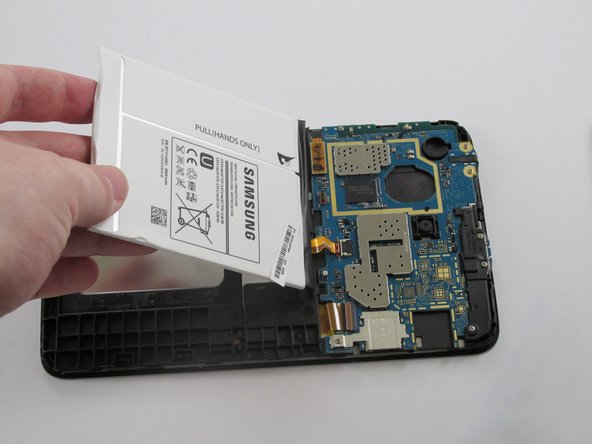
– Grab your plastic opening tool and carefully lift that black flap in the red circle. It should pop out without much fuss.
– Next, gently tug on the yellowish orange ribbon cable, just like you did in Step 1.
Step 5
– To put your device back together, just follow these steps in reverse. Easy peasy!
– Cancel: Didn’t finish? No worries!
– If you need help, you can always schedule a repair
Success!


