How to Replace Samsung Galaxy Tab 3 Lite LCD & Digitizer
Duration: 45 minutes
Steps: 9 Steps
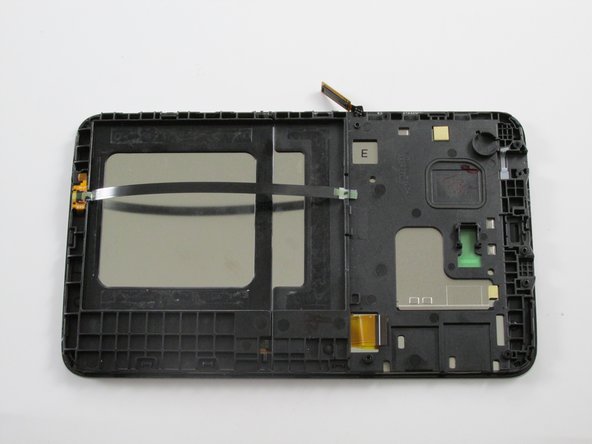
Get ready to give your Samsung Galaxy Tab 3 Lite a brand new face! This step-by-step guide will walk you through replacing the LCD and Digitizer. Before you dive in, make sure to remove the back case and motherboard – don’t worry, we’ve got guides for those steps too. Just follow along carefully and you’ll be all set. If you need help, you can always schedule a repair.
Step 1
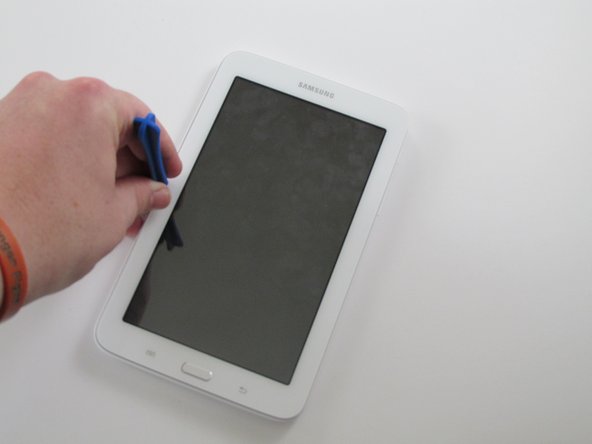
– Grab your trusty plastic opening tool and gently slide it into the seam between the screen and the case.
– Give it a little wiggle by rocking the tool back and forth toward the center of the screen. This will help loosen the tape that’s sticking the two together.
– Remember, patience is key here—take your time with this step. And always be mindful of how much pressure you’re applying!
Step 3
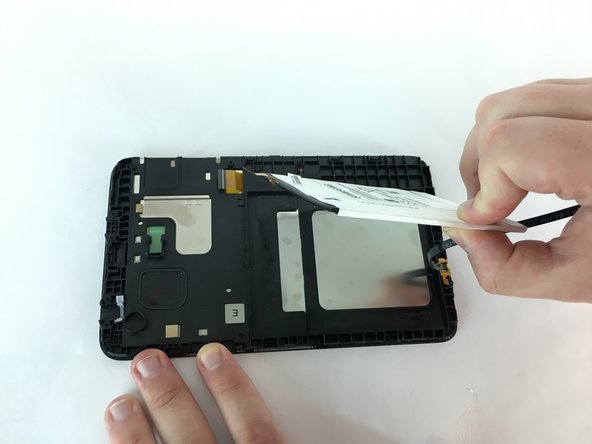
– Grab a plastic opening tool and gently lift up the zero insertion force (ZIF) connector holding down the ribbon cable.
– Use those precision tweezers to carefully pull the ribbon cable out of the ZIF connector.
Step 4
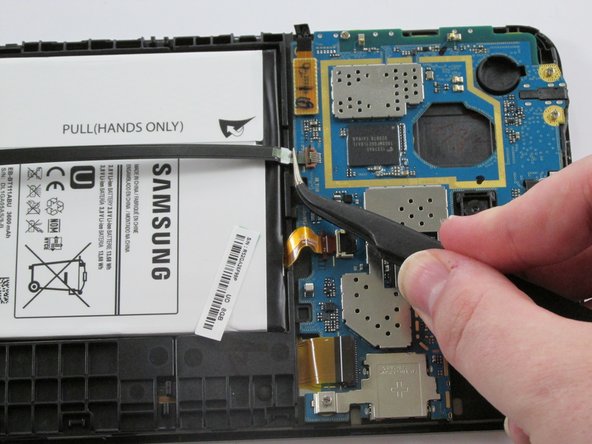
– Grab that trusty plastic opening tool and gently lift the zero insertion force (ZIF) connector that’s keeping the battery ribbon cable in place. You’ve got this!
– Now, with your precision tweezers, carefully remove the ribbon cable from the ZIF connector. Just take it slow and steady!
Step 5
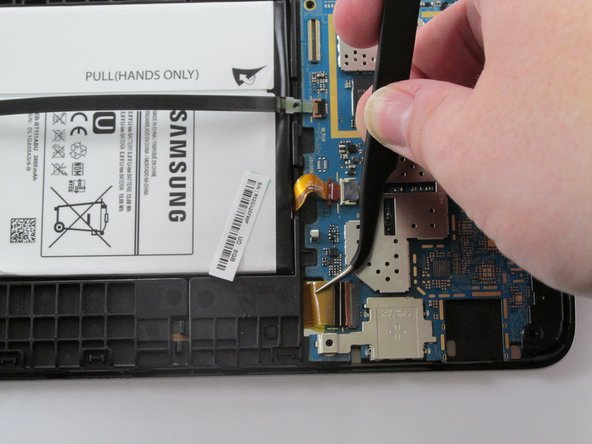
– Grab your trusty plastic opening tool and gently pop up the zero insertion force (ZIF) connector holding the battery ribbon cable in place. Easy does it!
– Now, with your precision tweezers in hand, carefully slide the ribbon cable out of the ZIF connector. Steady hands win the day!
Step 6
– Alright, game on! Grab your trusty Phillips J000 screwdriver and unscrew the seven 4mm screws keeping the motherboard locked in place. Let’s free that thing!
Step 7
– Grab your trusty plastic opening tool and gently nudge that tab holding the motherboard in place. You’ve got this!
Step 8
– Grab those precision tweezers and carefully pluck that little black plastic corner sitting on top of the motherboard. Easy does it!
– Next up, take your trusty plastic opening tool and gently pop the motherboard out of the case. Keep it smooth and steady!
Step 9
– Put your device back together by working through these steps in reverse. Easy peasy!
– Didn’t finish? No worries—just leave it here for now.
– Need a hand? If it’s feeling tricky, you can always schedule a repair.
Success!
