Step-by-Step Guide: Samsung Galaxy Tab 3 Lite Camera Replacement
Duration: 45 minutes
Steps: 10 Steps
Ready to swap out the camera on your Samsung Galaxy Tab 3 Lite? Let’s do it! First, you’ll need to pop off the back case of your tablet—don’t worry, we’ve got that covered in this guide too. Take it step by step, stay chill, and you’ll have your Tab good as new in no time.
Step 1
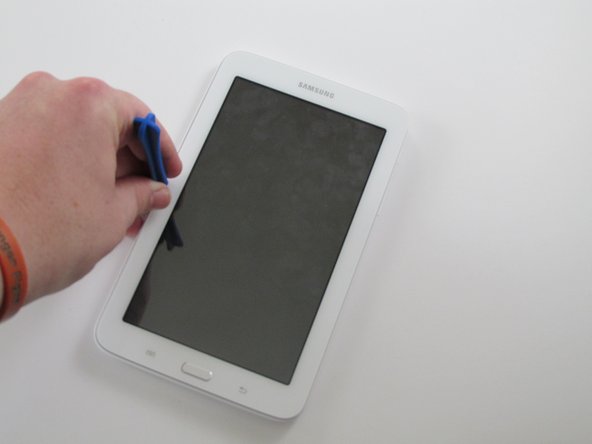
– Grab a plastic opening tool and gently slide it into the gap between the screen and the case.
– Move the tool back and forth, working your way towards the center of the screen to loosen the tape holding them together.
– Take your time with this step. Rushing might cause damage, so be patient and apply pressure carefully.
Step 3
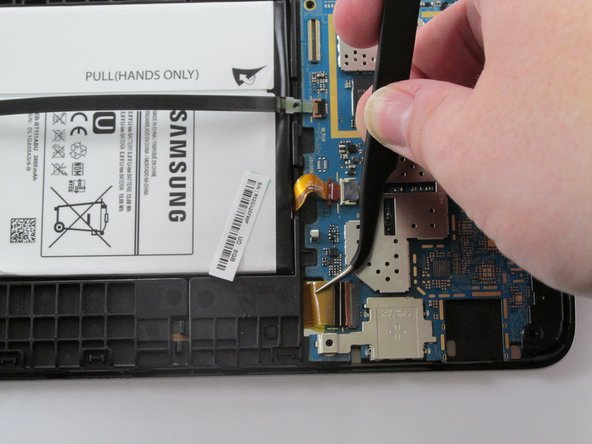
– Grab your trusty plastic opening tool and carefully lift up the zero insertion force (ZIF) connector that’s holding down the ribbon cable.
– Use your precision tweezers to gently slide that ribbon cable out of the ZIF connector.
Step 4
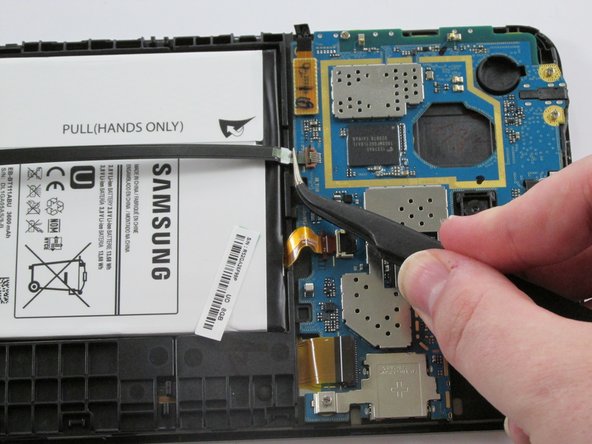
– Grab your trusty plastic opening tool and gently lift the zero insertion force (ZIF) connector that’s keeping the battery ribbon cable snug as a bug.
– Now, with your precision tweezers in hand, carefully detach the ribbon cable from the ZIF connector. You’re doing great!
Step 5
– Grab your trusty plastic opening tool and gently lift the zero insertion force (ZIF) connector that’s keeping the battery ribbon cable snug as a bug.
– Now, with your precision tweezers in hand, carefully detach the ribbon cable from the ZIF connector. You’re doing great!
Step 6
– Carefully take out the seven 4mm Phillips J000 screws that are keeping the motherboard snug and secure. You’ve got this!
Step 7
– Grab your trusty plastic opening tool and gently pop that tab to free the motherboard from its cozy little spot. Easy does it!
Step 8
– Grab those precision tweezers and gently lift off the black plastic corner perched on top of the motherboard. You’ve got this!
– Now, take your trusty plastic opening tool and carefully pry the motherboard away from the case. Easy peasy!
Step 9
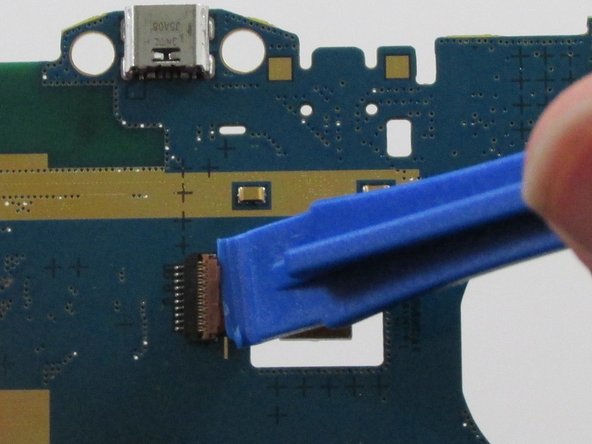
– Turn the motherboard over and find the camera right in the center. You’ve got this!
– Grab your trusty plastic opening tool and gently lift the flap that’s keeping the camera cable snug. Easy peasy!
Step 10
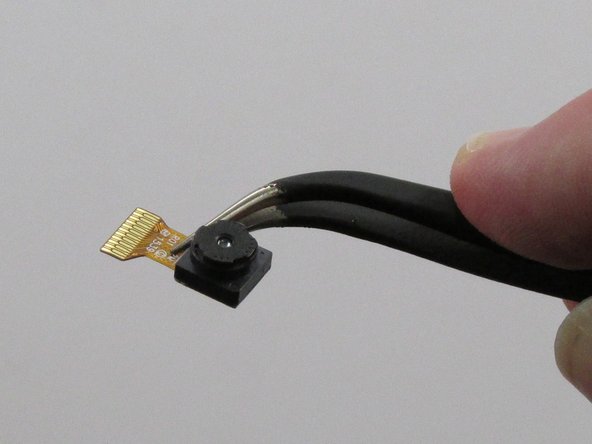
– Time to get a little delicate! Use those precision tweezers to carefully coax the camera off the motherboard. Take your time, and it’ll be off in no time!
Success!

