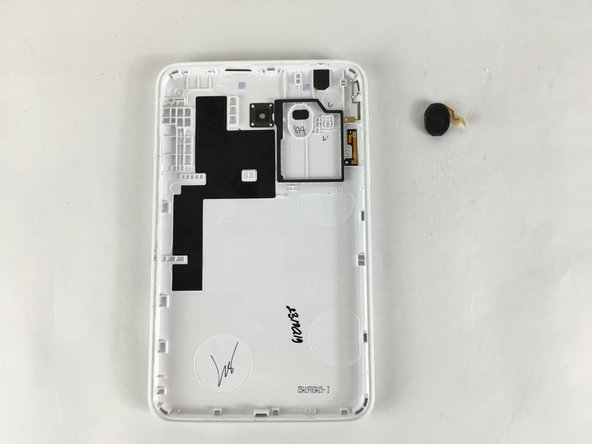
DIY Guide: Samsung Galaxy Tab 3 Lite Speaker Replacement
Duration: 45 minutes
Steps: 4 Steps
Ready to upgrade your Samsung Galaxy Tab 3 Lite’s sound game? First, pop off the back case – it’s time to get this party started! With the case out of the way, you’ll be able to tackle the speaker replacement with ease. Let’s do this!
Step 1
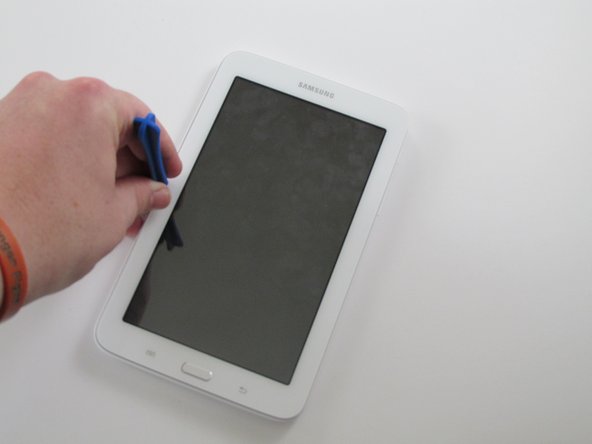
– Grab a plastic opening tool and gently slide it into the gap between the screen and the case.
– Give the tool a little rock, moving it back and forth towards the center of the screen to help loosen the tape that’s keeping the screen and case snugly together.
– Take your time with this part; there’s no need to rush! Just remember to be gentle with the pressure you apply.
Step 3
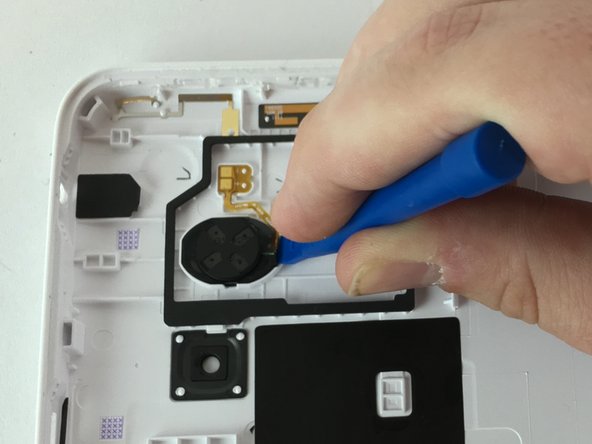
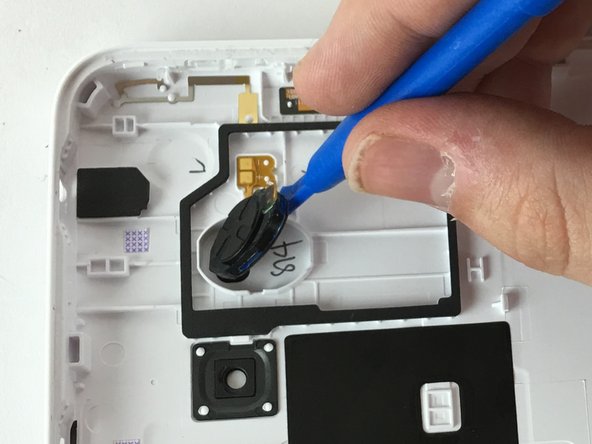
– Grab one of those handy plastic opening tools and gently press it into one of the two openings around the speaker. You’ve got this!
– Now, give it a little push and pry the speaker out of its cozy spot. It should pop right out like a champ!
Step 4
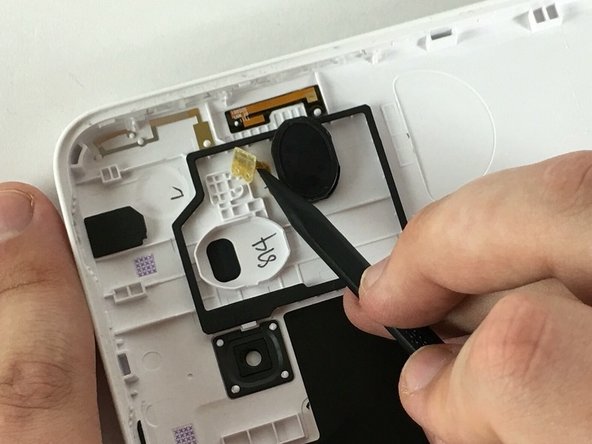
– Time to get this repair started! Use a spudger to carefully pry up the speaker ribbon cable – take your time and be gentle, we don’t want any damage.
Success!
