Samsung Galaxy Tab 3 8.0 Proximity Sensor Replacement
Duration: 45 minutes
Steps: 6 Steps
Step 1


Watch out when popping off the screen—carelessness can lead to damage!
– Grab that trusty large plastic opening tool and work your magic by gently prying the screen apart from the back cover. Take your time—slow and steady wins this race!
Step 2


– Once you’ve successfully pried every part of the screen away from the back cover, you should be able to lift it off completely using just your hands. You’ve got this!
Step 3


Heads up: the connection is designed to lift up for easy removal, so gently pry it up to take it out.
– Alright, to pop out the battery, grab something small and precise—like tweezers—and carefully unplug the battery from its port. Take it slow and steady, and you’ve got this!
Tools Used

Step 4

– Once you’ve disconnected the battery, grab that handy pulling tab and gently coax the battery out. You’ve got this!
Step 5

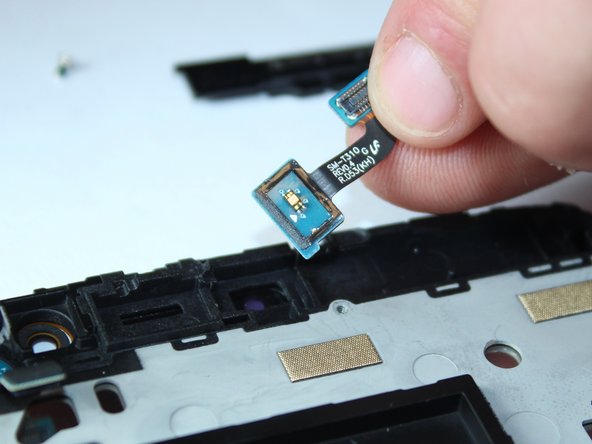
– Grab your trusty plastic remover tool and gently pop the proximity sensor connection off the motherboard. Easy does it, no need to rush!
Step 6
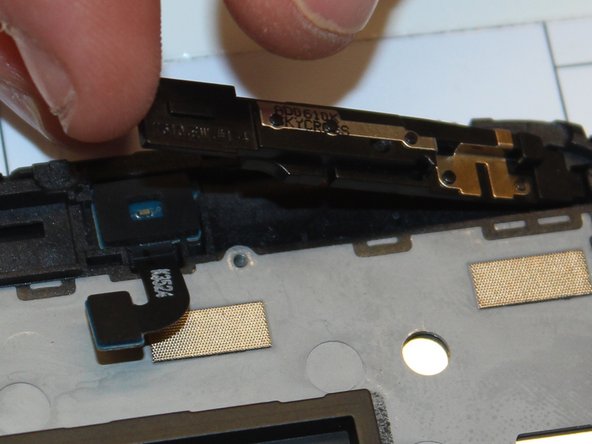

– Pop that plastic remover tool into place, pry the antenna loose, and lift it away from the proximity sensor. The sensor should lift right out of the device.