Samsung Galaxy Tab 3 8.0 Audio Jack Replacement Guide
Duration: 45 minutes
Steps: 6 Steps
Step 1


Take it slow when popping off that screen—treat it gently so it doesn’t get cranky on you!
– Grab that trusty big plastic opening tool and gently work your way around the edges to pop the screen away from the back cover. Take it slow and steady—you’ve got this!
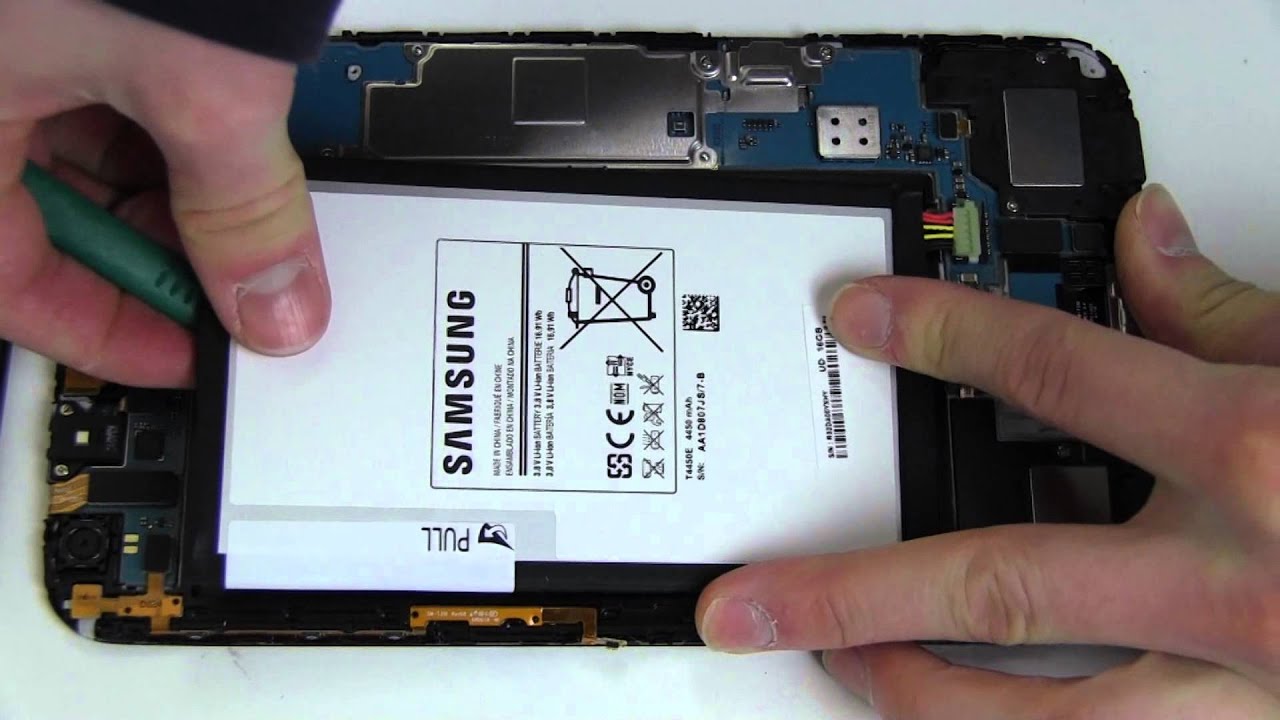
Step 2


– Once you’ve separated every bit of the screen from the back cover, it’s time to gently lift it off with your hands—easy does it!


Step 5

– Unplug the Audio Jack from the Motherboard.
Step 6

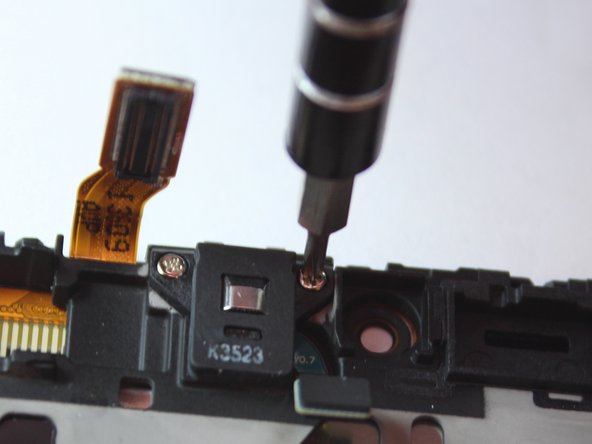
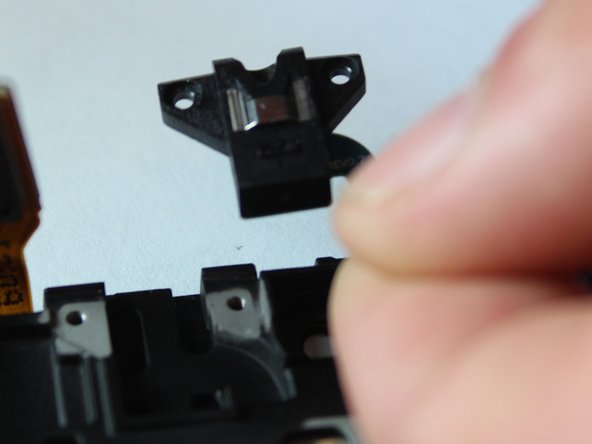
– Let’s get started! Remove the 2.9mm Phillips #000 screws from the audio jack, and then carefully take out the component from your tablet.
Success!
To put everything back together, just work your way through these steps in reverse – easy peasy!
If you’re not feeling confident, don’t worry! You can always schedule a repair with Salvation Repair.
You’ve made it to the end of this step-by-step repair guide – nice job! If you need help or have any questions, we’re here for you.