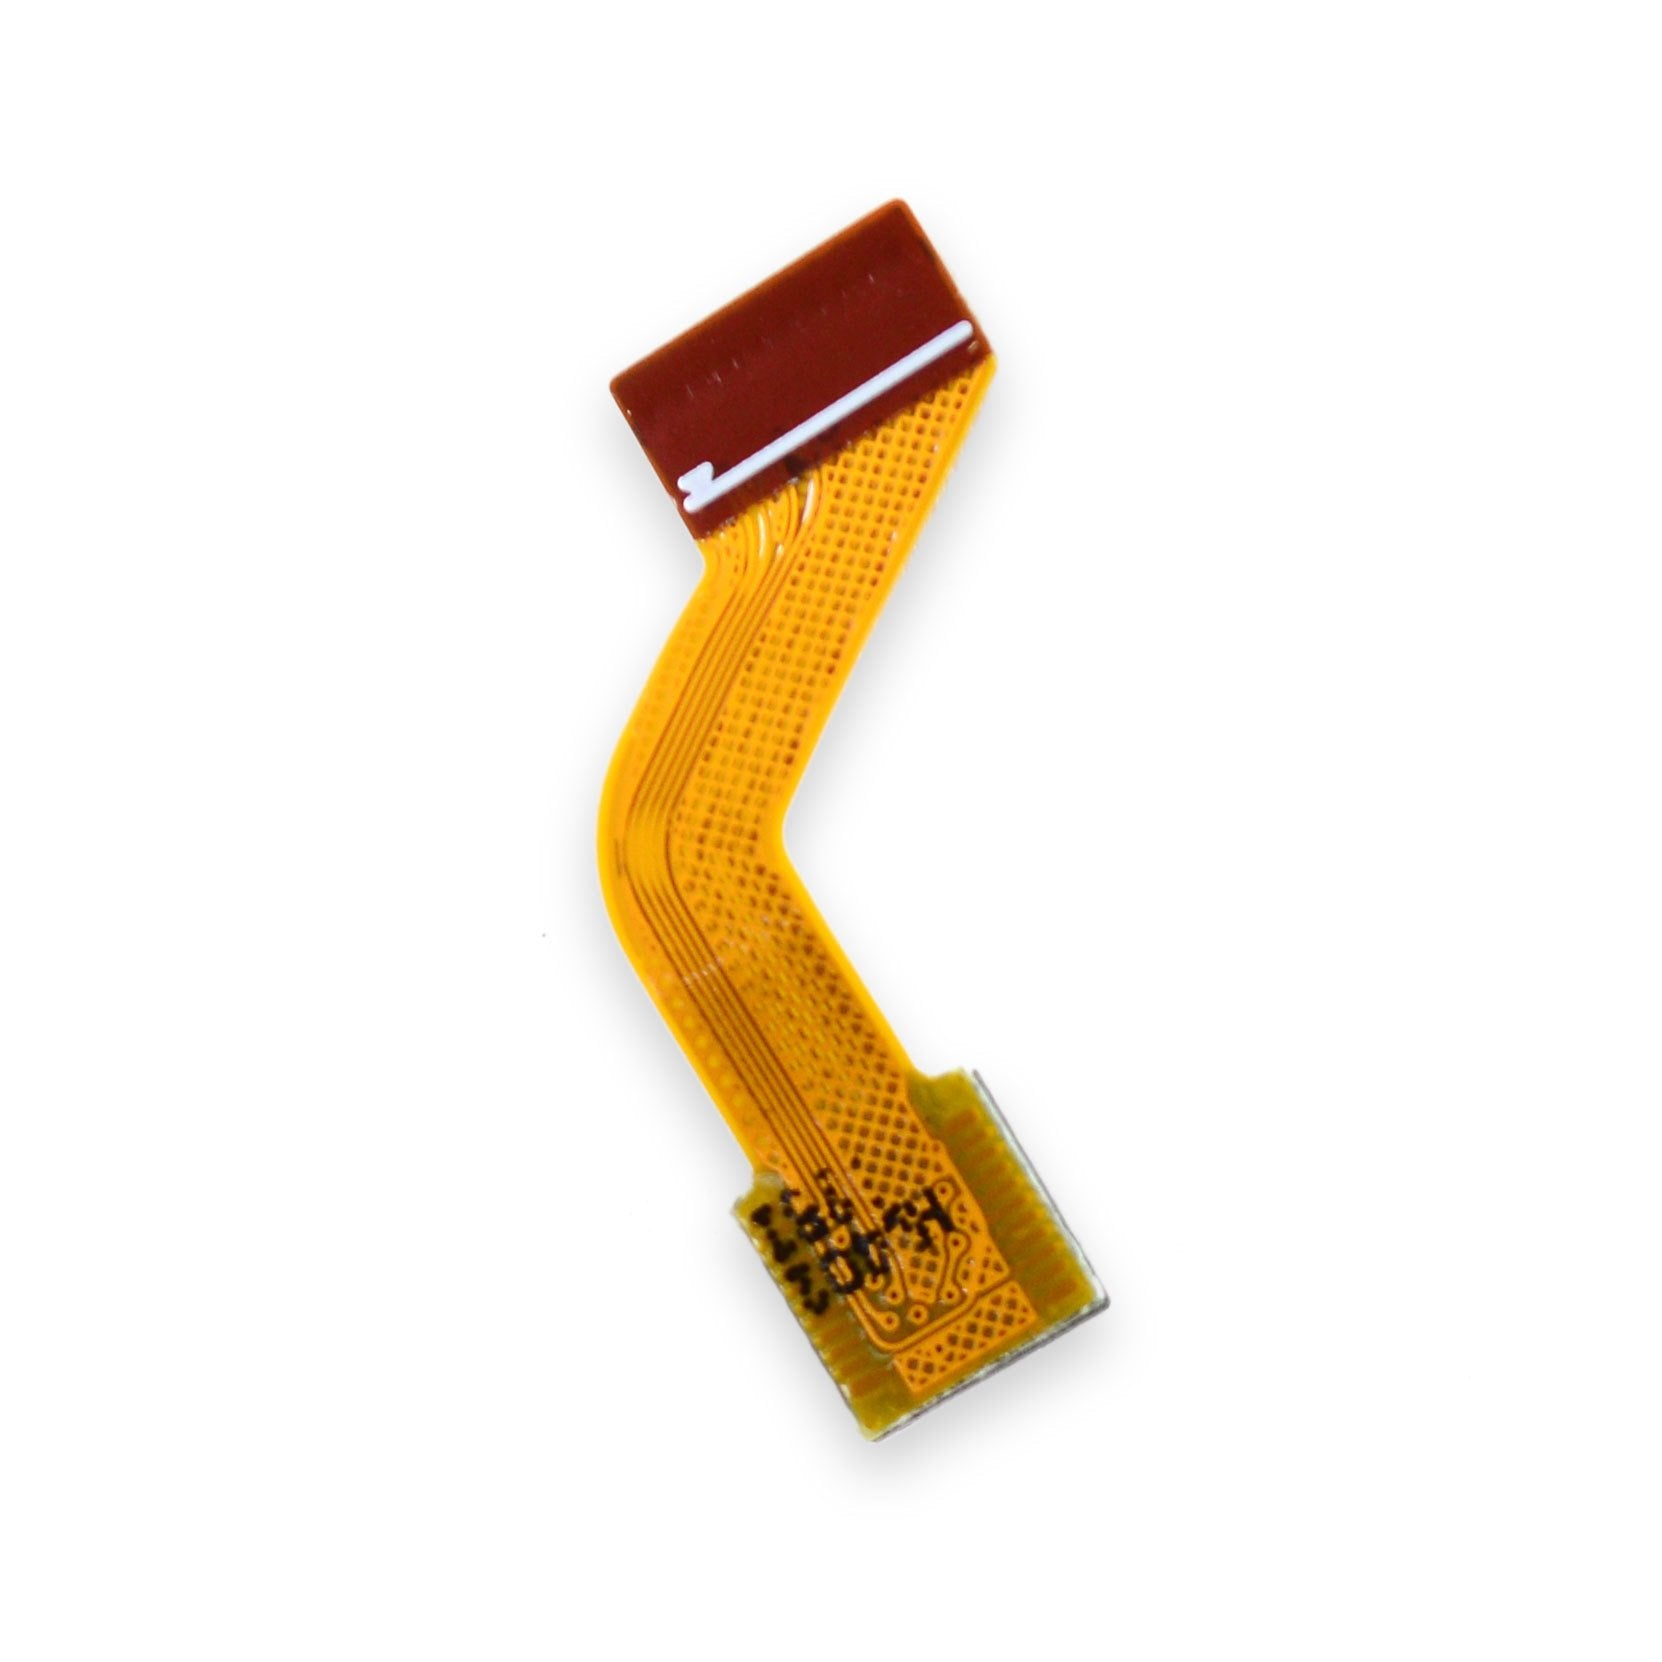
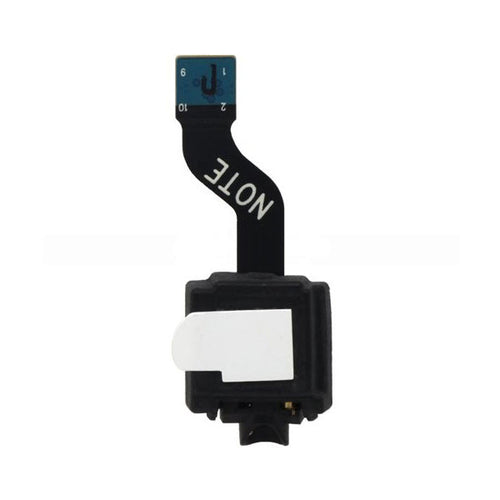
Replace Galaxy Tab 2 10.1 Charger Port
Duration: 45 minutes
Steps: 10 Steps
Time to give your Samsung Galaxy Tab 2 10.1 a little TLC! If your charging cable is all good but the tablet just isn’t having it, it’s likely time to swap out that charger port. Heads up: you’ll notice some pics show a metal spudger, but trust me, the heavy-duty spudger is your friend to avoid circuit drama. For more connector deets, check this out.
Step 1
Heads up! The plastic opening tool might decide to take a break during this step. If that happens, reach for the heavy-duty spudger instead!
– Slide your trusty plastic opening tool between the glass screen and the back cover, making sure the curved end is snugly beneath the glass. Give it a gentle nudge to start separating the back cover from the glass screen. Easy does it!
– Make sure you’re lifting the whole display off the body—not just peeling the glass away from the display. You might need to reach a bit deeper to get that sweet spot for proper removal.
– Keep working your way around the entire device with the plastic opening tool. Go slow and steady to fully detach the back cover from the glass screen. You’re almost there!
Step 2
If the screen is still stuck to the back cover, no worries—just give step 1 another go!
– Carefully raise the screen using your finger.
Step 3
– Using your fingers, peel off the green tape covering the battery connector. Keep it up, you’re doing great!
Step 4
– Time to get under the hood! Insert the flat end of your trusty heavy-duty spudger between the wires and gently pry underneath the battery connector. Now, carefully lift that black battery connector up to disconnect it from the motherboard – you’re making great progress!
Tools Used
Step 5
– The charging port cable is that sleek black cord plugged into the charger port. Gently peel away the green tape from the connector of the charging port cable using your fingers. You’ve got this!
Step 6
– Grab your trusty heavy-duty spudger and gently lift that sneaky black tab holding the charger port cable in place. You’ve got this!
– Now, slide that cable out with confidence!
Tools Used
Step 7
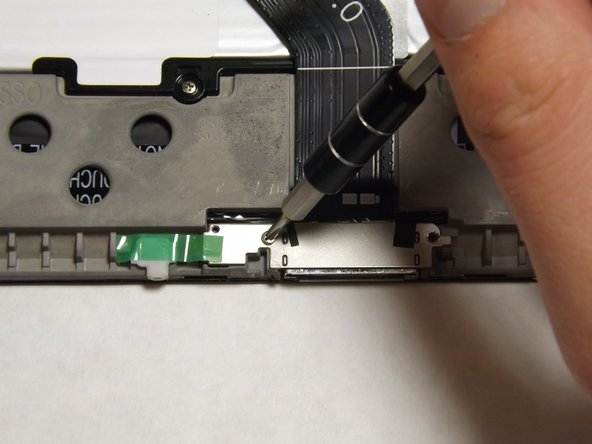
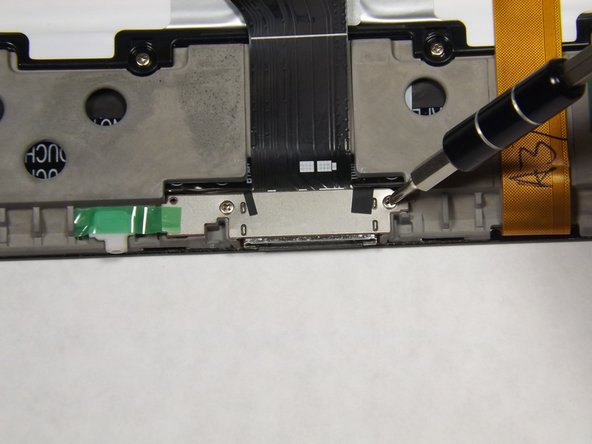
– Grab your trusty Phillips 000 screwdriver and get ready to tackle those two 3mm screws that are keeping the charger port snug as a bug. Unscrew them with care, and let’s get this repair party started!
Step 8
– Gently use the flat end of the sturdy spudger to pop the white microphone piece out of its cozy little socket. You’ve got this!
Tools Used
Step 9
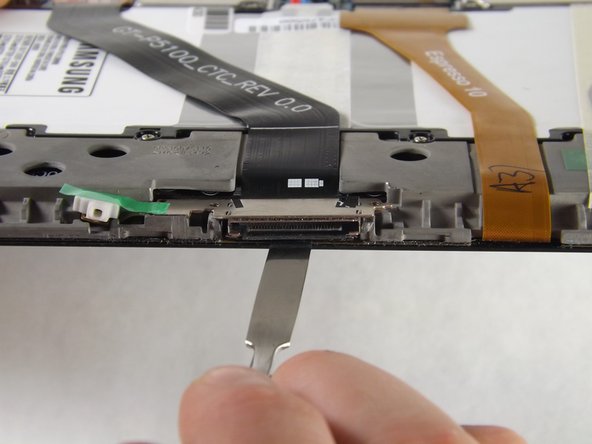
Make sure to slide that spudger right under the charger port, not into it! We want to keep that component safe and sound, so let’s avoid any accidental damage.
– Gently slide the flat end of your trusty heavy-duty spudger under the charger port. You’re doing great!
– Ensure that the spudger reaches all the way to the back of the cavity, then glide it horizontally across the bottom to break that pesky adhesive. Keep it smooth and steady!
Tools Used
Step 10
– To put your device back together, just reverse these steps.
– Cancel: I didn’t wrap up this guide.
– If you need help, you can always schedule a repair.
Tools Used
Success!


