DIY Guide: Samsung Galaxy Tab 2 10.1 Headphone Replacement
Duration: 45 minutes
Steps: 8 Steps
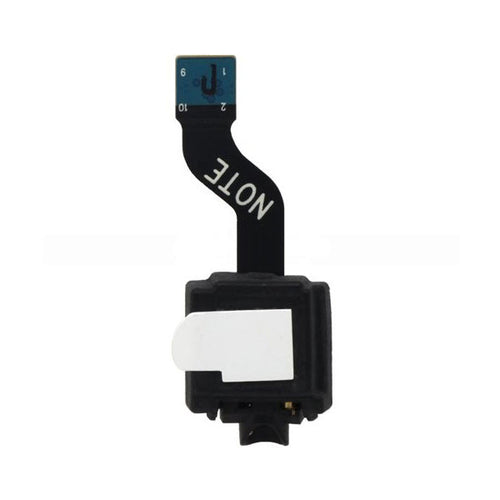
If your audio is playing hard to get, even after giving your device a good restart, it might be time to swap out that headphone jack. In this guide, we’ll walk you through the steps to do just that! Just a heads up: some of the images use a metal spudger, but we recommend sticking with the heavy-duty spudger to keep your circuits safe and sound. For more info on connectors, check out this page. And remember, if you ever feel overwhelmed, you can always schedule a repair!
Step 1
Heads up! That plastic opening tool might snap under pressure here. If it does, no sweat—just grab the heavy-duty spudger and keep going!
– Slide the plastic opening tool between the glass screen and the back cover, making sure the curved end is nestled under the glass. Gently nudge the back cover away from the glass screen.
– Make sure to lift the entire display from the body, not just the glass from the display. You might need to reach a bit deeper for a smooth removal.
– Keep working the plastic opening tool around the entire device screen to fully detach the back cover from the glass screen.
Step 2
If the screen is playing hard to get and won’t budge from the back cover, give step 1 another go!
– Carefully nudge the screen upward using your finger—easy does it!
Step 3
– Gently peel away the green tape that’s keeping the battery connector snug as a bug. You’ve got this!
Step 4
– Gently slide the flat end of your heavy-duty spudger between the wires and under the battery connector. Carefully lift the black connector to disconnect it from the motherboard, taking your time to avoid any sudden moves.
Tools Used
Step 5
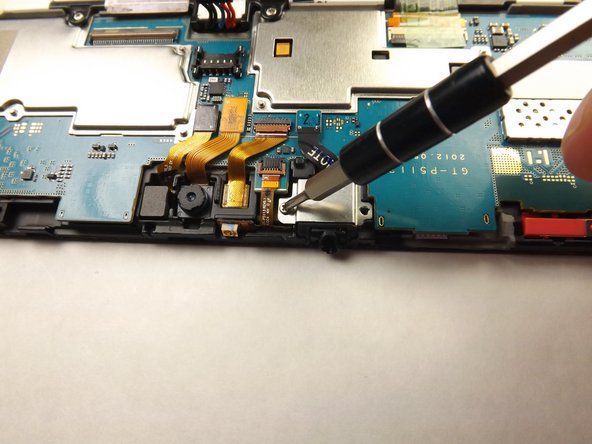
– Grab your Phillips 000 screwdriver and unscrew those two little 3mm screws like a pro. Easy peasy!
Step 6
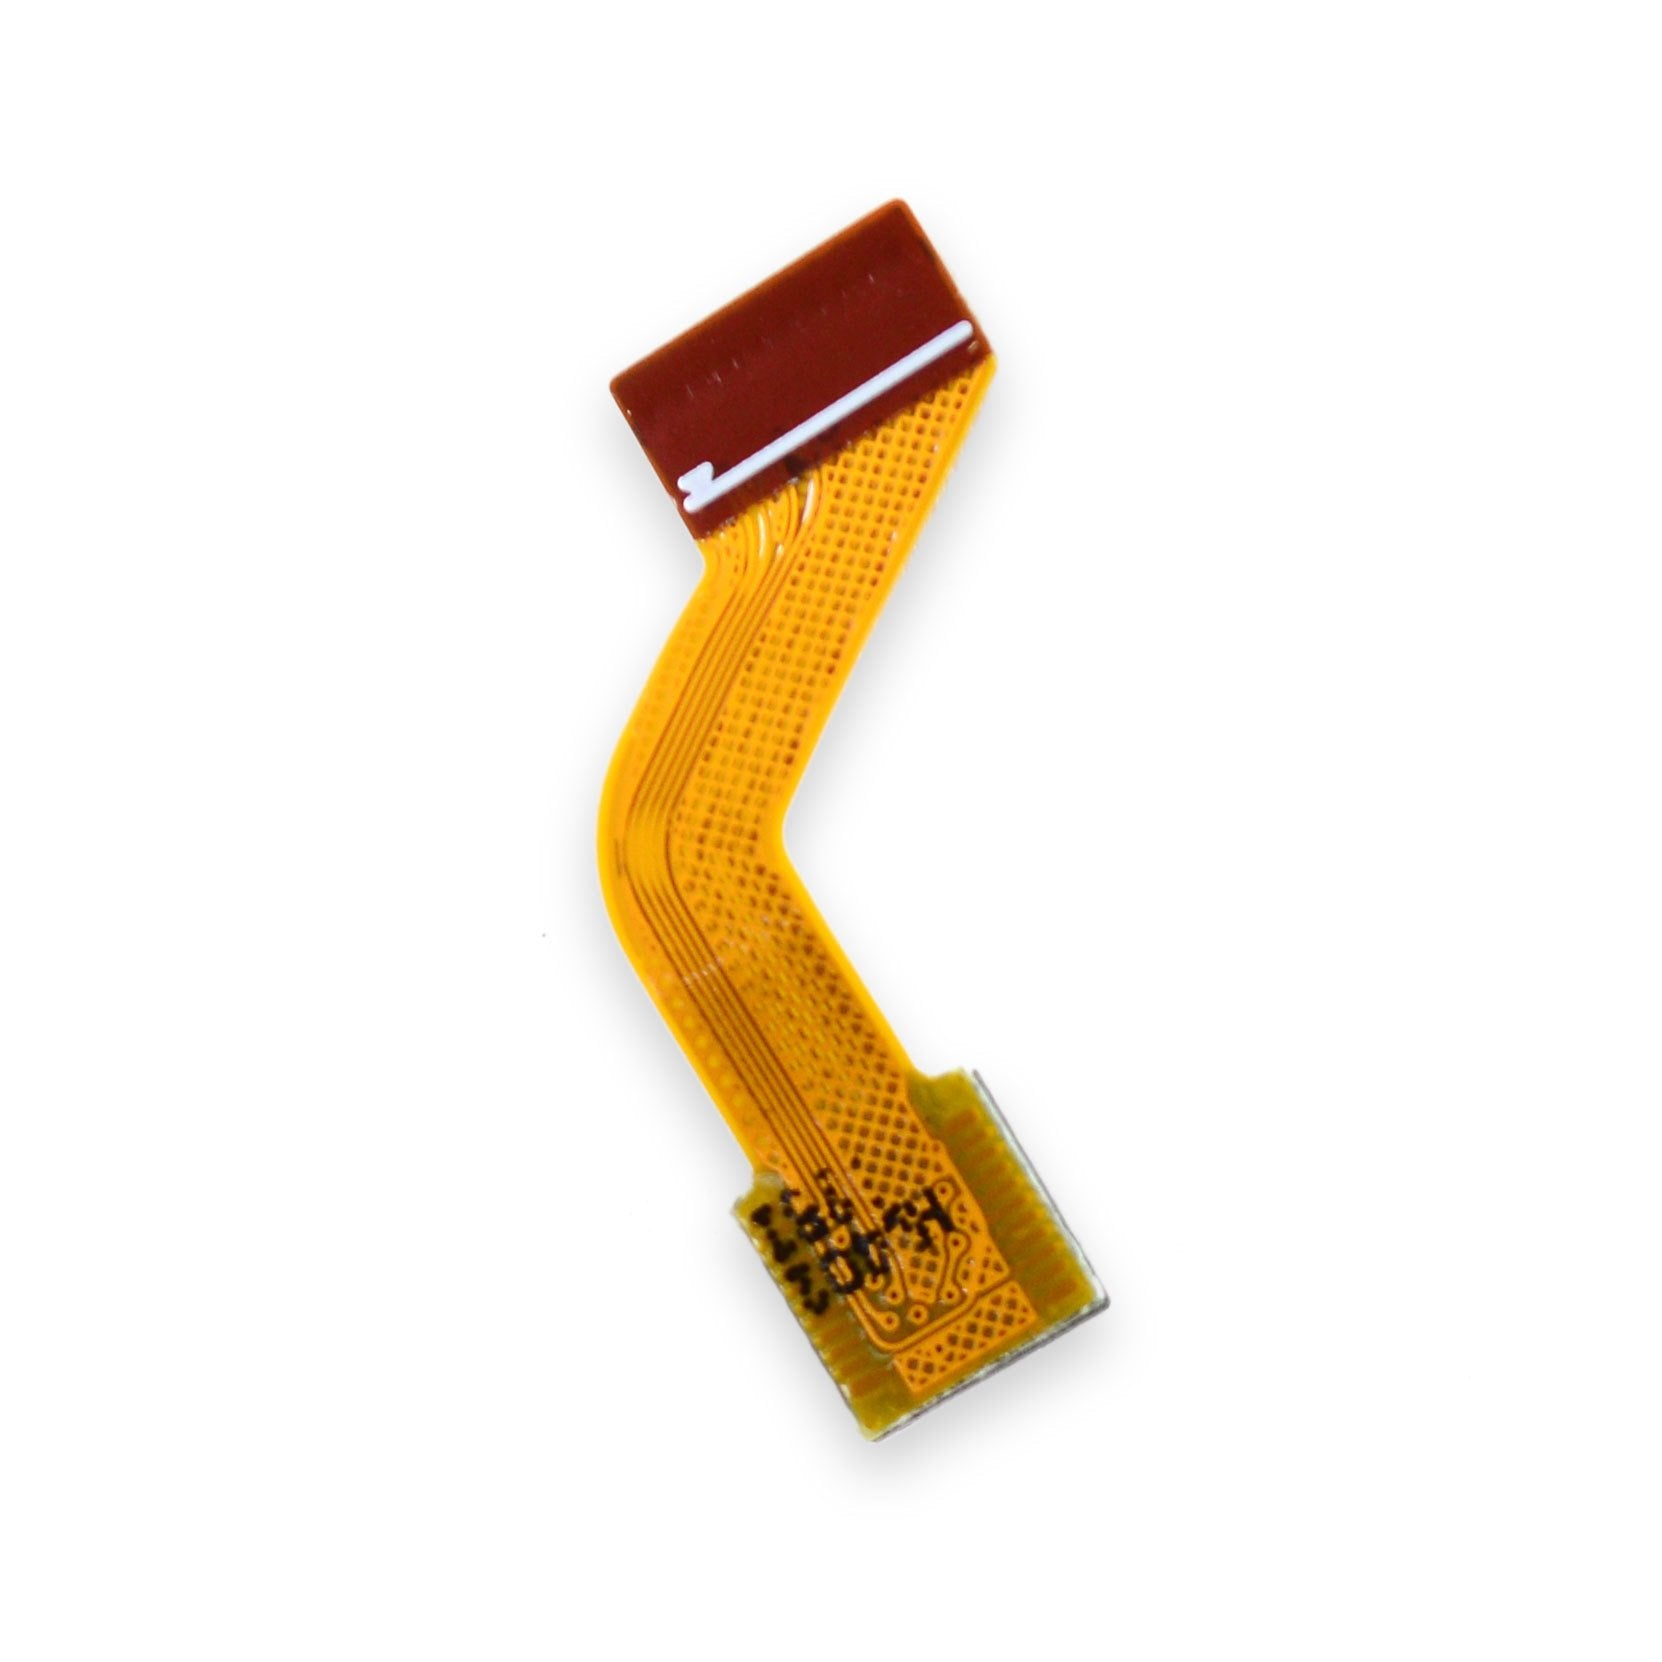
– Pop off the black cable connector using the plastic opening tool to free the cable from the device. You’ve got this!
Step 7
– Gently slip the flat end of a heavy-duty spudger under the audio jack cover and pop off the metal cover from your device.
Step 8
– Now it’s time to put your device back together! Just retrace your steps and follow these instructions in reverse. You’ve got this!
– Oops! If you decided to bail on this guide, that’s totally cool.
– Need a hand? If you run into any trouble, feel free to schedule a repair.
Success!


