How to Replace Samsung Galaxy Tab 2 7.0 Camera: Step-by-Step Guide
Duration: 45 minutes
Steps: 5 Steps
Cameras can get wrecked by water or a drop, but swapping them out is easier than you might think. Just follow these simple steps and you’ll be back to snapping pics of your adventures in no time.
Step 1
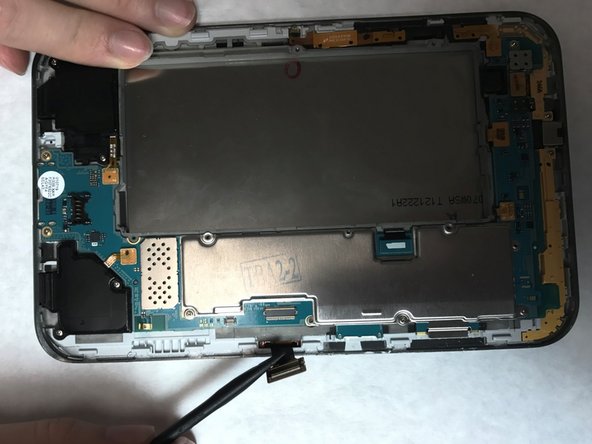
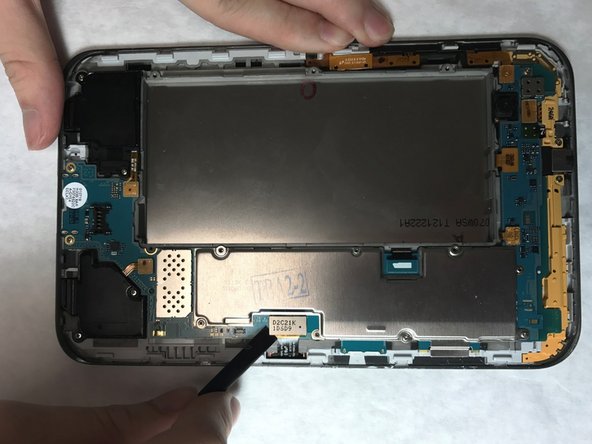
The best way to kick off this process is by starting at the micro SD card slot, as shown in the pictures.
– Grab a nylon spudger or a flat plastic opening tool and gently work your way around the back of the device to pop it open. You’ve got this!
Step 2
– Grab your trusty Phillips head screwdriver and unscrew those 6 little 4mm buddies holding the battery in place.
– Gently lift out the battery and put it somewhere safe.
Step 3
– Grab your trusty Phillips head screwdriver and unscrew the 6 screws, each 4mm long, securing the motherboard in place. You’ve got this!
Step 4
Take it easy when you’re removing those flex cables! Too much muscle or using sharp tools can end up causing some unwanted damage. So, be gentle and treat them with care!
– Spot the 8 flex cables hooked up to the motherboard.
– With a nylon spudger, carefully pop each flex cable off the motherboard.
– Lift the motherboard out and set it aside.
Step 5
– First things first, find that camera hanging out at the top of your device. It’s like the star of the show!
– Now, grab a nylon spudger and gently coax the camera out of its cozy spot. It’s time for it to shine elsewhere!
Success!


