Samsung Galaxy Tab 2 7.0 Auxiliary Port Replacement
Duration: 45 minutes
Steps: 9 Steps
Got a busted auxiliary port from wear and tear or a little oopsie? No worries, you can swap it out and get back to jamming in no time. Just make sure to keep track of all the tiny components—they can be sneaky and easy to misplace.
Step 1

Starting with the micro SD card insert is a great way to kick things off—easy and straightforward!
– Grab your trusty nylon spudger or a flat plastic opening tool, and gently work your magic to pop open the back of the device. You’ve got this!
Step 2

– Grab your trusty Phillips head screwdriver and let’s get to work! Carefully unscrew the 6 screws, each measuring 4mm, that are keeping the battery snug in your device. You’ve got this!
Step 3
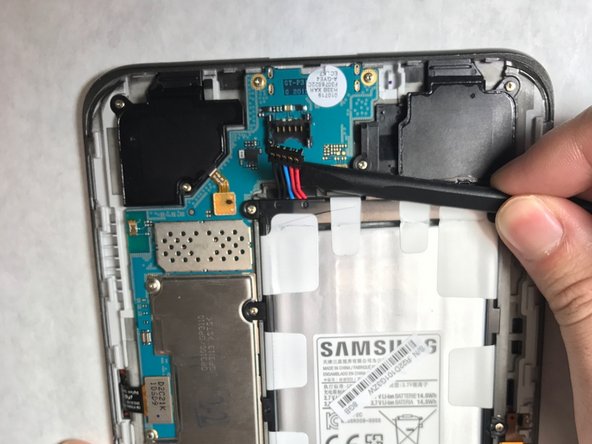

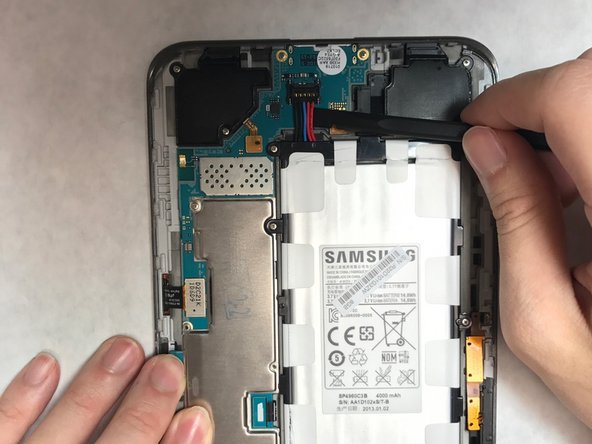
– Carefully unclip those little wire clips connecting the battery to your device using a nylon spudger. It’s like giving your battery a gentle hug!
– Once that’s done, lift out the battery and place it somewhere safe. You’ve got this!
Step 4

– Let’s get started! Use a Phillips head screwdriver to carefully remove the 6 screws (they’re 4mm, so make sure you’ve got the right tool for the job) that hold the motherboard in place inside your device.
Step 5
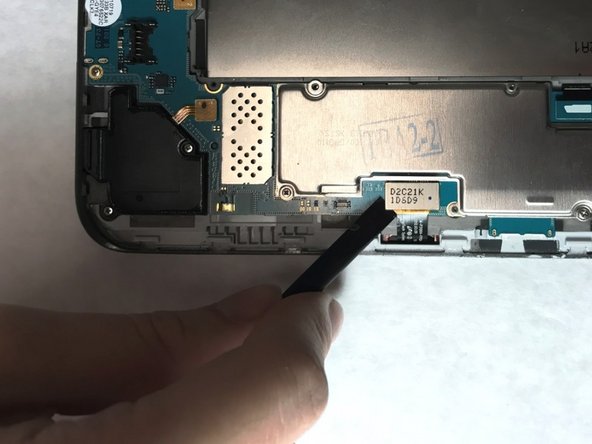

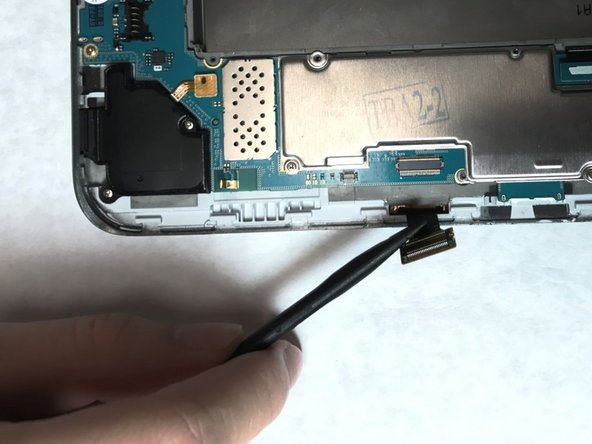
Handle those flex cables with care! Too much muscle or sharp tools can turn these delicate components into a sad story. Keep it gentle and you’ll be golden!
– Find the flex cables connected to the motherboard. Use a nylon spudger to carefully release each cable from the motherboard.
– Once the cables are free, gently lift the motherboard out of the device and set it down somewhere safe.
Step 6

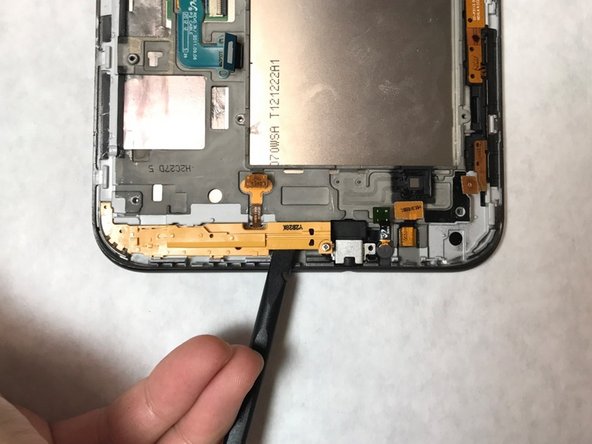
Grab a nylon spudger or any flat tool you have handy, and gently lift those brackets out of their cozy spots. You’ve got this!
– Spot the yellow brackets chillin’ at the bottom of your device.
– With your trusty Phillips head screwdriver, get rid of the single 4mm screw on each bracket, right by the auxiliary port.
– Gently lift the brackets from the device and set them aside. Cheers!
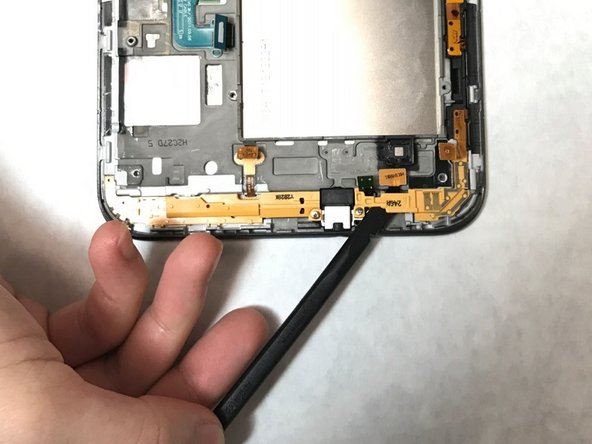
Step 7

This will unveil a rubber cover.
– Grab your trusty nylon spudger or any flat tool, and with finesse, gently lift off the small metal cover from the auxiliary port.
Step 8

Time to get started! This step will expose the auxiliary port, giving you access to the good stuff.
– Grab your nylon spudger (or any flat tool at hand) and gently pop off that tiny rubber cover to reveal the auxiliary port.
Step 9

Lift this piece from the innermost side of the port, opposite the opening—easy peasy!
– Ready to wrap things up? Just reverse these steps to put your device back together!
– Cancel: I couldn’t finish this guide.
– Need help? You can always schedule a repair.
Success!