How to Replace PlayStation TV Console: Step-by-Step Guide
Duration: 45 minutes
Steps: 13 Steps
Step 1

– Turn the device belly-up to reveal the six screws underneath.
– Grab your trusty Phillips-head screwdriver and remove those six screws. Don’t worry, they’re all the same length!
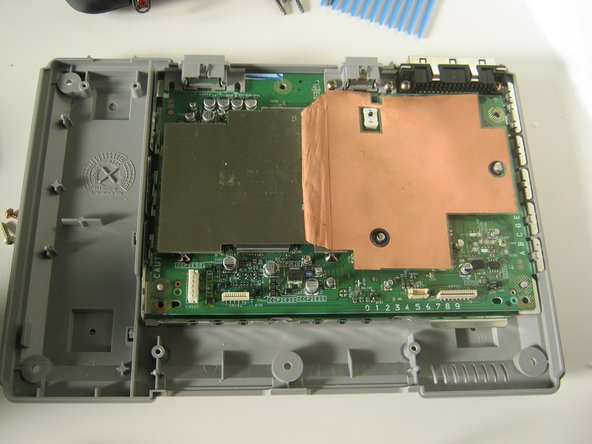
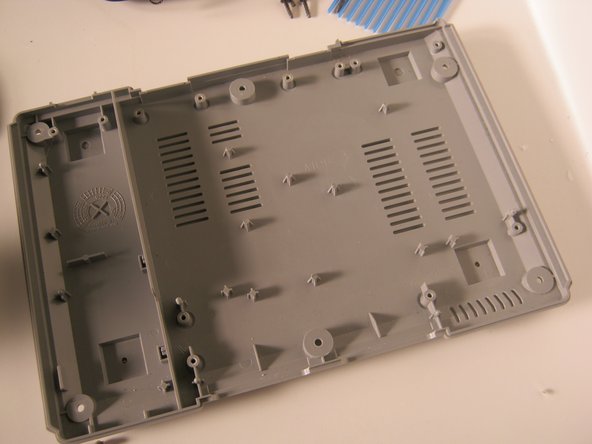
Step 2

– Now, let’s flip that unit back over and carefully lift the top half away from the device. You’re making great progress!
Step 3

– First things first, let’s disconnect the laser assembly! Gently unplug the power cable and ribbon cable from the main board.
– Next up, grab your trusty screwdriver and remove those two screws on the memory card/controller port. Once that’s done, carefully disconnect the ribbon cable and lift it out of the case like a pro!
Step 4


– First, let’s tackle that power supply! Unplug the cable and unscrew those two screws. Once you’ve done that, gently lift it out of the case like a pro!
Step 5


– Let’s get started by removing the 3 screws from the shield. Take your time and make sure they’re all out before moving on to the next step.
Step 6

– Take out those 5 Phillips screws.
– Time to lift the main board right out of the case!
Step 7

– Gently lift the RF shield out of the case, like you’re unveiling a hidden treasure!
Step 8

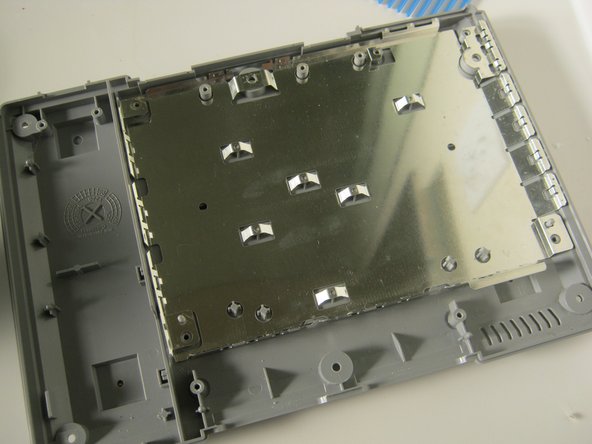
– Pop that RF shield back in place, aligning the slots and tabs like a pro.
Step 9


– Swap out the main board! Just remember to only use the screws marked in red. You’ve got this!
Step 10

– Time to pop that top shield back on! Secure it with the three screws marked for you – easy peasy!
– Now, let’s get that memory card/controller module back in place. Connect the ribbon cable and fasten it down with the two screws. You’re making great progress!
Step 11

– Line up the optical drive assembly with those three pegs.
– Hook up the power and data cables for the optical drive.
Step 12

– Time to put it all back together! Slide the cover onto the system just like you removed it, and screw those black screws back into place. Easy peasy!
Step 13

– Hook up the console and fire it up!
– Appreciate you checking out my teardown!
Success!