How to Replace PlayStation 2 Power Board – Step-by-Step Guide
Duration: 45 minutes
Steps: 13 Steps
Time to give your PlayStation 2 some love! Let’s tackle that power board—remove the old one and pop in a shiny new replacement. It’s easier than it sounds, and you’ll have your console back up and running in no time. If you run into any bumps along the way, remember, you can always schedule a repair for some extra help!
Step 1
– Flip your PlayStation 2 over so that the bottom is looking up at you—like it’s ready for some TLC!
– Grab a flat-edged metal spudger and carefully pop out those eight flat screw covers. Don’t worry—they’re ready to come out!
– Now, let’s get to those screws holding the top cover to the bottom case. Here’s what you’re dealing with:
– Four long 55.4 mm Phillips screws
– Four shorter 18.0 mm Phillips screws
Tools Used
Step 2
– Keep in mind that some models might have a unique mix of screws and feet. So, let’s get those feet and screws off the bottom of the case—remove them all!
– For the model with 10 screws, you’ll find 6 in the lower section and 4 hanging out in the upper tray. Easy peasy!
Step 3
To avoid triggering that pesky VOID warning, carefully heat it up to remove and replace it with a fresh one – easy peasy!
– Gently peel away the warranty sticker (it’s hanging out right next to the main power switch) from the case. No need to rush—take it slow and steady!
Step 4
For an easier time, start prying open the half near the power switch first, and gently rock the top cover toward the front of the bottom case—easy does it!
– Flip that PlayStation 2 back over to its classic upside-down stance. It’s like turning a pancake—easy and satisfying!
– Now, gently lift the top cover off the bottom case. Think of it as opening a treasure chest—except the treasure is inside a console.
– Carefully detach the power cord connecting the top and bottom halves. Just unplug it from the top case like you’re unplugging headphones—smooth and steady!
Step 5
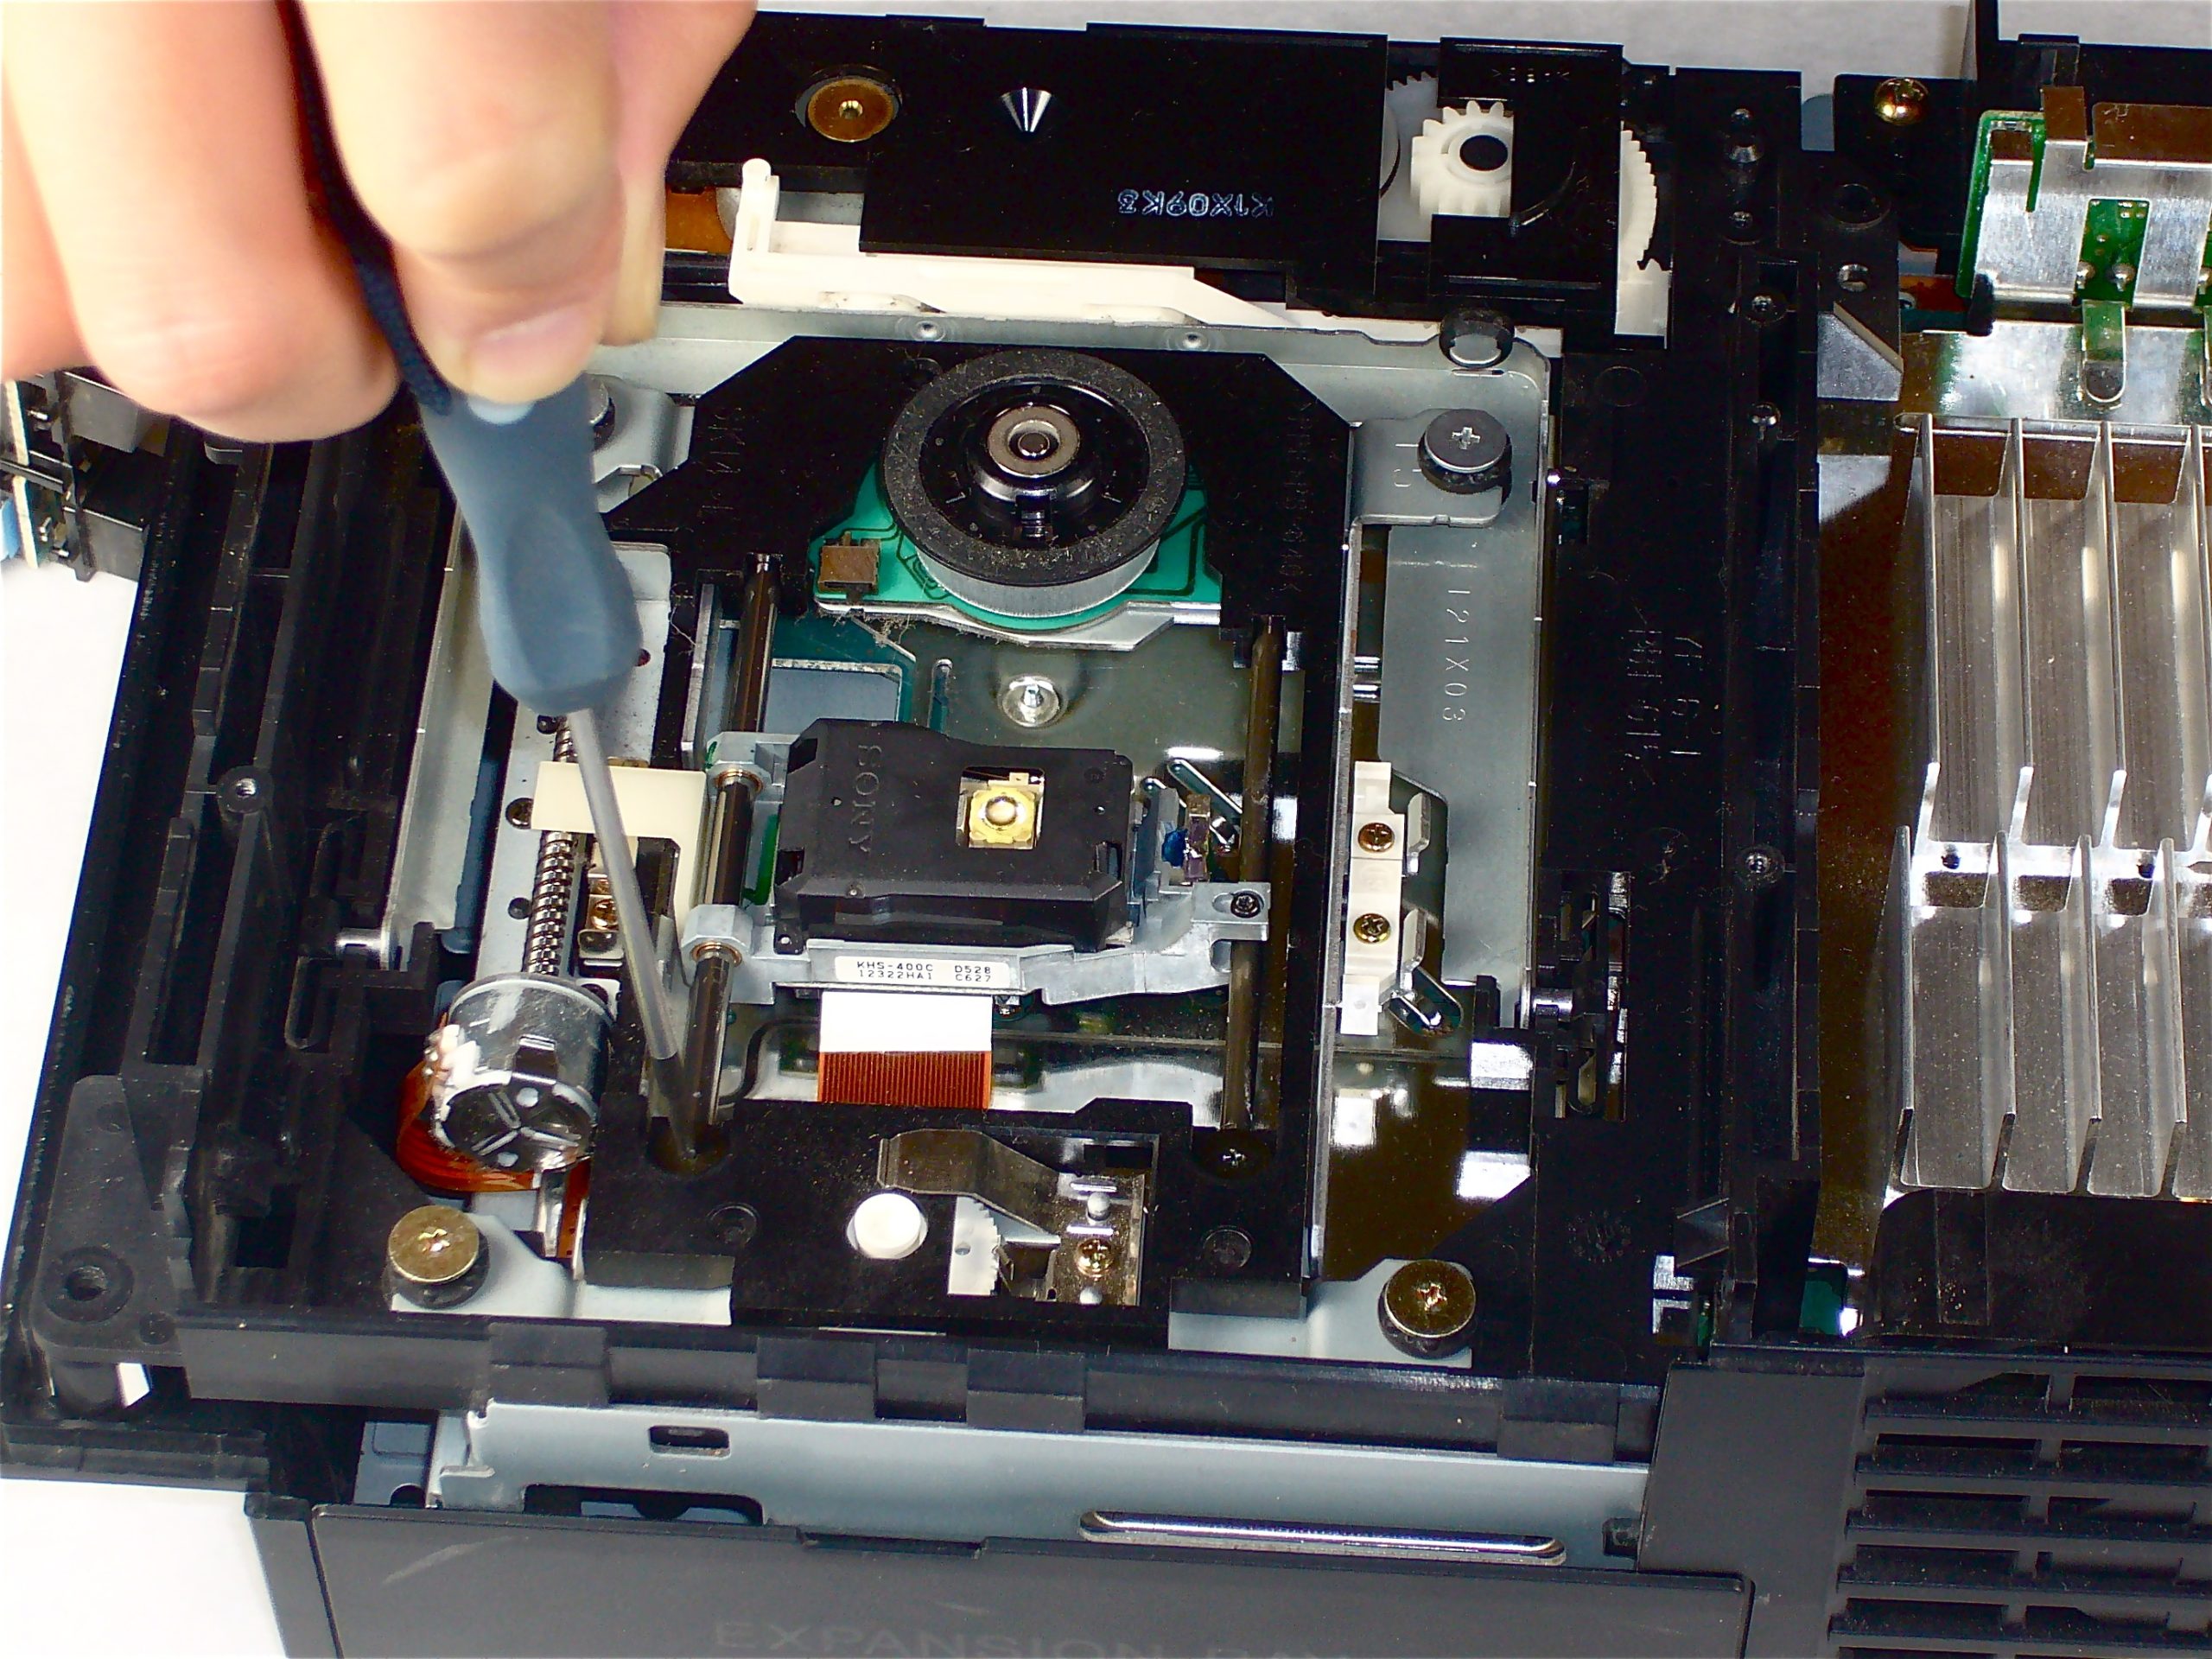
– Pop out the two 6.4 mm black Phillips screws holding the optical disc drive in place.
– Gently lift and pull out the optical disc drive from the bottom case.
Step 6
– Unscrew the two 14.6 mm gold-headed Phillips screws that are holding the controller ports snugly to the bottom case. Let’s get those ports free and ready for action!
Step 7
Hey, no need to completely remove the controller port board – it’s still hanging on by a ribbon cable.
– Carefully lift the controller port board out of its spot in the bottom case.
– Straight-up unplug the controller port ribbon cable from its socket on the controller port board.
– Take out the controller port board from the bottom case.
Step 8
– Alright, grab your trusty Phillips screwdriver and unscrew the two 14.6 mm gold screws holding the fan to the bottom case. Easy peasy, you’re doing great!
Step 9
Before you start, make sure the expansion bay is empty – if there’s a device in there, take it out! We want a clean slate for this repair.
– Gently pop off the expansion bay cover from the posts on the bottom case—easy does it!
Step 10
– Gently lift the motherboard from its front edge and carefully remove it from the lower case. Easy does it!
Step 11
Alright, now that we’ve cleared out all that chunky plastic, it’s time to dive into the cool stuff—electronics!
– Unscrew the four 7.6 mm gold-head Phillips screws that are keeping the power supply snugly connected to the motherboard assembly. You’ve got this!
Step 12
– Gently lift up the expansion bay cage from the motherboard assembly—you’re doing great, keep it smooth and steady!
Step 13
Hold up! Don’t yank out the power board just yet. It’s still connected to the motherboard assembly through the power board connector (see the first picture), nestled right by the main power switch.
Gently lift the power board. Now, you’ll spot the power board connector securely attached to it.
– Gently unplug the power board connector by pulling it straight out of its socket on the power board. Easy does it!


