PlayStation 2 Optical Disc Drive Laser Assembly Replacement
Duration: 45 minutes
Steps: 7 Steps
Swap out the laser assembly in your optical disc drive. You’ll need a brand-new laser for this, so get ready to give your drive a fresh start!
Step 1
– Flip the PlayStation 2 over, so its bottom is facing up.
– Use the flat edge of a metal spudger to carefully pry out the eight flat screw covers.
– Remove the following eight screws holding the top cover to the bottom case:
– Four 55.4 mm Philips screws
– Four 18.0 mm Philips screws
Tools Used
Step 2
– Keep in mind that some models might have a unique mix of screws and feet. So, let’s get those feet and screws off the bottom of the case—time to make it nice and clean!
– For the model with 10 screws, you’ll find 6 in the lower section and 4 hanging out in the upper tray. Easy peasy!
Step 3
Be careful when applying heat to avoid triggering the VOID; a gentle touch will help you safely remove and replace it without a hitch!
– Carefully peel off the warranty sticker (it’s hanging out next to the main power switch) from the case like you’re unwrapping a gift!
Step 4
To make it easier, start prying near the power switch, then gently rock the top cover towards the front of the bottom case.
– Flip the PlayStation 2 back to its original upside-down position. It’s like flipping a pancake, but way cooler!
– Now, gently lift the top cover off the bottom case. Be careful, we want smooth moves here.
– Next up, carefully disconnect the power cord assembly from the top case. Gently remove the cord linking the top and bottom halves. You got this!
Step 5
– Unscrew those four 6.4 mm Phillips screws holding the top lid of the optical disc drive in place. You’re almost there!
– Now, gently lift and take off the lid of the optical disc drive. Easy peasy!
Step 6
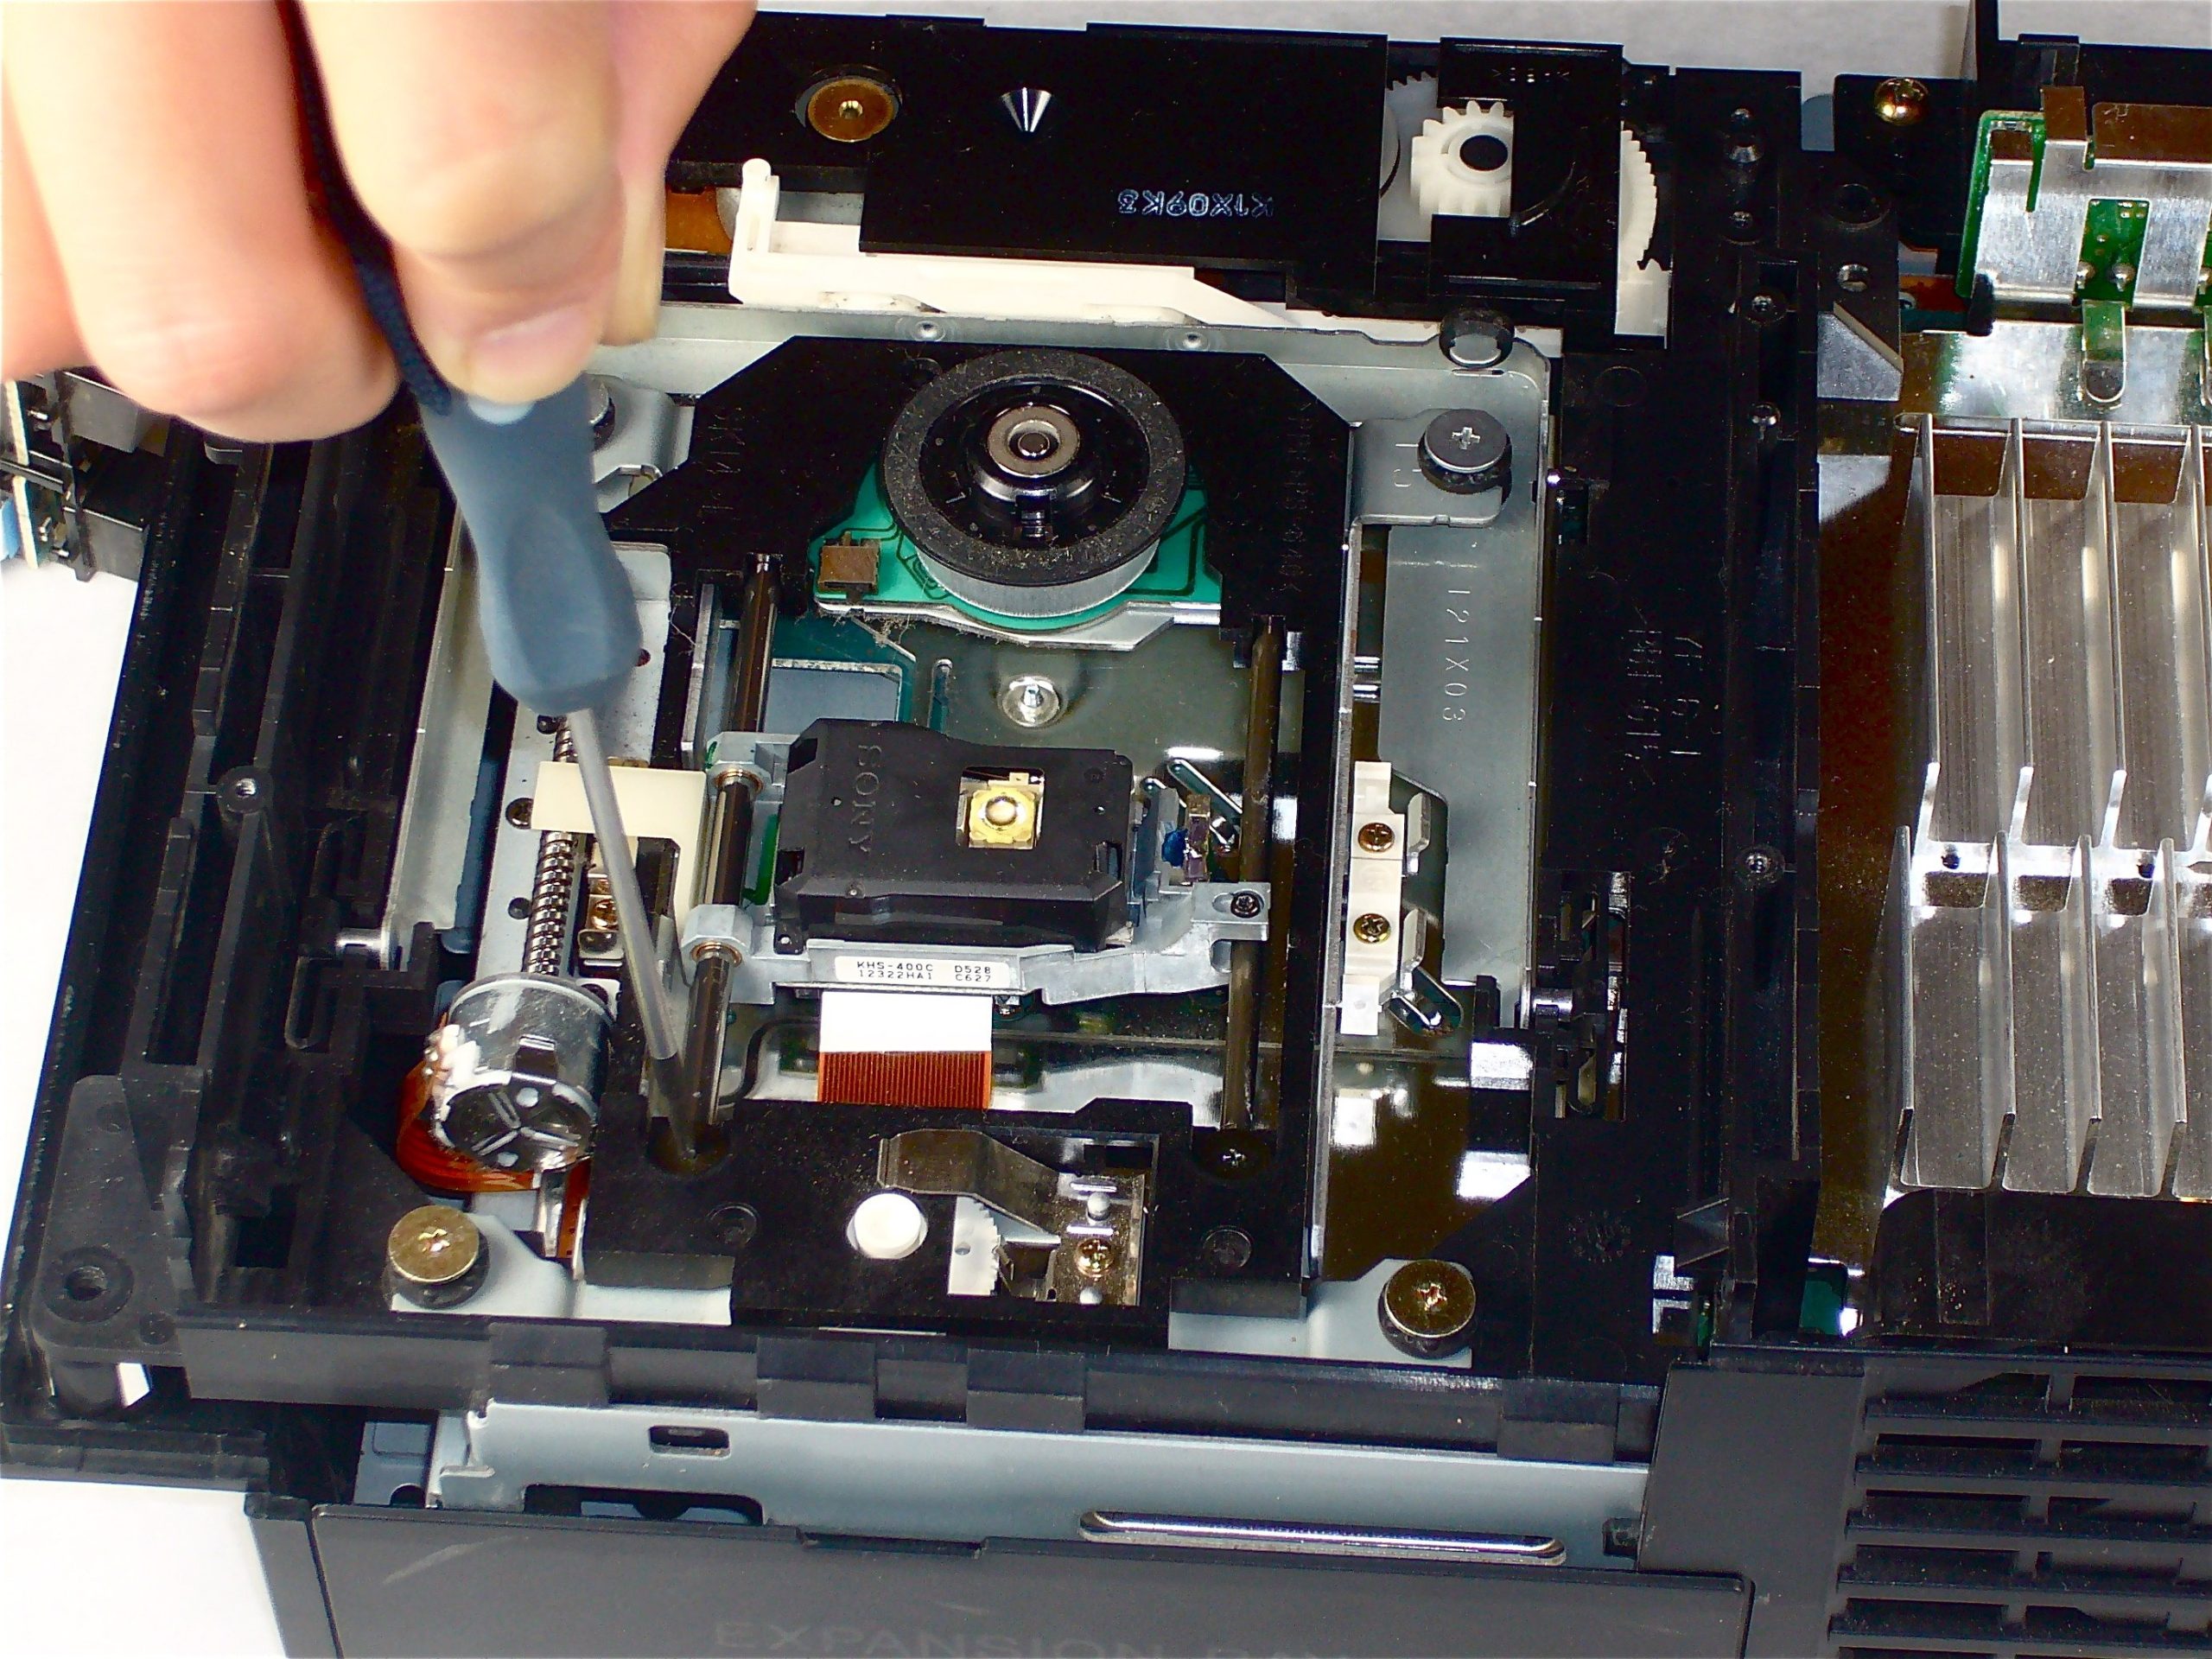
– Time to dislodge the 7.2 mm Phillips black screws from their homes in the metal silver rails. These little fasteners work hard to keep your laser in place, so take your time and gently remove them.
Step 7
Make sure you’re flipping up the little movable flap, not yanking on the socket itself—easy does it!
– Time to get those fingers moving! Gently lift the retaining flap on the optical disc drive laser ribbon cable using your trusty fingernail.
– Now, give that optical disc drive laser ribbon cable a nice, straight pull to free it from its cozy socket.
– With a little finesse, tilt the unscrewed ends of the metal rails upwards and watch as the laser smoothly slides out!


