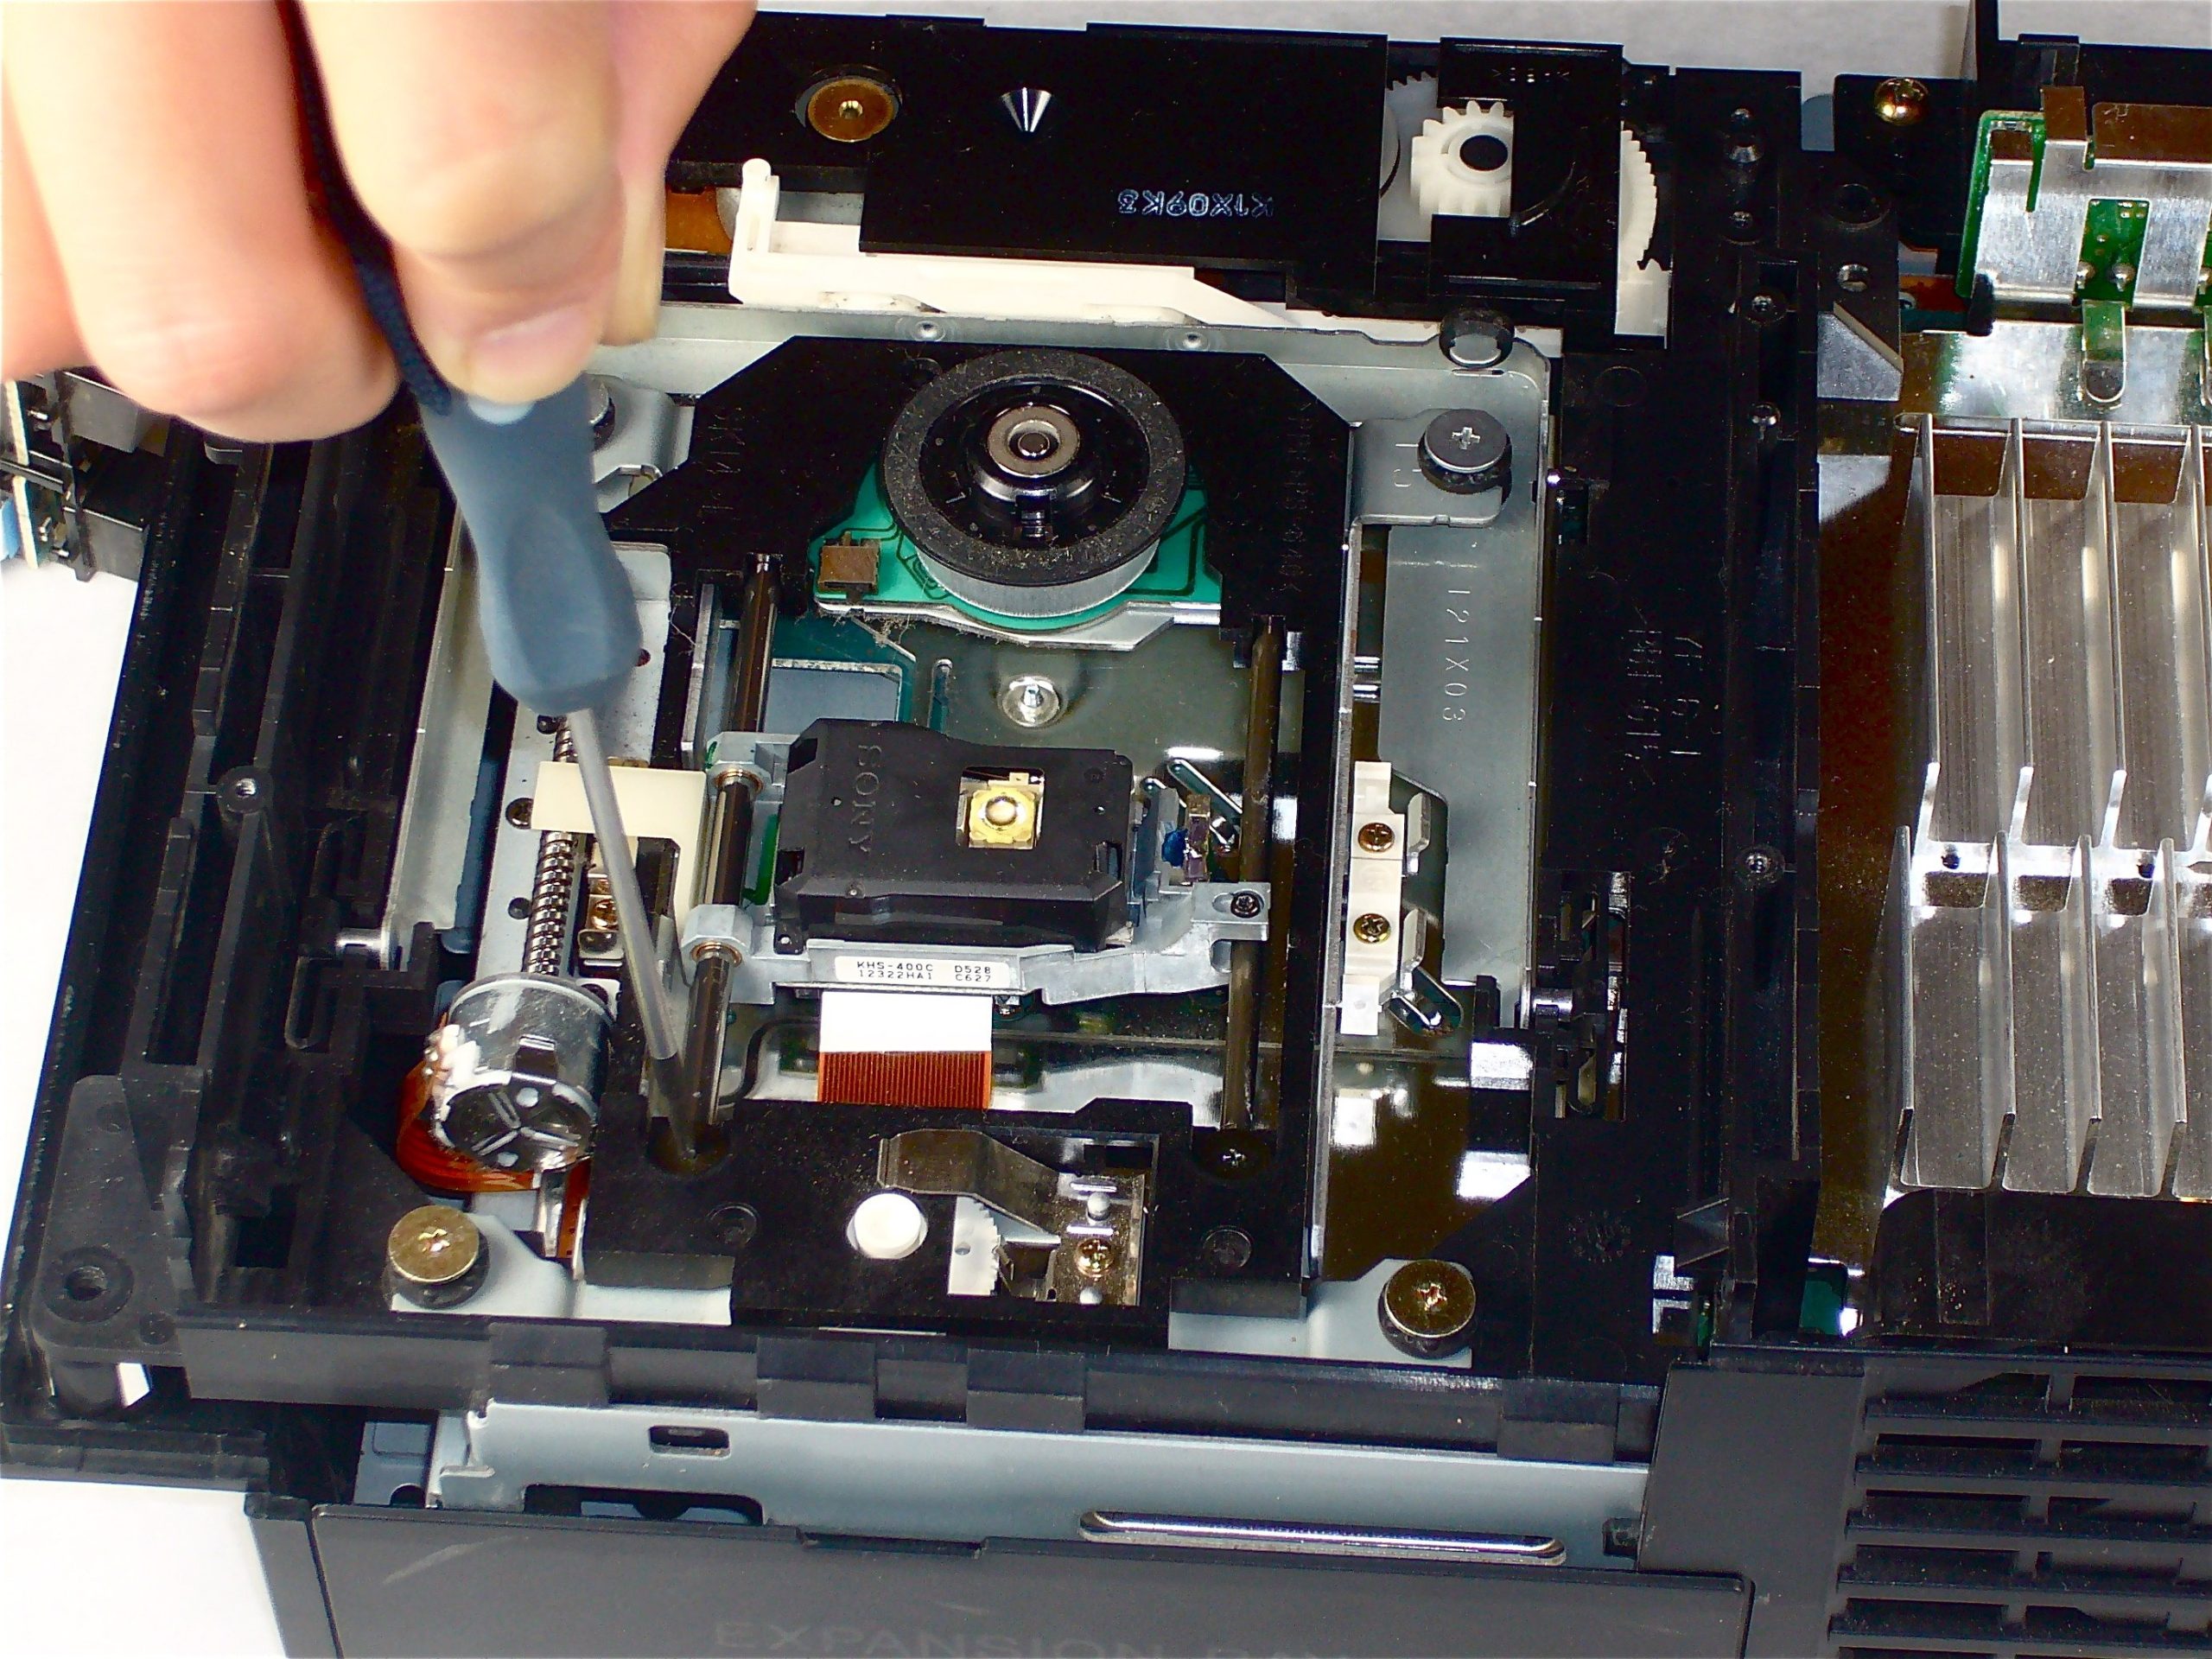
PlayStation 2 Top Cover Replacement
Duration: 45 minutes
Steps: 4 Steps
Switch out that worn-out, battle-scarred top cover on your PlayStation 2 with a fresh one.
Step 1
– Alright, let’s get this PlayStation 2 flipped over so the bottom is facing up, just like a turtle on its back!
– Grab your trusty metal spudger and gently pry out those eight flat screw covers. They won’t know what hit them!
– Now, it’s time to tackle the eight screws that are holding the top cover snugly to the bottom case. Here’s what you need to remove:
– Four Philips screws that are 55.4 mm long – they’re the taller ones!
– And four Philips screws that are 18.0 mm long – the shorter buddies!
Tools Used
Step 2
– Some models like to mix things up with different numbers of screws and feet! So, let’s get ready to do some unscrewing. Start by removing all the feet and screws from the bottom of the case.
– Now, if you’re working with the 10 screw model, here’s the scoop: it has 6 screws hanging out in the bottom-most area and 4 more in the upper tray. Easy peasy!
Step 3
To prevent triggering the VOID, just warm it up gently before you take it out and put it back in nice and tidy!
– Gently peel off the warranty sticker (right next to the main power switch) straight from the case. Take your time—no rush, you’ve got this!
Step 4
To make things easier, start by prying open the half nearest to the power switch first, and gently rock the top cover forward toward the front of the bottom case.
– Ready to bring your device back to life? Just follow these steps in reverse to reassemble everything.
– Not feeling it? No worries, you can always tap out and try again later.
– If things get tricky, you can always schedule a repair and let the pros handle it!
Success!


