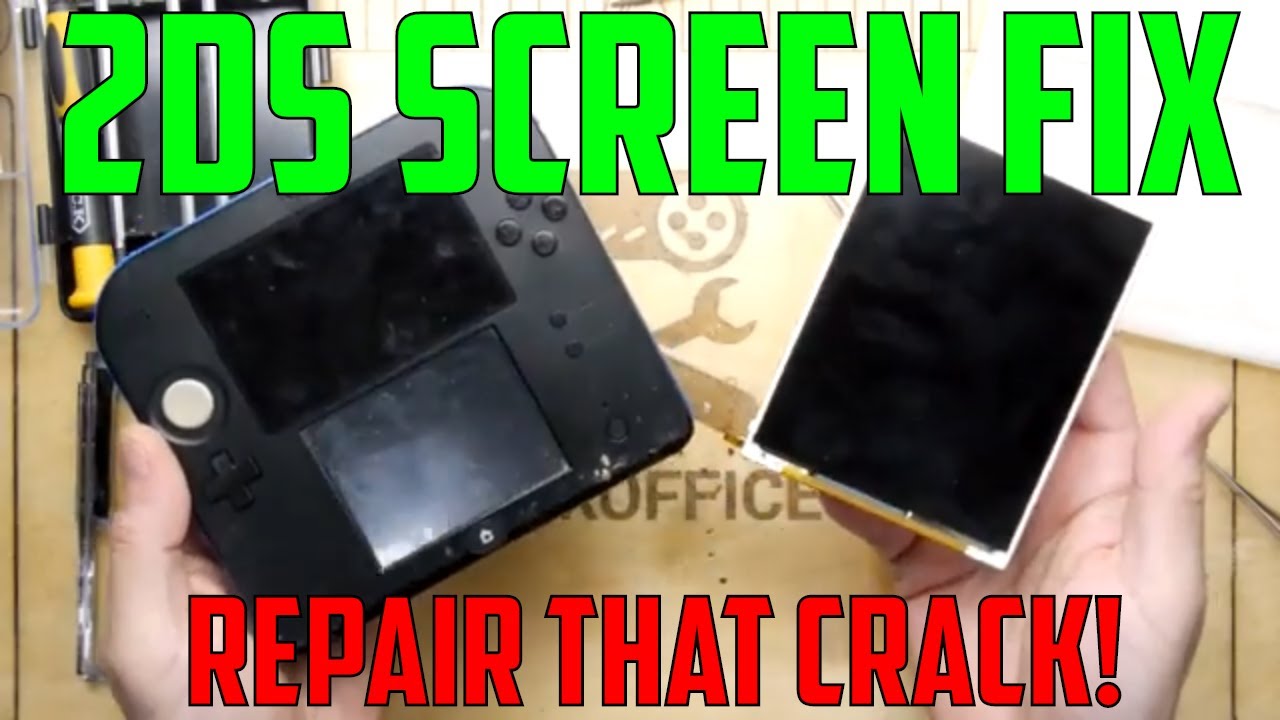
Nintendo 2DS Screen Replacement Guide
Duration: 45 minutes
Steps: 11 Steps
Step 1

The captive screws are playing hard to get and won’t fully come off the back panel.
– Grab your screwdriver and remove the two Phillips captive screws holding down the upper rear panel. These screws are pretty chill, so don’t stress about them too much!
Step 2


– Gently lift the upper rear panel up and away to set it free.
Step 3


– Gently lift the battery from its cozy spot by starting at the edge that’s closest to the outside. You’ve got this!
Step 4

– Unscrew those ten Phillips screws that are holding the rear panel in place. You’ve got this!
Step 5

The rear panel is connected to the motherboard with a ribbon cable, so take it easy and don’t pull it too far from the device.
– Gently lift the back panel straight up and away from the device.
Step 6

Now’s a great time to pop off those Left and Right triggers! They’ve got little hinges that can be a bit tricky and springs that might just take a leap of faith. Stay cool and careful, and you’ll be golden!
– Gently use your fingernail or the flat end of a spudger to lift the connector that’s holding the ribbon cable to the motherboard. No need to be rough, just a little nudge will do!
– Carefully slide the cable out from the connector. You’ve got this!
Step 7


The panels should pop off with just a little effort—nothing too tough, but make sure you’re gentle with it.
– Grab the side panels of the device’s case and give them a little pull to pop them off.
– You’ll notice three ribbon cables have been unplugged in the picture. Make sure to disconnect these before you go any further.
Step 8

Handle these screws with care—stripping them is super easy and could turn your motherboard replacement mission into an impossible quest. Take your time and keep it smooth!
Uh-oh! The circle pad seems to have taken a little vacation in this picture. No need to fret, we’ll bring it back in the next step!
– Take out the 12 shiny brass-colored Phillips screws holding down the main board. Let’s keep those screws safe and sound for later!
Step 9


The top panel only comes off when the motherboard isn’t locked down. So, make sure it’s free before you start tugging!
Once everything’s good to go, the top panel should pop off effortlessly with just a smidge of force. Easy peasy!
– Two bonus screws up top! Remove them to detach the buttons and top rail.
– Time to free the joystick base! Unscrew the two screws holding it down. (Watch out for that ribbon cable—it stays put!)
– Grab the top panel with your fingers and give it a tug to pull it off the device.
Step 10


– Pop off the 2 ribbon cables by gently lifting the black flip connectors securing them.
– Lift out the rectangular board from its slot and carefully pull out the white square joystick motor. It might take a bit of effort! Both stay connected to the motherboard.
– On certain models, remove three additional tiny ribbon cables at the bottom of the screen. They are secured by flip-up connectors. Handle with care!
– Grab the motherboard on both sides and lift to remove it.
Step 11

Before you dive in and remove that screen from the front panel casing, make sure to disconnect those ribbon cables connecting it to the motherboard. It’s a crucial step!
– Now it’s time to put your device back together! Just follow these instructions in reverse, and you’ll be back in action in no time.
– Oops! If you didn’t get through this guide, no worries. Take your time!
– If you find yourself stuck or in need of assistance, just schedule a repair and we’ll be happy to help!