Nintendo Wii U Front Faceplate Replacement
Duration: 45 minutes
Steps: 8 Steps
Get ready to give your Nintendo Wii U a fresh new look! This step-by-step guide will walk you through the process of installing a brand new front faceplate. Follow along and you’ll be done in no time. If you need help, you can always schedule a repair.
Step 1

– Flip the console upside down and let’s unveil those 6 sneaky screws hiding beneath the white square stickers:
– Three 5.1mm Phillips #000 screws
– Two 6.1mm Tri-wing Y0 screws
– One 13.2mm Tri-wing Y1 screw
Step 2

– Flip the console around 180 degrees so the exhaust vents are staring you down.
– Unscrew the two 7.1mm Phillips #00 screws like a pro.
Step 3


– On the opposite side of the exhaust vents, gently slide the cover faceplate towards the back of the console. Once it’s in position, give it a little lift to release it.
Step 4

– Flip your console over and look under the faceplate you just popped off—there you’ll find three 13.2mm Tri-wing Y1 screws waiting for their big moment. Time to unscrew them and keep the momentum going!
Step 5


– Flip the console around, give that main top cover a gentle lift, and let it pop off like a charm.
Step 6


– Flip your device around so the front plate is looking right at you, ready for action!
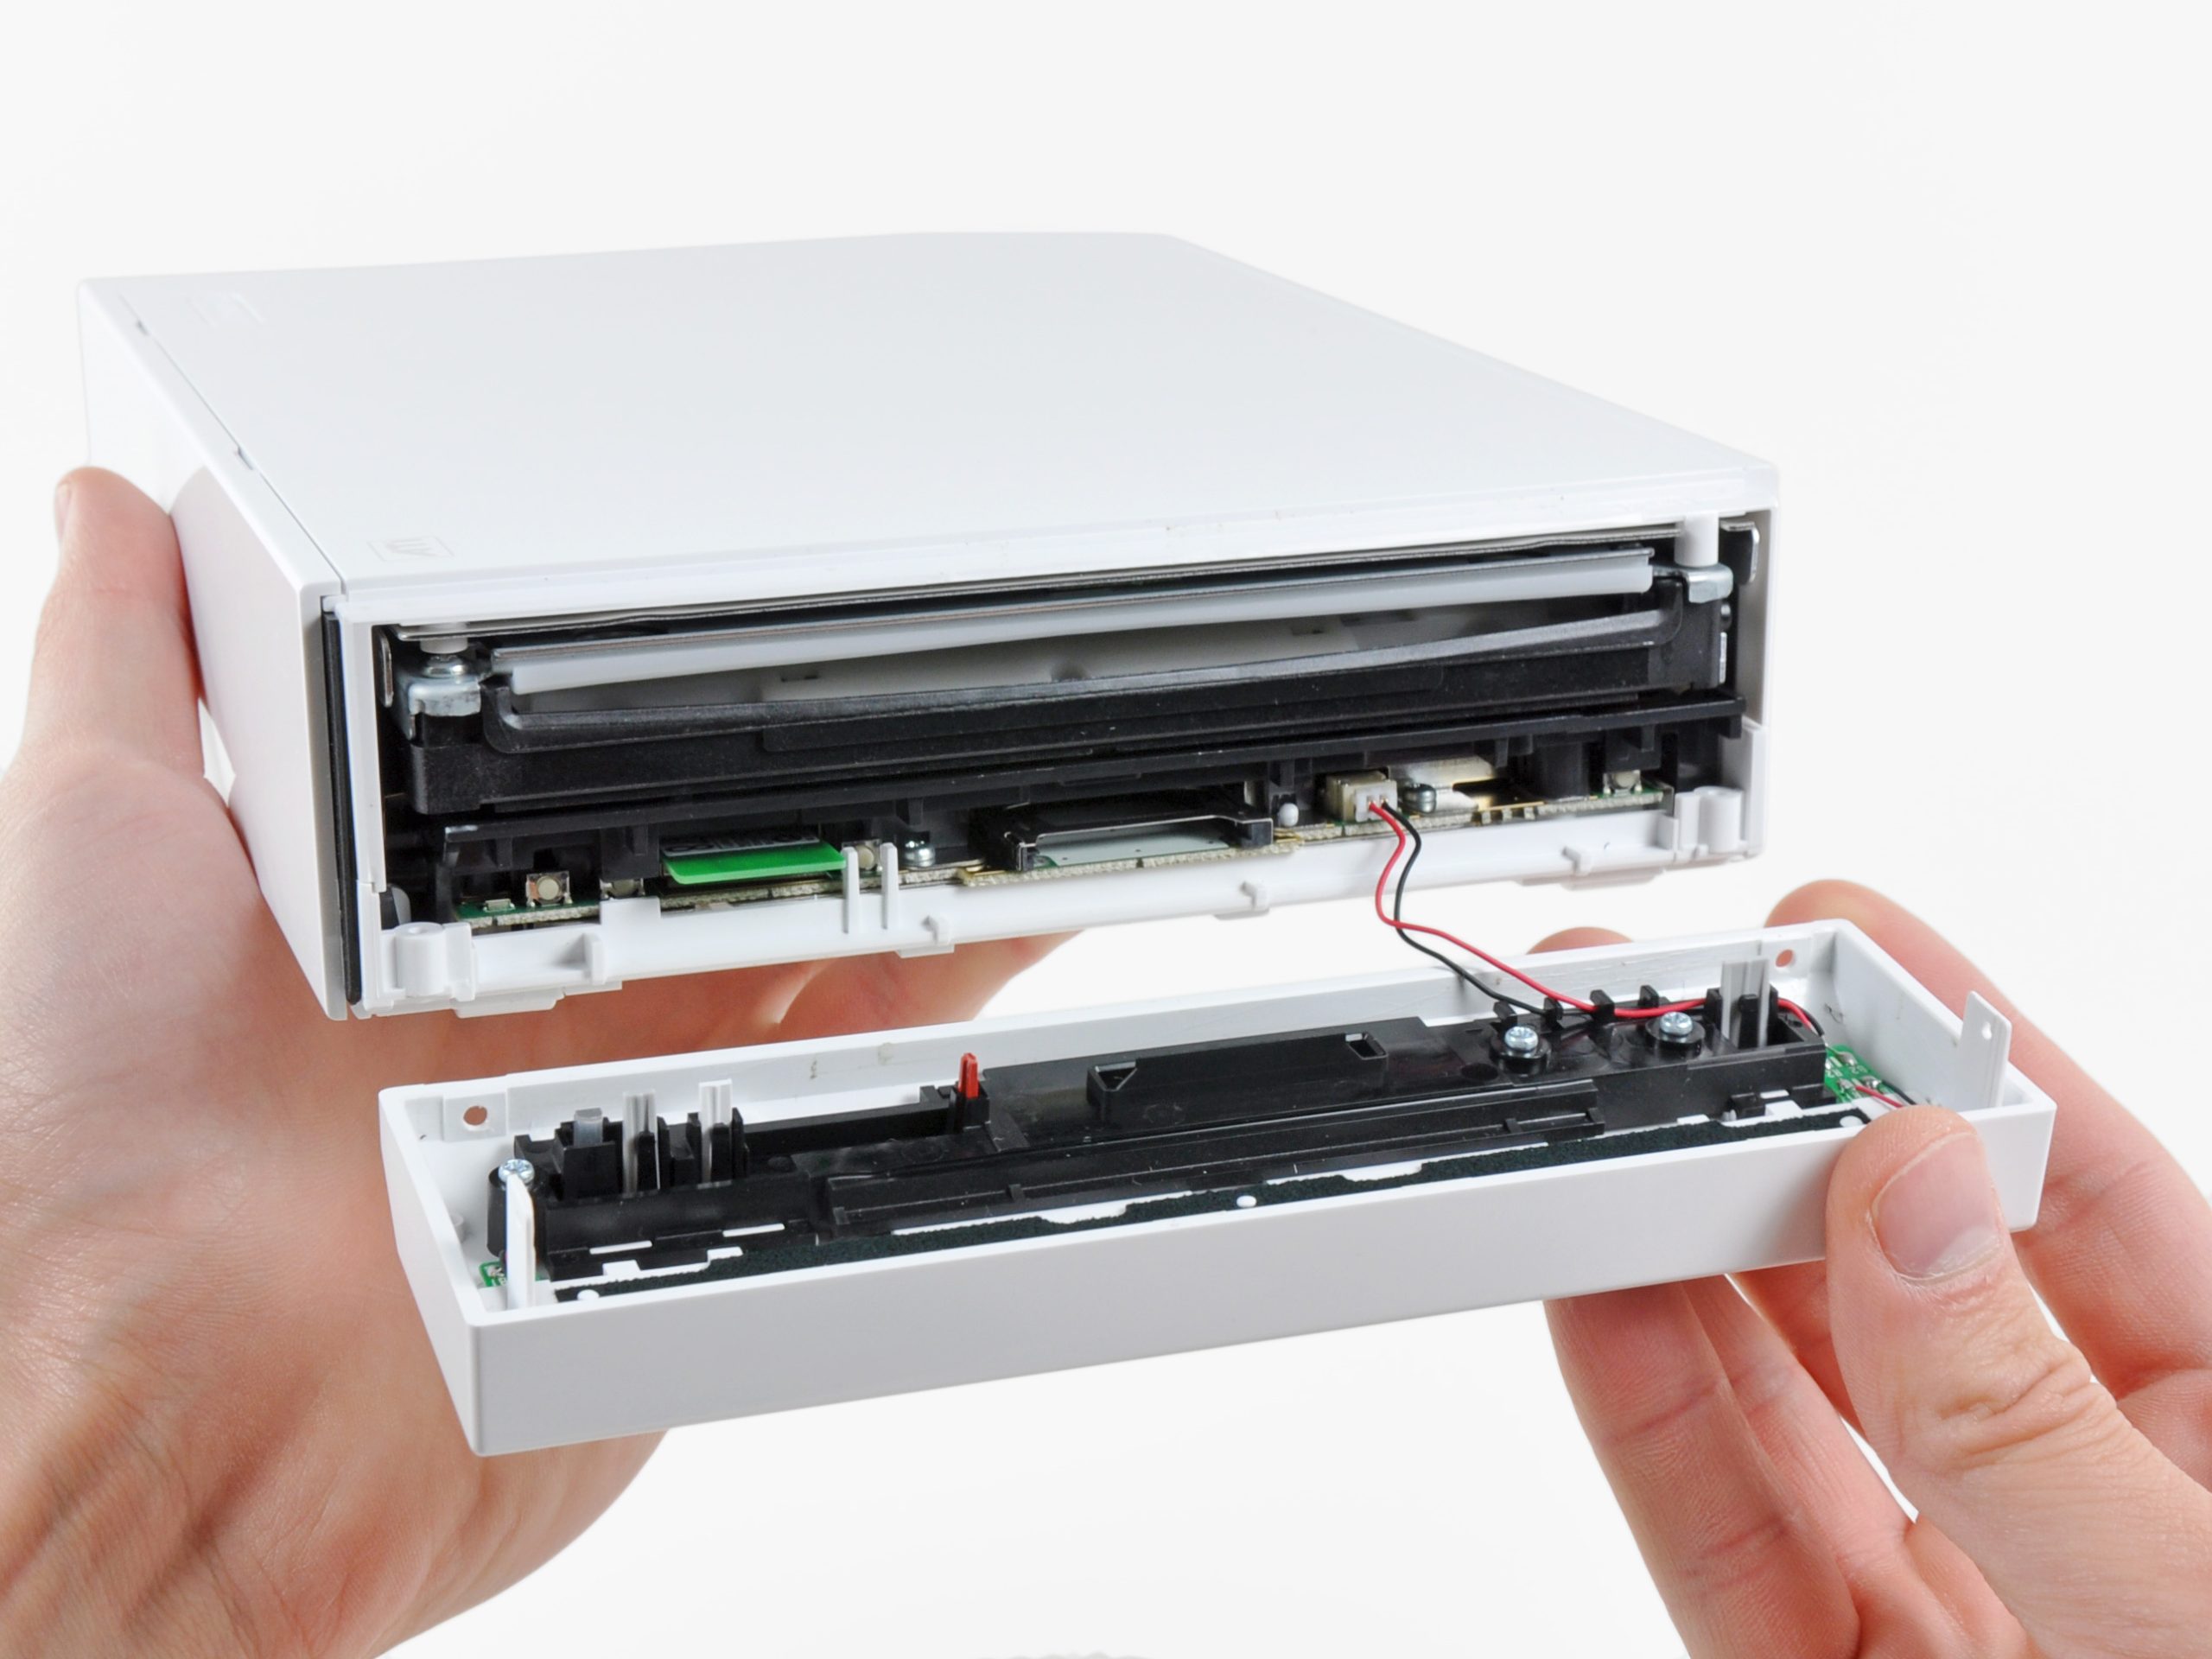
– On both sides of the console, unscrew those 3.5mm Phillips #0 screws that are keeping the DVD drive snug against the faceplate. You’ve got this!
Step 7

– Spin your device around so the front plate chills out on the right side, and you can peek at the ribbon cable.
– That ribbon cable is held down by a little latch—it’s like a door keeping the blue tab in place. Gently flip that latch up to set it free.
– Now, carefully lift up on the blue tab to let the ribbon cable break loose. Nice and easy!
Step 8

– Gently pop off the front faceplate—kind of like peeling the lid off a yogurt, but way cooler.


