Samsung Galaxy Tab A Repair Guide
Duration: 45 minutes
Steps: 4 Steps
Batteries don’t last forever, and over time, they start to lose their mojo after repeated charging. In this guide, we’ll walk you through the simple steps to pop off the back cover of your tablet so you can swap out that tired battery for a fresh one.
Step 1
Before diving into the repair, make sure your device is powered off. Safety first, always!
The little metal spudger is your go-to tool for gently prying apart the back cover from the rest of your device—just remember, it’s not meant for actually removing the cover itself.
Whenever you can, opt for a regular nylon spudger to help separate the back cover. It’s much softer and will keep your device looking sharp without any scratches or marks!
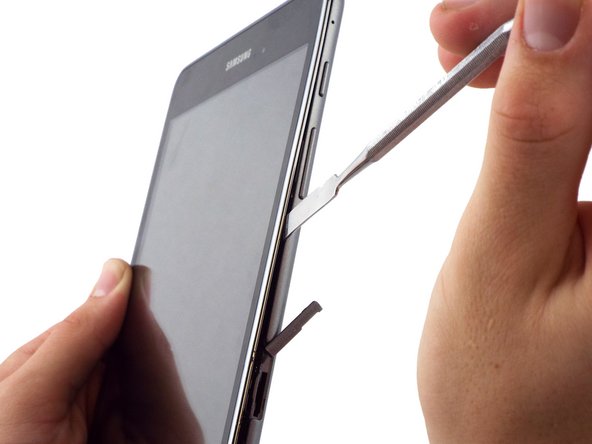
– At the top edge of the memory card slot, grab your trusty small metal spudger and gently wiggle it to start creating a gap between the back cover and the rest of the device. Take it slow—you’re the boss here!
Tools Used
Step 2
– Time to tackle the back cover! Swap out your small metal spudger for the intermediate one, and start sliding it around the edges of your device. Pro tip: begin at the top of the memory card slot.
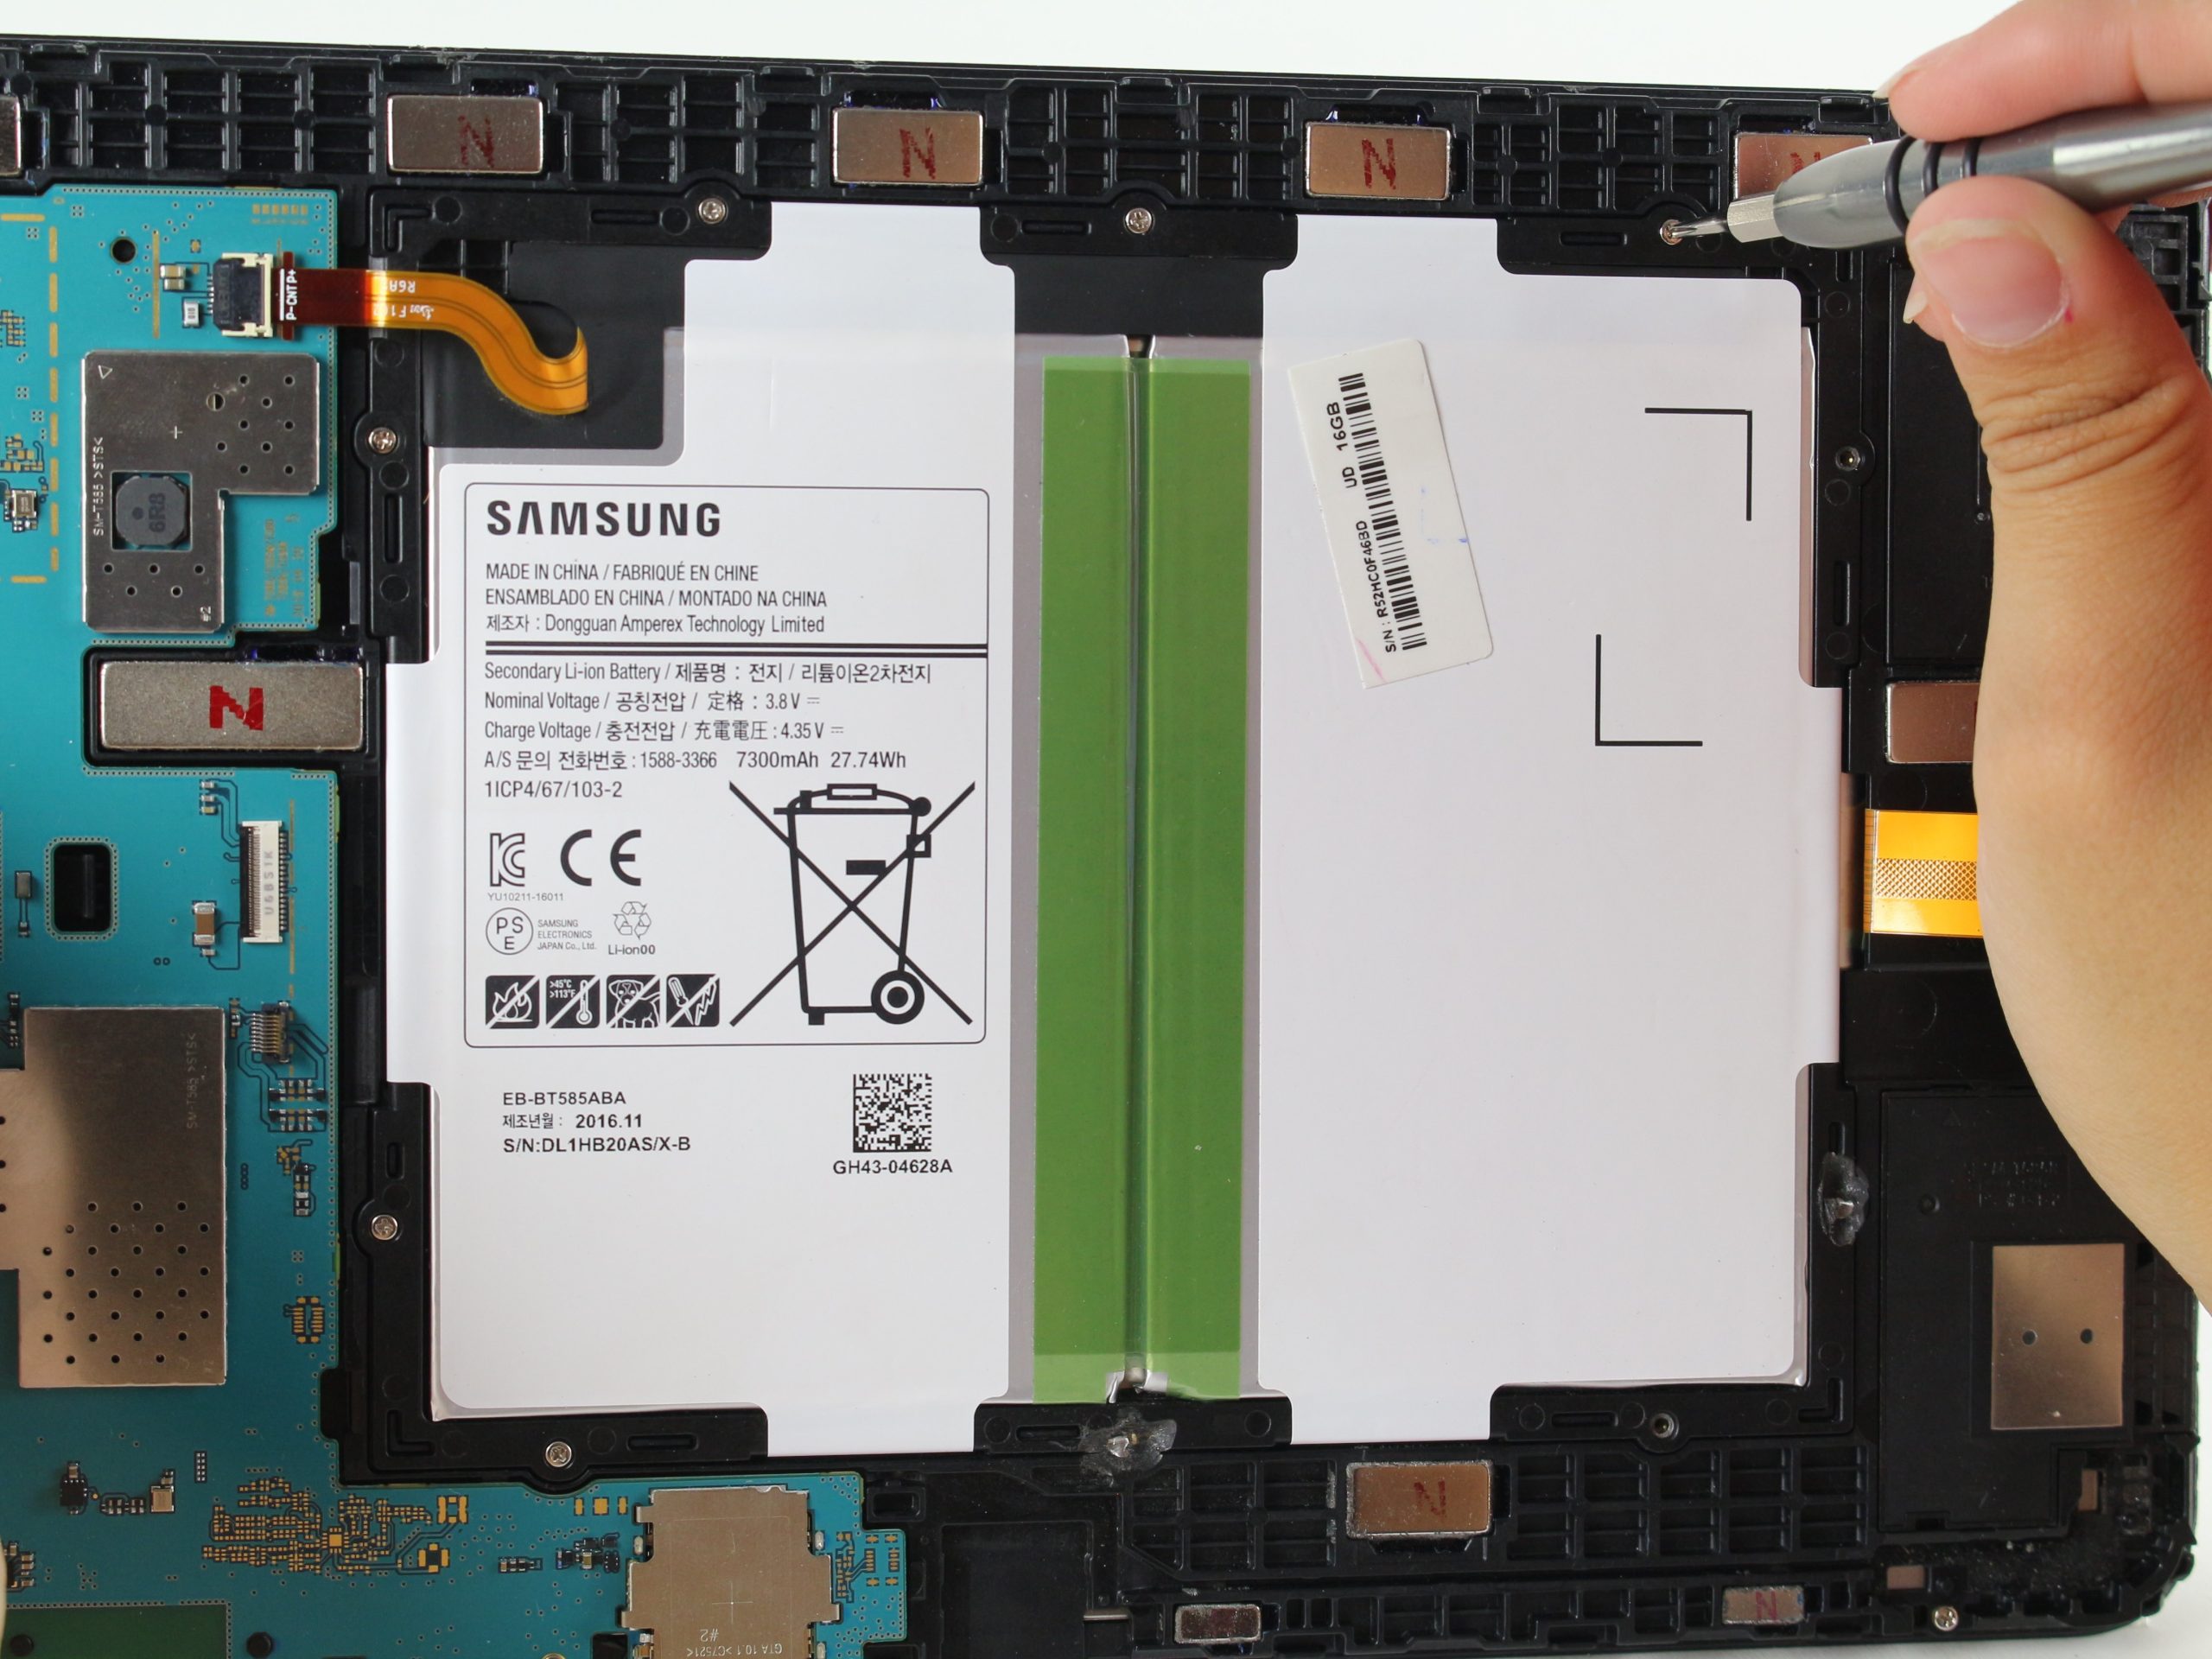
– Check out the second pic to get a sneak peek at the inside of your device after the back cover is off.
Tools Used
Step 3
Keep those tweezers away from the motherboard! Metal tools like tweezers can scratch it up and cause some real damage.
– Gently detach the electrical connector from the motherboard with your trusty bent precision tweezers. You’ve got this!
Step 4
– Grab the flat end of your trusty plastic spudger and gently pop that battery loose from the rest of the device. No need to rush, just a little wiggle and lift will do!
– With the back cover and battery out of the way, your device should now be looking like the second picture. Nice work—you’re on a roll!
Tools Used
Success!


