Samsung Galaxy Tab A Replacement Guide
Duration: 45 minutes
Steps: 11 Steps
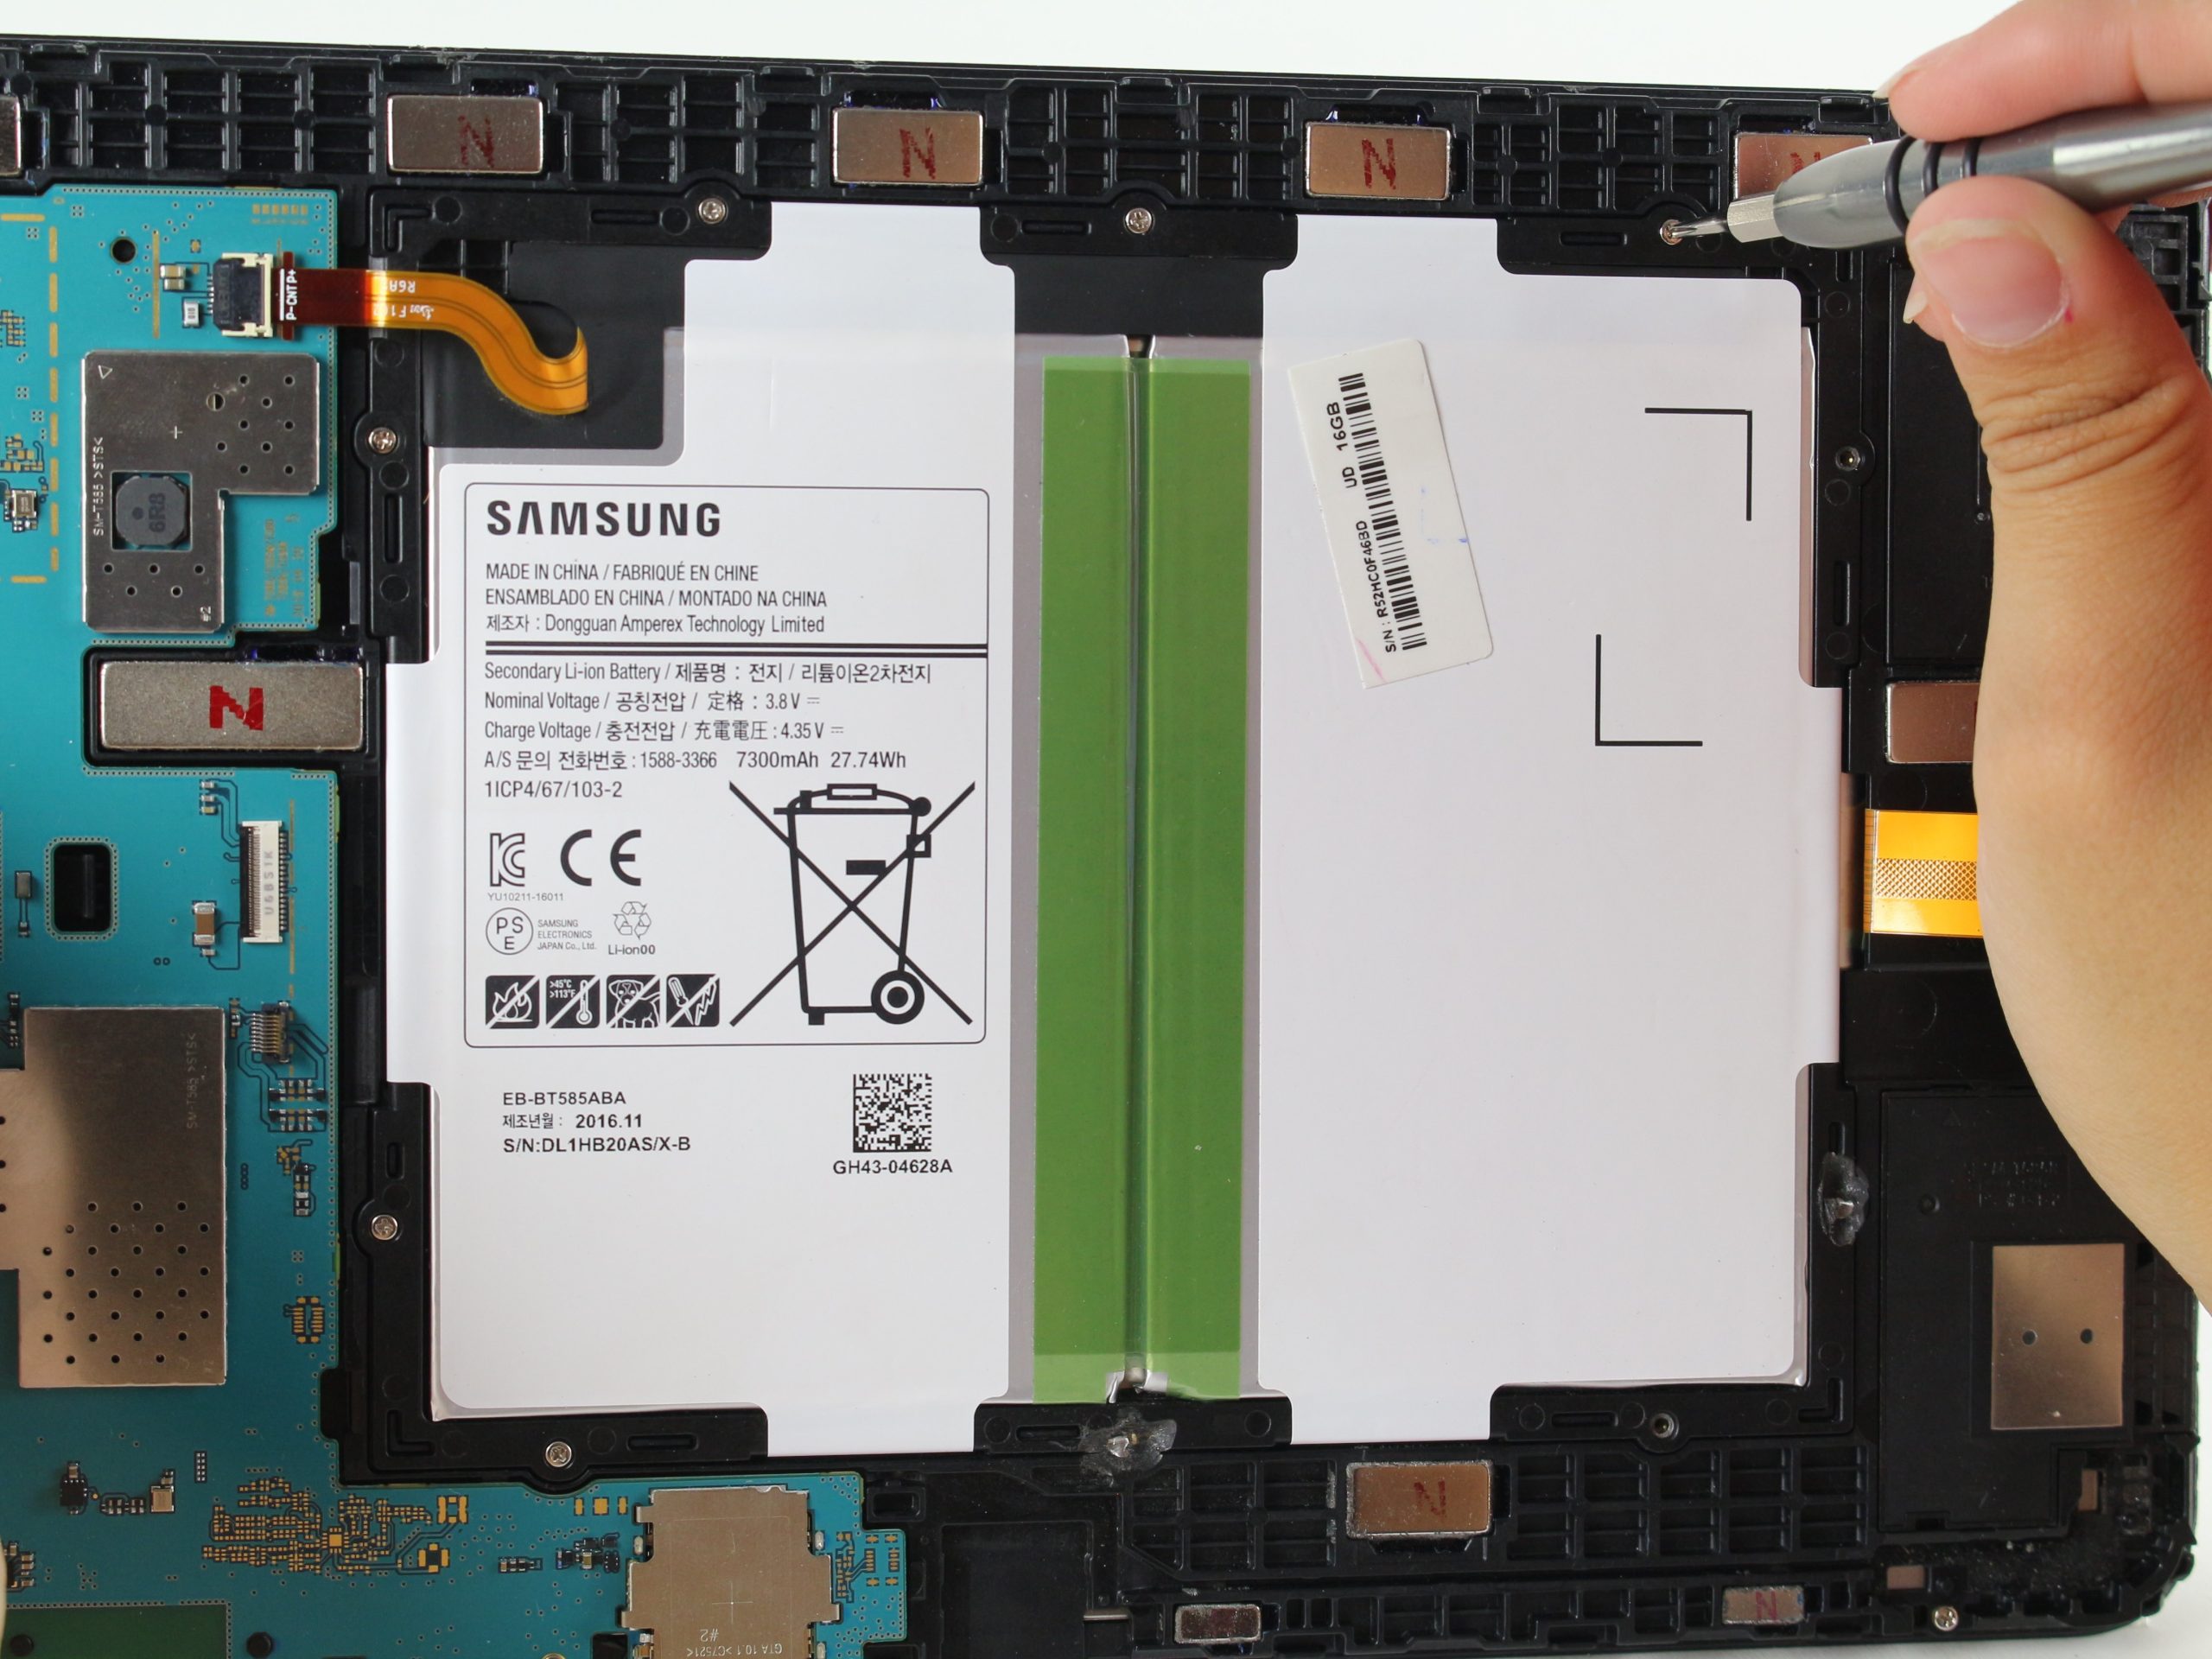
A busted or misbehaving motherboard can turn your whole device into a fancy paperweight. This guide walks you through popping off the back cover of your tablet to get to the motherboard, giving you a shot at swapping it out and bringing your device back to life.
Step 1
Before you dive into the disassembly adventure, make sure your device is powered down and ready for some TLC!
The small metal spudger is your trusty sidekick for starting the separation between the back cover and the rest of the device—just to get things started, not to yank the back cover off.
– At the upper part of the memory card slot, gently slide the small metal spudger in to create a little gap between the back cover and the rest of your device. You’re doing great!
Tools Used
Step 2
– Alright, let’s ditch the small metal spudger and bring in the intermediate metal spudger to take off the back cover! Slide that bad boy around the edge of the device, starting at the top of the memory card slot. You got this!
– Peep the second pic – that’s the inside scoop once you’ve popped off the back cover. Looking good!
Tools Used
Step 3
Keep those tweezers away from the motherboard! Metal tools like tweezers can leave scratches and might cause some serious trouble. Let’s keep it safe and sound!
– Grab those bent precision tweezers and gently pop the battery connector off the motherboard like a pro.
Tools Used
Step 4
– Alright, let’s get that display cable disconnected! Grab your trusty spudger and gently disconnect the flexible display cable connector from the motherboard. You got this!
– Just so you know what you are doing, the first and second pictures show what the display looks like when it is still connected to the motherboard and once it is disconnected, respectively. Just a little reference for ya.
Tools Used
Step 6
Step 9
– Grab your trusty PH0 screwdriver bit and pop out those two 3 mm screws holding the USB port shield to the midframe.
– Next up, take your spudger tool and gently nudge that USB port shield out of its spot. Nice and easy!
Tools Used
Step 10
– Grab your trusty PH0 screwdriver bit and unscrew the two 3 mm screws chillin’ on the left side of the motherboard. Easy peasy!
Step 11
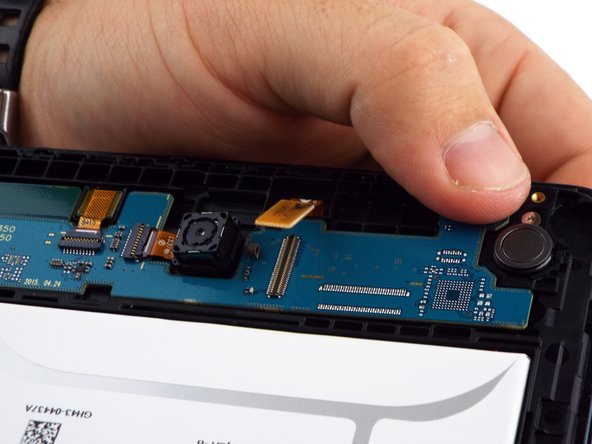
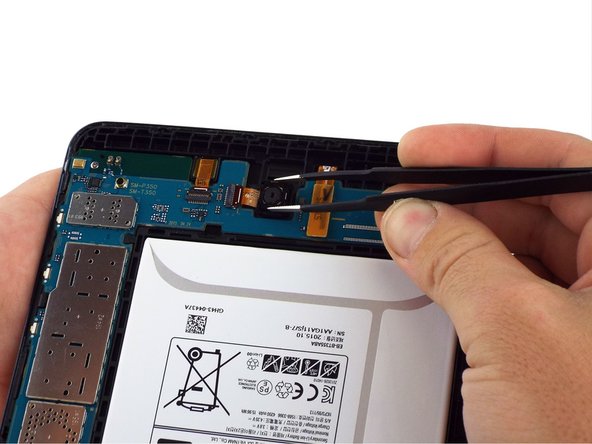
Easy does it! Gently and evenly wedge that motherboard out with your spudger. Flexing too hard could bork your components or circuits. If you need help, you can always schedule a repair!
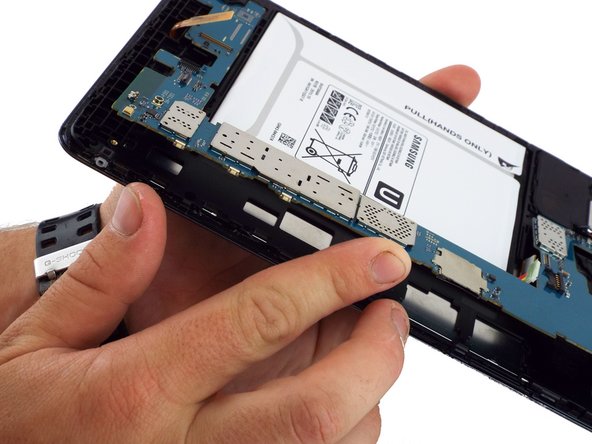
– With your trusty spudger’s flat end, gently coax the motherboard away from the case. It’s like giving it a little nudge!
– Now, with those nimble fingers of yours, carefully lift the motherboard out of the device. Treat it like a delicate flower!
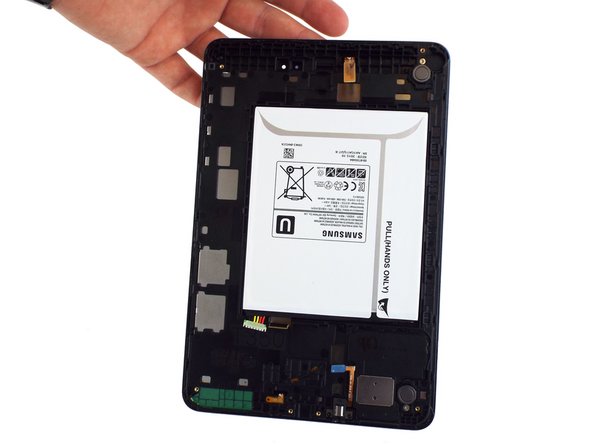
– Once you’ve evicted the motherboard, your device should resemble the picture in step three. Looking good!
Tools Used
Success!


