DIY Guide: GameCube Controller Repair – Step-by-Step Tutorial
Duration: 45 minutes
Steps: 5 Steps
Get ready to dive into the inner workings of your GameCube Controller! This guide is here to walk you through the steps to take it apart and swap out some parts. Let’s make your controller feel brand new!
Step 1


– Alright, first up—grab your trusty screwdriver and take out the six Phillips head screws chilling on the underside of the controller. Easy peasy!
– Once those screws are out of the way, you’re all set to separate the bottom from the top of the controller. Take it slow, and voilà!
Step 2


– Pop off the back of the controller to free the circuit board from its plastic home.
– With the circuit board out, all the main buttons are yours to access and swap out if needed.
Step 3
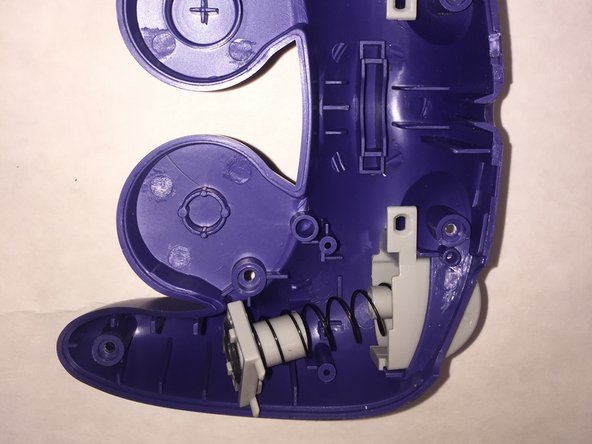

– To free those stuck bumpers from the bottom of your controller, simply pull up on the square base that holds the button in place, and then gently pull the button through the shell. It’s like a little escape route for your bumpers!
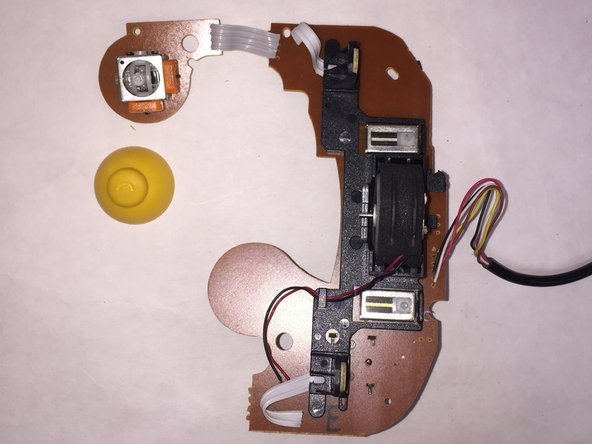
Step 4

– These are the components that should pop out of the remote, leaving the control panel untouched.
Step 5

– After you’ve successfully taken off the control panel from the controller, you can gently and carefully pop out the c-stick. Easy peasy!
Success!