Datatronics Discovery 2400CM Teardown
Duration: 45 minutes
Steps: 4 Steps
Step 1


The front is held in place with two latches, so just gently release them and you’re good to go!
– Grab your trusty spudger and gently pop open a latch on one side. You’re doing great!
– Now, swing over to the other side and open that latch too to free the front. Almost there!
Tools Used

Step 2


The back cover pops off just like the front one—same style, same moves.
– Release both latches to lift off the back cover.
Step 3
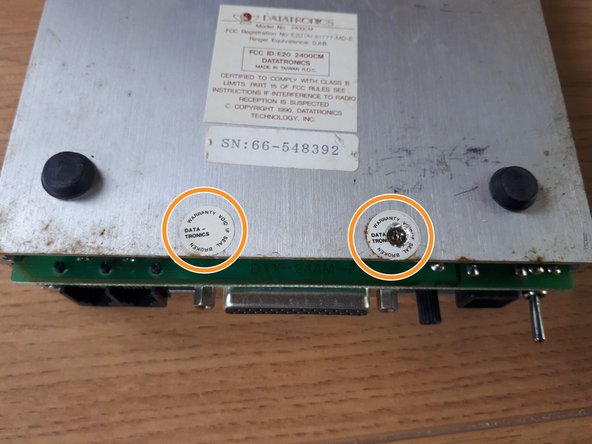

– There are two sneaky screws holding the board to the body, hiding out under those ‘warranty void’ stickers.
– Peel off the stickers to reveal the screws, then unscrew them.
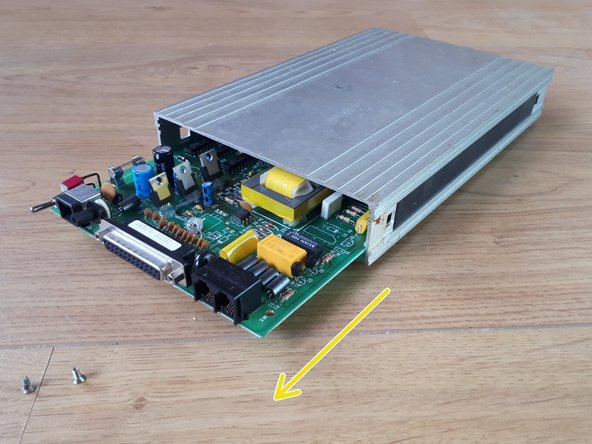
– Now you can slide the board out from the body. Nice and easy!
Step 4
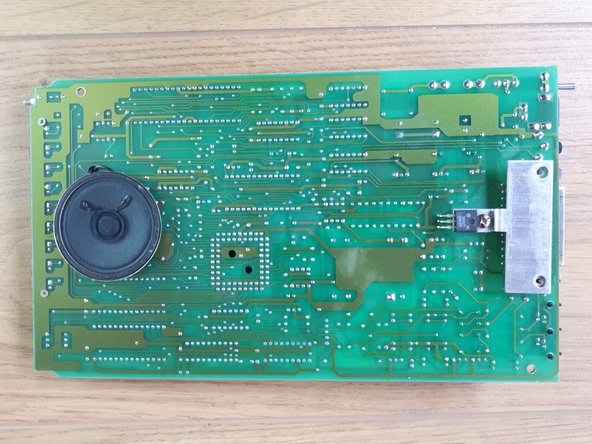
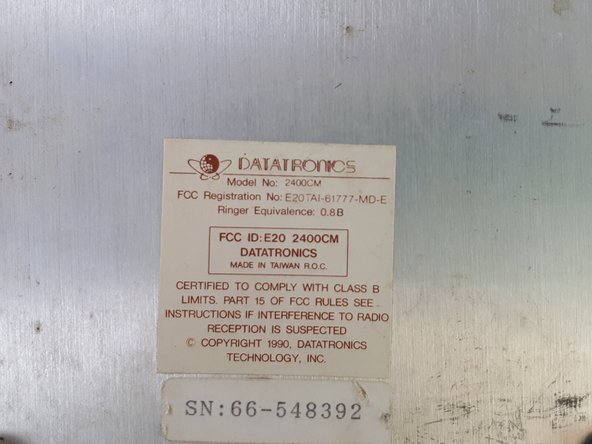

Take a good look at both the front and back of the board, along with a close-up of the label. This will help you get familiar with the layout before diving into the repair process. It’s always better to know where everything is before you start!
Success!