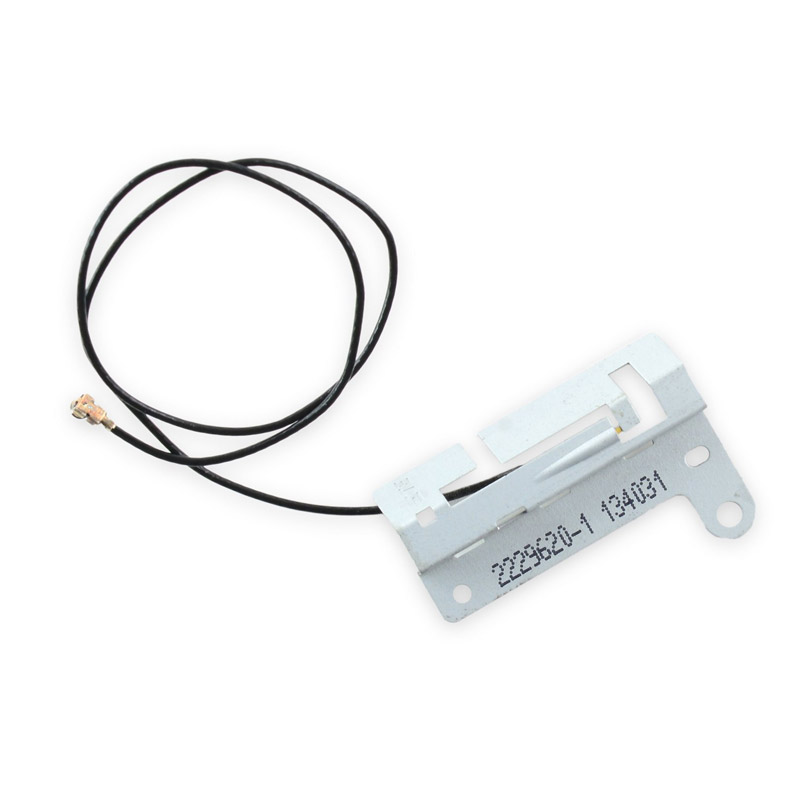
Replace Sony PlayStation 4 Wi-Fi Antenna
Duration: 45 minutes
Steps: 13 Steps
Pull the plug on your PS4 before you start any tinkering.
Ready to fix your PS4’s Wi-Fi antenna? Here’s a straightforward guide to get it done. Remember, safety first—unplug your PS4 before diving into the repair.
Step 1

– Turn your PS4 upside-down with the back side facing you like a pro, ready to dive in.


Step 4


– Let’s get started! Remove the four 7.2 mm Torx security screws from the back of your PS4. Take your time and make sure they’re all out before moving on to the next step.
Step 5


The lower case is stuck in place by plastic clips, so be prepared to use some elbow grease to get it to release. Don’t worry, it’s doable, but it might take a bit of effort!
– Give those thumbs a workout and gently lift the lower case off the PS4. You’ve got this!
Step 6


If your connector feels like it’s not budging, grab a spudger and carefully nudge it loose. A little patience goes a long way!
– Grab those tweezers and yank that power supply cable straight out! Disconnect the power supply unit from the motherboard. You’ve got this!

Step 7


– First, let’s get started by removing three 9.7 mm-long TR8 Torx security screws – this will help you get inside and start making repairs.
– Next, take out two 41 mm-long Phillips screws and their brackets, and set them aside safely. You’re making great progress!
Step 8


The power supply is secured by prongs on the left side, like a stubborn, determined little thing. Don’t give up if it doesn’t budge immediately, it might take a few tries to wiggle it free!
– Gently hoist the power supply straight up and out of the PS4, like you’re lifting a trophy for a job well done!
– When you’re putting it back together, make sure those prongs are all lined up nicely, then give that power supply a little push to snap it back into place.
Step 9


– Gently nudge the tip of a spudger to pop the antenna cable off the motherboard.
Tools Used


Step 11


– Grab a pair of tweezers or use your fingers to carefully thread the antenna cable out from under the optical drive cable.
Tools Used
Step 12


– Pop out that 9.7 mm Torx security screw holding the antenna in place—easy peasy!
Step 13


– Put your device back together by reversing these steps—easy peasy, right?
– Be kind to the planet! Drop off your old parts at an R2 or e-Stewards certified recycler.
– Got stuck? No worries! Swing by our schedule a repair page or connect with our Answers community for some extra guidance.
– Before installing, double-check your new part against the original one. You might need to move any leftover components or peel off adhesive backing.
– Not feeling it? No biggie—you’ve got the option to call it a day and cancel this guide.
– If you’re still scratching your head, remember: help is just a click away. Schedule a repair and we’ve got your back!