How to Replace Samsung Galaxy Tab 7.0 Sprint Camera
Duration: 45 minutes
Steps: 9 Steps
Ready to give your Samsung Galaxy Tab 7.0 Sprint a little makeover? In this guide, we’ll walk you through the steps to swap out that back-facing camera. Just a heads up, you’ll need to remove the front panel and battery first to get to the camera. Let’s dive in and make your tablet shine again!
Step 1

– First things first, let’s give your device a little break—completely power it down.
– Next up, unplug and detach any cables that are hanging out with your device, like chargers or headphones.
– Now, find a nice, flat, and clean spot to set your device down. It deserves a comfy place to rest while we work on it!
Step 2


– Pop off those plastic tabs at the bottom using your metal spudger, just like in the pics. You got this!
– Pro Tip: Designate a safe zone for all those tiny parts. You’ll want them handy, not lost in the abyss.
Tools Used

Step 3


– Grab your Tri-Point YO Screwdriver and pop out those two 4.1mm Tri-Wing screws.
– Keep the screws in the same spot as those pads you took off earlier.
Step 4


Yo, go slow and steady when you’re sliding your tool in, alright? Don’t go all Speedy Gonzalez on the screen or you might end up with a cracked mess. Easy does it!
– Slide a plastic opening tool into the seam at the bottom right corner where the front and back panels meet.
– Gently press the tool downward to create a little opening between the panels.
– Once you’ve got a steady grip on the tool, glide it along the bottom edge of the device from right to left. This will widen the gap between the front and back panels, making it easier to continue your repair adventure.
Step 5


Some of the other tools you’ve tucked in might decide to make a break for it. No worries! Just pop them back in their cozy spots and keep on going.
– Keep that trusty tool wedged in place—it’s holding the fort!
– Grab another plastic opening tool and sneak it into the bottom of the left side, just like the picture shows. Teamwork!
– Just like before, work that tool along the side to widen the gap between the front and back. This time, go from bottom to top. You got this!
– Now, let’s give the right side some love! Repeat the process, starting at the bottom. Keep on truckin’!
Step 6


Take your time when peeling off the front panel—slow and steady wins the race! We want to keep everything intact and avoid any accidental breakage.
– Time to get started! Hold the bottom of your device firmly and gently pry the front panel away from the back panel – it’s like opening a little door to the inside of your device.
Step 7

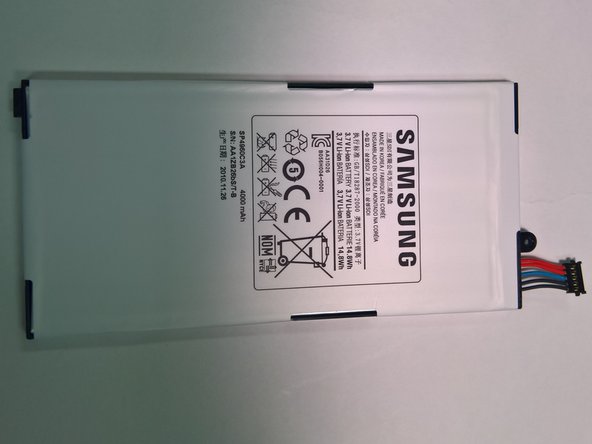
– Set the front panel down on the table, making sure the battery is facing up like it’s ready for a little sunshine.
– Locate the tiny screw that’s keeping the battery snug against the motherboard, and gently unscrew it with your trusty Phillips #00 Screwdriver.
– Don’t forget to keep that little screw safe; you’ll need it when it’s time to put everything back together!
Tools Used

Step 8

Don’t go all stabby on the battery with any metal tools! Seriously, that’s a no-no.
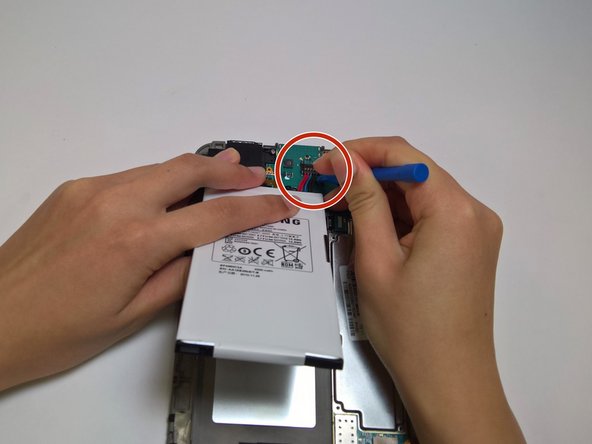
– Gently lift the bottom part of the battery like you’re unveiling a surprise!
– Grab a plastic opening tool and carefully detach the battery connector from the motherboard. Just pull it straight up—nice and easy!
Step 9

Take your time and handle this step with care since the equipment is fragile.
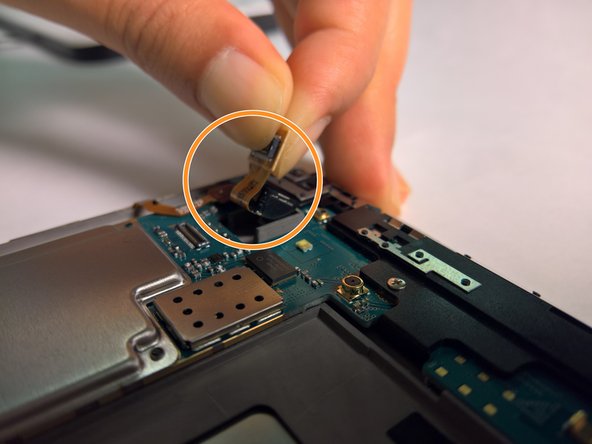
– Gently, with a plastic opening tool, coax the orange connector holding the camera to the motherboard until it pops off.
– Now, grab that connector and gently pull to slide the camera right out of its slot.