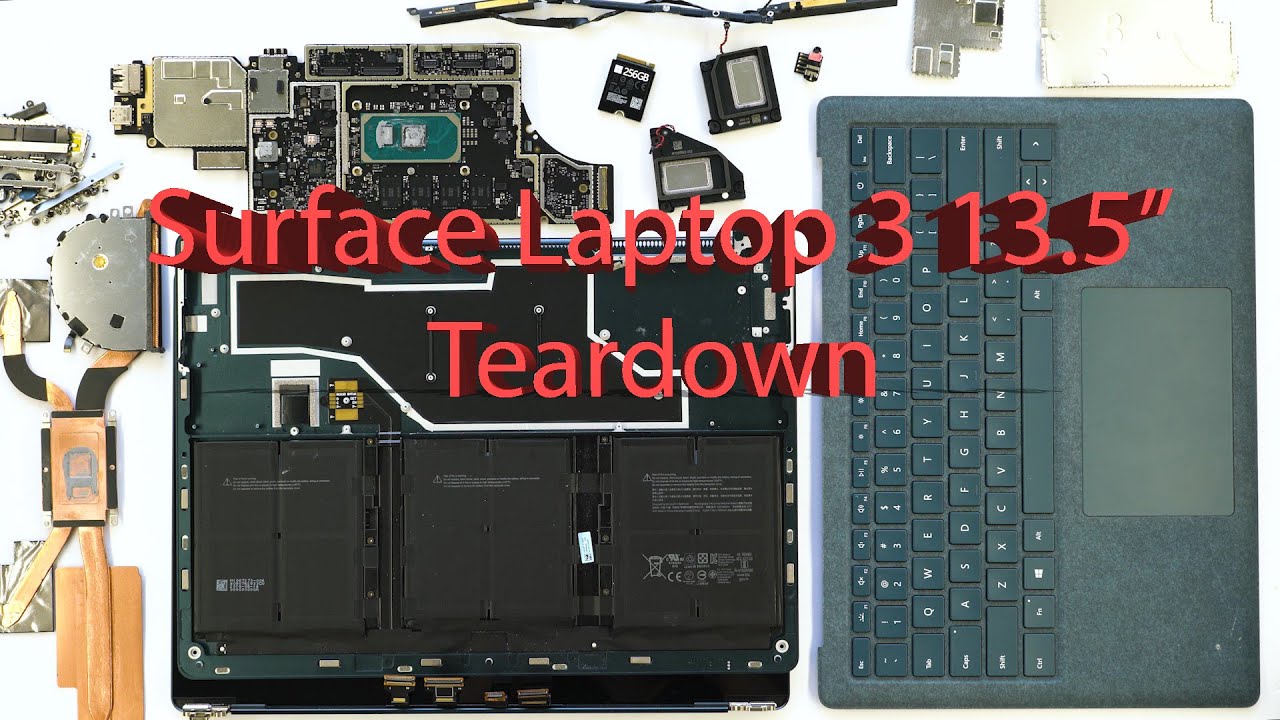
Microsoft Surface Laptop 3 13.5″ LCD Assembly Replacement
Duration: 45 minutes
Steps: 25 Steps
Step 1

– It’s a breeze compared to any other Surface device.
Step 2

– Start from the bottom and gently lift the rubber feet off each of the four corners. You’ve got this!
Step 3

– Grab your trusty T5 screwdriver and unscrew those 4 corner screws like a pro! You’ve got this!
Step 4

– Before you dive in, make sure your device is totally powered down.
Step 5

– With the screen flipped open, gently lift the keyboard out. It’s a breeze since it’s just held in place by magnets after you’ve taken out the screws.
Step 6


– Flip the keyboard over and gently detach the exposed keyboard assembly connector. Let’s keep it smooth and easy!
Step 7


– Pop off those clip-on shields covering the display assembly—nice and easy, like peeling off a sticker.
Step 8

– Pop those connectors loose! They’re on there pretty snug, so grab a spudger (or two) and work your magic.
Step 9


– Grab your trusty T6 screwdriver and unscrew the 6 little guys holding the display in place. Easy peasy!
Step 10


– Place the display on a heating pad, but watch out for those connectors! A heat gun works well here too.
– I went with 60°C for about 15 minutes. That should do the trick!
Step 11


– Wedge a metal card between the glass and the casing. Switch to a plastic card to slice through the remaining adhesive.
Step 12

– Keep an eye out for those sensors at the top! If you happen to mess with them, your device might just decide to take an unexpected vacation and not turn on at all. Let’s keep those sensors happy so we don’t end up with a bricked device!
Step 13


– Warm up the bottom of the display and gently slide the screen out horizontally. Try to keep the bottom adhesive intact—we’ll need it later.
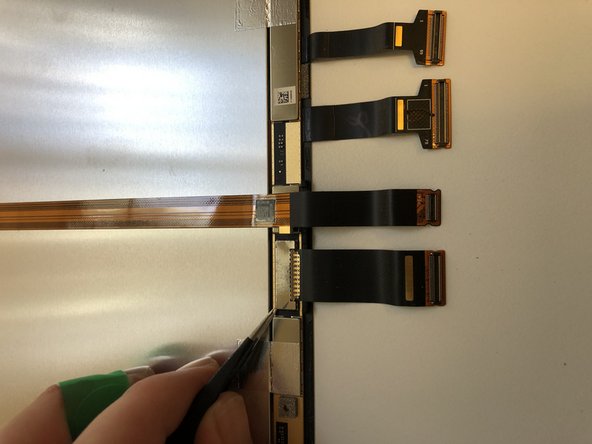
Step 14


– Pop off one end of the plastic bar securing the cables. Gently slide the display out while keeping that plastic bar in place.
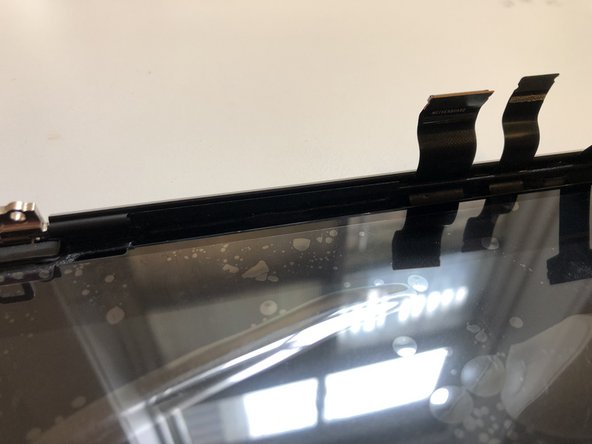
Step 15

– Screen’s off! Let’s keep the momentum going.
Step 16

– Pop off the snap-on shield and detach the cable. We’ll hang onto these for later use, so keep them safe!
Step 17


– Gently work that sensor cable loose from the back of the display. Easy does it!
Step 18


– Time to get this repair started! Gently heat the area around the sensors from the front. Don’t worry, the adhesive isn’t super strong, so you won’t need to blast it with heat.
Step 19


– Peel off that old adhesive and give the area a good clean-up. Trust us, you don’t want to wrestle with this screen once it’s locked in place.
Step 20


– Time to get that new adhesive in place! Make sure to clear away any big clumps at the bottom. We decided to leave the old adhesive there since it can be a bit tricky to clean and reapply. Let’s keep it simple!
Step 21

– Give that new screen a whirl! Just remember to connect the sensors, or it might just sit there like a grumpy cat—no starting or responding at all!
Step 22

– Gently tuck the cable back under the plastic bar and snap it into place. Give those cables a little tug to ensure there’s no sneaky slack hiding out of sight.
Step 23

– Now it’s time to get your screen into place! Remove the plastic layer from your adhesive and gently push the screen into the housing. Don’t be shy – give it a bit of a push at the bottom to make sure it sits correctly. If you’re having trouble, take a deep breath and try again. You got this!
Step 24


– Gently set the assembly in place and secure it with screws. Connect those cables like a pro and pop the shields back on. You’re doing great!
Step 25

– You’re almost there! Just put the screws and feet back in place, and you’ll be all fixed up!