How to Replace Samsung Galaxy 7.0 Sprint Battery
Duration: 45 minutes
Steps: 8 Steps
Let’s get started with replacing the battery of your Samsung Galaxy Tab 7.0 Sprint. First, you’ll need to remove the front panel – don’t worry, it’s a breeze. If you need help, you can always schedule a repair.
Step 1

– Turn off the device completely—no sleepy standby mode, just a full power-down.
– Unplug and detach any accessories like chargers or headphones that might still be clinging on.
– Set the device down on a clean, stable, and flat surface—your workspace deserves some love too!
Step 2


– Gently pop off those plastic tabs at the bottom of your device with a metal spudger, just like the pictures show. You’ve got this!
– Find a cozy little spot to keep those tiny parts safe and sound—somewhere easy to reach but tricky to misplace. Trust me, future you will thank you!
Tools Used

Step 3


– Grab your trusty Tri-Point YO Screwdriver and unscrew those two 4.1mm Tri-Wing screws. Easy peasy!
– Once you’ve got those screws out, stash them safely in the same spot you’ve been keeping the pads from the last step. Organization is key, my friend!
Step 4


Take it slow and steady when sliding your tool into the device—easy does it! Rushing or using too much pressure can lead to a cracked screen, and nobody wants that. Patience is key here!
– Slip a trusty plastic opening tool between the front and back panels at the bottom right corner—easy does it!
– Gently nudge the tool downward to create a tiny gap between the front and back panels. Slow and steady wins the race!
– Keep the tool steady and glide it along the bottom edge of the device from right to left. Watch that gap grow as you go!
Step 5


Sometimes the tools you’ve snugged in might decide to pop out for a little adventure. No worries—just slide them back into their spots and keep cruising along!
– Leave that trusty tool snugly wedged in the device—it’s holding the fort for you.
– Grab another plastic opening tool and slide it into the bottom-left side, just like in the picture.
– Using the same slick move as before, glide the tool along the side to widen the gap between the front and back panels. This time, take it from the bottom to the top—smooth and steady wins the race.
– Now, repeat the magic on the right side of the device. Start at the bottom-right corner and work your way up.
Step 6


Take your time when removing the front panel—slow and steady wins the race. You don’t want to rush and accidentally snap anything.
– Grab the bottom part of the device, and with a smooth motion, lift that front panel right off the back panel like a pro.
Step 7

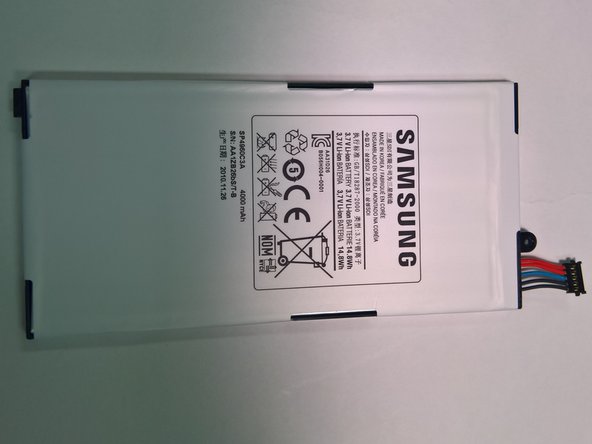
– Set the front panel down on a flat surface with the battery side up.
– Locate the tiny screw holding the battery in place on the motherboard. Grab your Phillips #00 screwdriver and unscrew it.
– Don’t forget to keep track of that screw! You’ll need it when it’s time to put everything back together.
Tools Used

Step 8

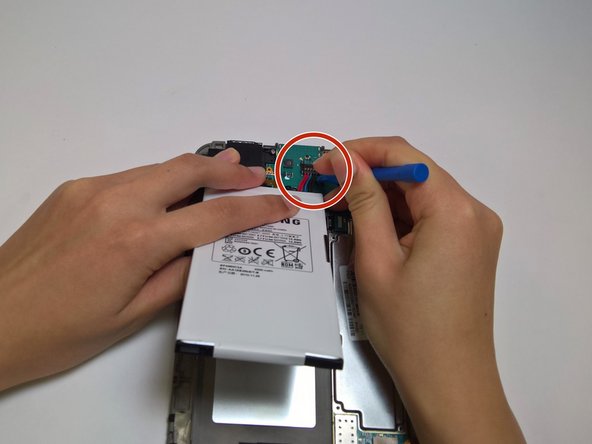
Avoid jabbing the battery with a screwdriver or any opening tool, okay? Let’s keep it safe and sound!
– Let’s get started! Carefully lift the bottom part of the battery to begin the removal process.
– Now it’s time to disconnect the battery connector from the motherboard. Use a plastic opening tool to gently pry it straight up and out of its socket. Remember to pull it straight up to avoid any damage.
Success!