Martian Smartwatch Repair: Replace Martian Victory Watch Face
Duration: 45 minutes
Steps: 20 Steps
Ready to fix that Martian Victory Smart Watch? Let’s dive into disassembly and get that Analog Watch Face swapped out. If your watch face is cracked or giving you trouble, we’ve got the steps to make your watch look new again. With this repair, you’ll have an easier time seeing the clock, plus all the other cool features on your smart watch. Soldering skills might come in handy, but don’t worry—our instructions will guide you through it all.
Step 1


– Unscrew the four 3.4 mm flat head screws
Step 2

– Gently lift the back plate off the watch. You’ll spot a lithium battery and a rubber gasket hanging out with the back plate.

Step 4

– Carefully detach the battery connections from the motherboard. If you’re unsure about soldering, we’ve got you covered with some handy tips right here!


Step 8


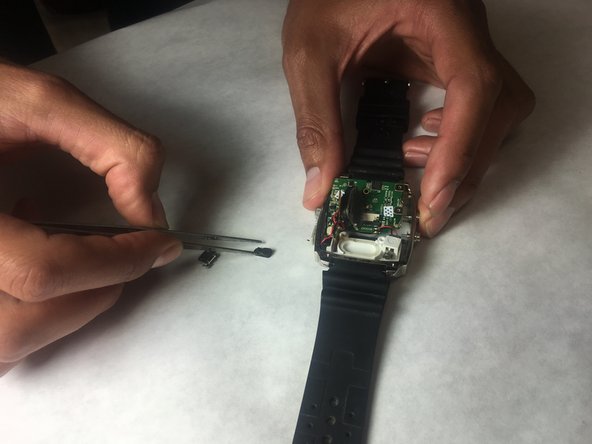
– Time to get started! Use some trusty ESD-safe tweezers to gently remove the gold ribbon cable.
– Now that the cable is out of the way, you’ll find a sneaky 5.2mm Phillips head screw hiding underneath. Grab your PH00 screwdriver and carefully remove it.
Tools Used
Step 9


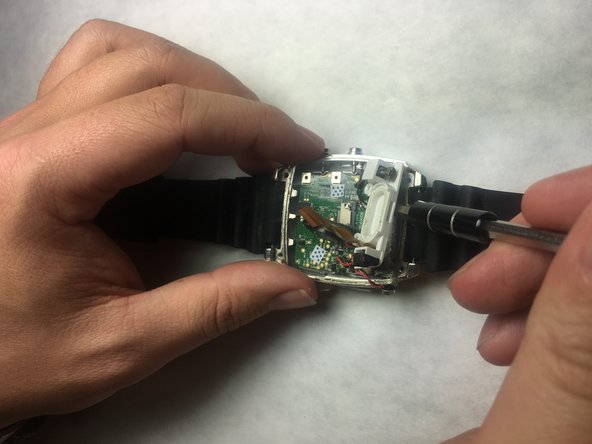
– Grab a spudger and carefully pry on the motherboard at the top of the watch, near the 12 o’clock position, to ease it out.
– Now you can get to the parts and pieces on the bottom and underneath the motherboard.
Tools Used
Step 10

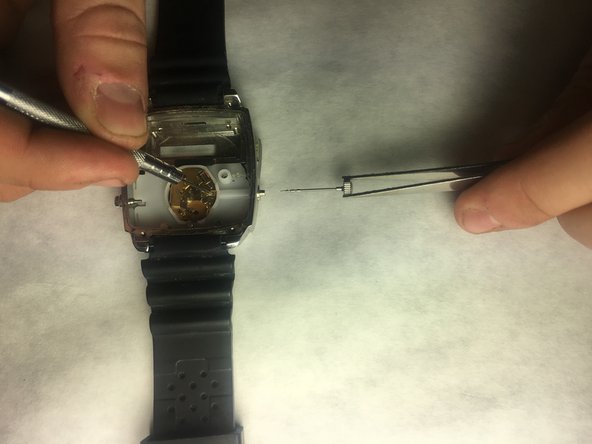
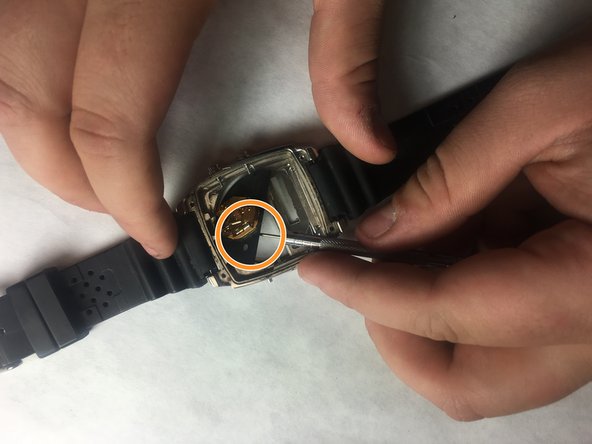
– Find the ribbon connection and gently pop off the clips on either side using your trusty needle tool. You’ve got this!

Step 12

– Let’s get started! Carefully remove the screw that’s holding the LED screen and speaker in place. Take your time and make sure it’s completely removed before moving on to the next step.


Step 15

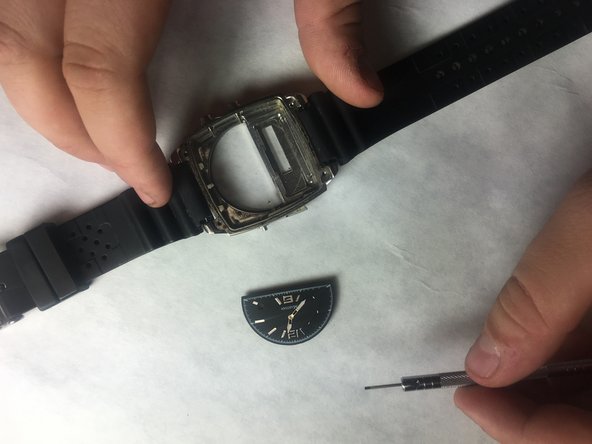
– Grab a small flat-head screwdriver, slide it gently under the LED screen, and nudge it out of its socket with care.
Step 16

– Disconnect the last link to the accelerometer. Ta-da! The LED screen is now free from the device.
Step 17
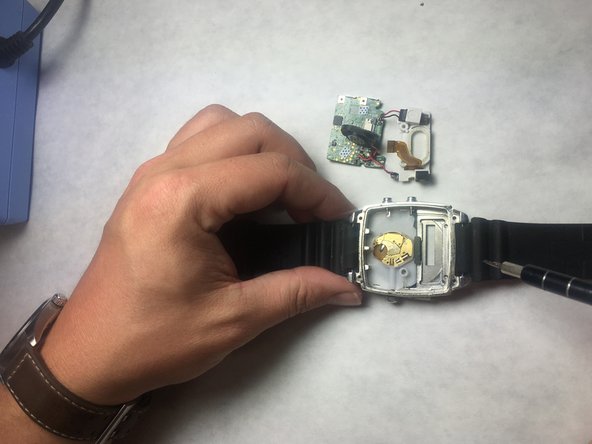

– Use your tweezers to gently snag the motherboard and lift it out of the watch cavity like a pro.
Tools Used


Step 20

– Time to put your device back together! Just retrace your steps and follow these instructions in reverse. You’ve got this!
– If you hit a snag, don’t hesitate to schedule a repair for some extra help.
–
Success!