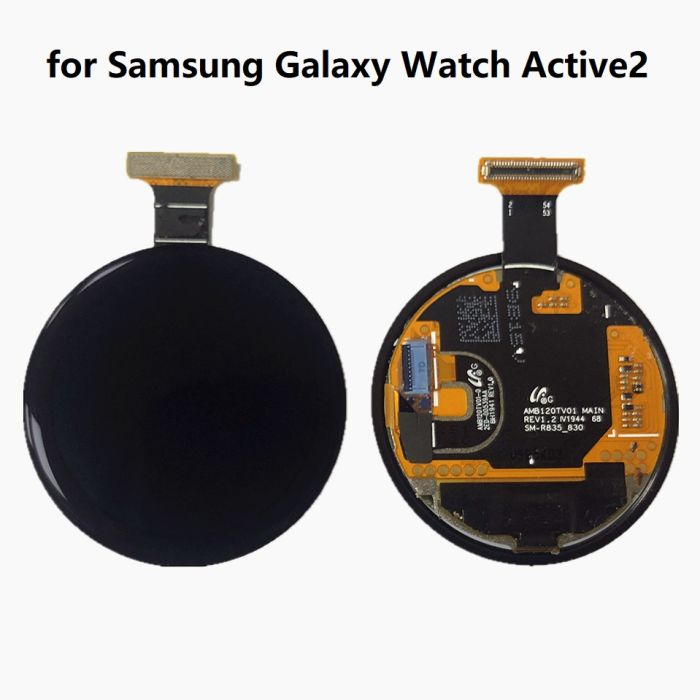
Samsung Galaxy Watch4 Classic Replacement Guide
Duration: 45 minutes
Steps: 10 Steps
Get ready to swap out the motherboard on your Samsung Galaxy Watch4 Classic! It’s a straightforward process, and with a little patience, you’ll have your watch ticking like new in no time. If you find yourself in a pinch, remember, you can always schedule a repair for some extra help!
Step 1

– Alright, first things first—take your watch off the charger and give it a little nap by powering it down.
– Next up, slide off the watch band to get it out of the way. Easy peasy!
Step 2

– Grab your trusty Tri-point Y00 screwdriver and unscrew those four 4.0 mm screws holding the back cover in place. Let’s get this done!
Tools Used

Step 3

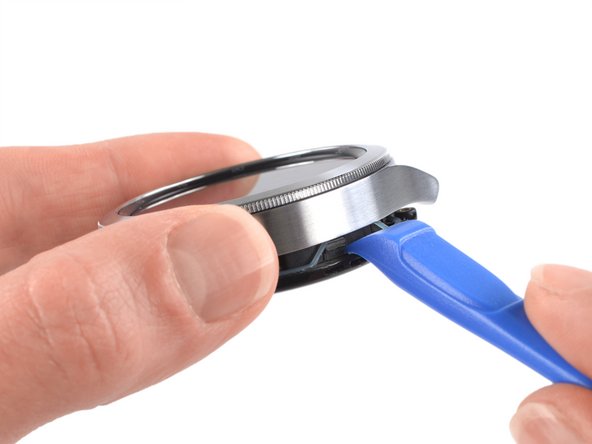
Hold your horses! Don’t go yanking off that back cover just yet. The sensor flex cable is still cozy with the motherboard.
– Wedge your opening tool into the groove between the back cover and the metal frame like a pro.
– Give that tool a gentle twist to pop open a little gap—easy does it!
Step 4

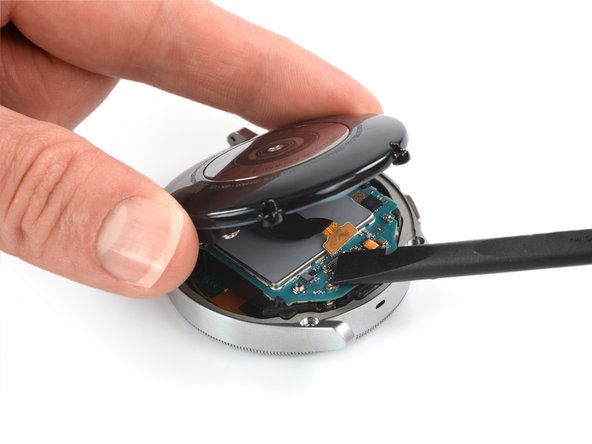
– Flip that watch face down like a pro and get ready to dive in.
– Gently swing open the back cover by folding it away from the gap you just created—easy does it!
– Grab the flat end of your trusty spudger and carefully pry up the sensor flex cable to disconnect it from the motherboard. Nice and smooth—you’re doing great!
Tools Used

Step 5

– Pop off that back cover with care—it’s time to get to work!
– Take a good look at the rubber gasket. If it’s cracked or damaged, grab a new one when you’re putting things back together. This keeps your device water-resistant and ready for action.
Step 6
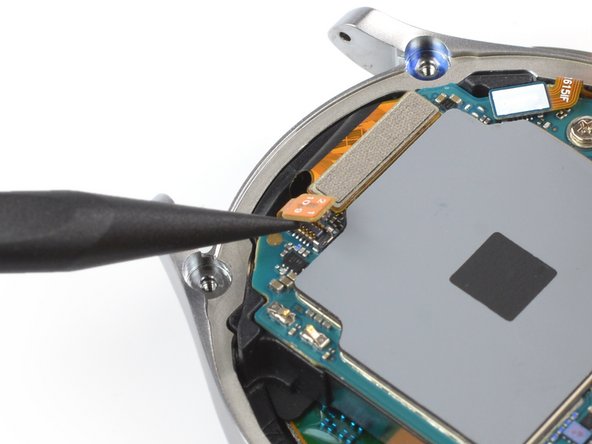

– Now it’s time to disconnect the hall sensor flex cable – use the pointed end of a spudger to gently pry it loose.
Tools Used
Step 7

– Grab a spudger and gently separate the display flex cable. Take your time, this step’s a breeze!
Tools Used
Step 8


– Grab your trusty spudger and gently disconnect that crown button flex cable like a pro!
Tools Used
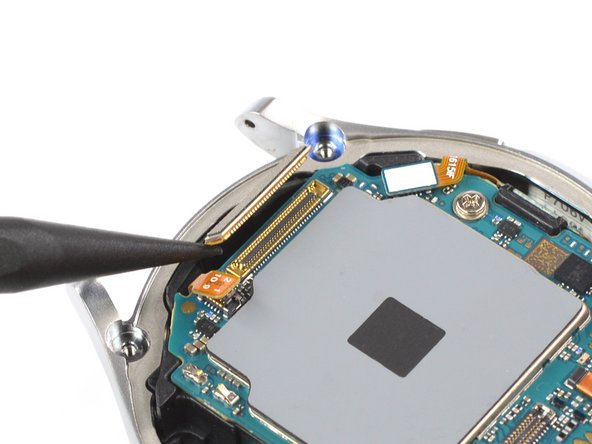
Step 9

– Grab your trusty Phillips screwdriver and gently unscrew the 4.4 mm-long screw that’s holding the motherboard in place. You’ve got this!
Step 10
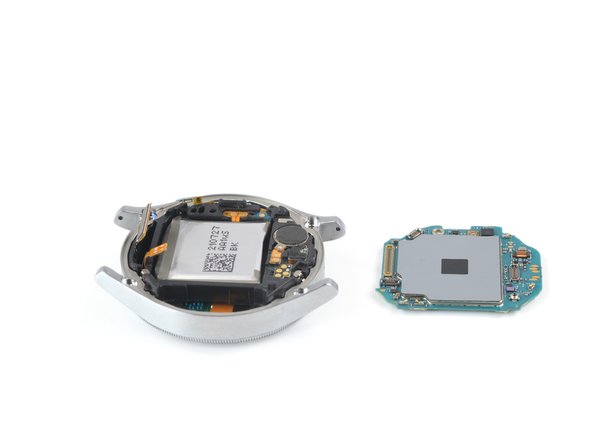

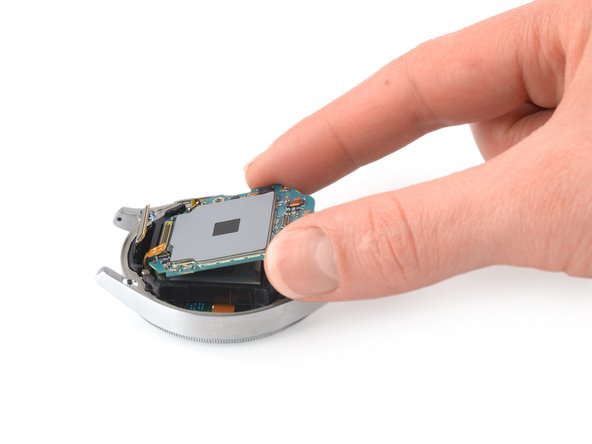
– If possible, power up your device and give your repair a test run before sealing it back up.
– To put your device back together, just retrace your steps and follow these instructions in reverse.
– Got e-waste? Be a hero for the planet and take it to an R2 or e-Stewards certified recycler.
– Things didn’t go as smoothly as planned? No worries! Check out some basic troubleshooting tips or reach out to our Answers community for a helping hand.
– Oops, I didn’t finish this guide. No biggie!
–
Success!