Netgear WNDR3700 Teardown
Duration: 45 minutes
Steps: 5 Steps
Introducing the latest gigabit router with dual-band N support from Netgear—perfect for boosting your network speed. Keep in mind, this product includes software code that’s licensed under the GPL or LGPL, so we’re hopeful for more open-source implementations in the future. Ready to get your network up to speed? Let’s dive in!
Step 1


– Start by carefully unboxing your device, making sure all parts are accounted for before proceeding. This first step gets you ready to dive into the repair process with confidence. Remember, if you need help along the way, you can always schedule a repair.
Step 2


– Pop off those 4 caps to get started.
– Then, unscrew those 6 screws holding things in place.
Step 3

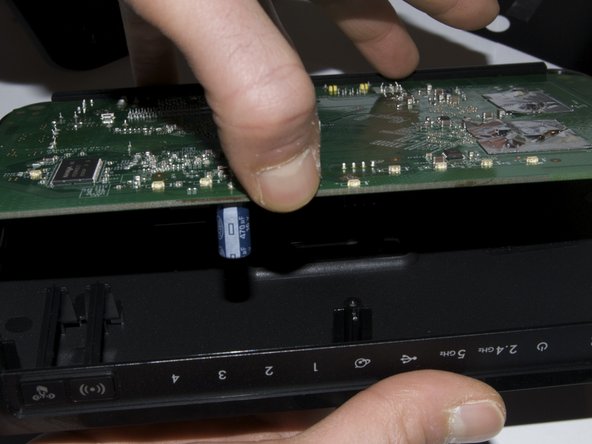

– Carefully pop open the lid—no need to rush, just a little nudge does the trick.
– Lift the board up. Seriously, this part’s a breeze!
Step 4

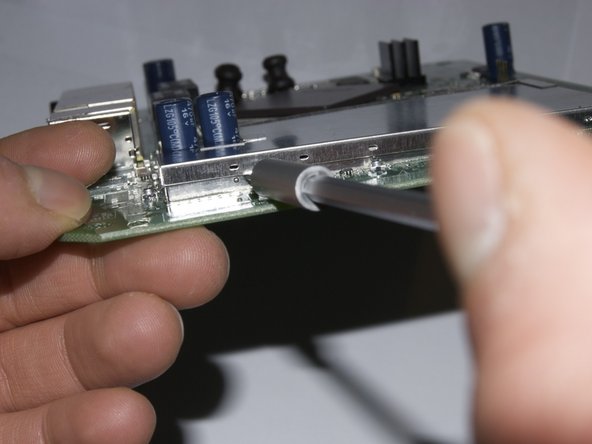

– Time to get to the heart of the action! Carefully remove the shield covering the microwave circuit. It might take a little gentle prying, so keep your cool and take your time. If you need a hand with this part, don’t hesitate to schedule a repair.
Step 5
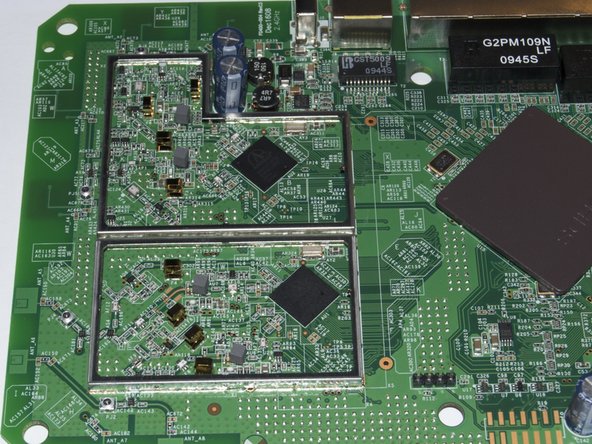
– Check out those 8 stand-offs we’ve got holding the covers up, keeping them from squishing the circuits below. They’re doing a great job!
– Now, take a peek to the left, just outside the shielding. Spot those 4 mini connectors? Follow them along to the square pads on the PCB… Yep, those are your antennas waving hello!
Success!