Replace Xbox One Elite Controller Joystick
Duration: 45 minutes
Steps: 11 Steps
Step 1


You don’t need to worry about removing the rubber. It’s already seen better days!
– Grab your trusty pry tool and gently pop off those side panels! It’s easier than it looks, and soon you’ll be diving into the heart of your device.
Step 2

– Let’s get started by removing the 5 Torx Security Bit (TR9) screws – this is the first step to unlocking your device’s inner workings!
Step 3


Watch out for that ribbon in the next step—let’s keep it safe and sound!
– Gently work the panel around the 3.5mm port loose.
Step 4


Take it easy! Just a gentle touch is all you need to avoid tearing that ribbon cable.
– Gently pry the connector up to release the ribbon cable – it’s easier than you think
– Ribbon Cable
Step 5

– Let’s get started by removing the 2 Torx (T6) screws – this is the first step to unlocking your device’s inner workings!
Step 6


– Carefully detach the four wires on each side. These little fellas are responsible for making your device vibrate and help with the right and left triggers.
Step 7


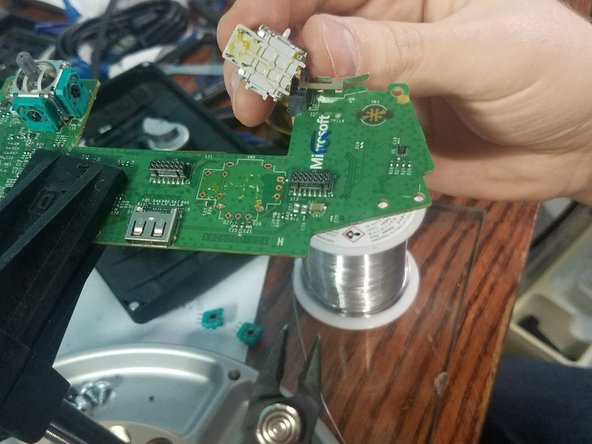
– Give that controller a little love tap from the top and gently pull it up from the sister board. You got this!
Step 8

These little guys can be a bit tricky to get off. For the best chance of success, use a 650F soldering iron if you have one. If you’re having trouble with the old solder, adding some fresh solder can make it easier to remove. If you’re feeling a little lost, you can always schedule a repair.
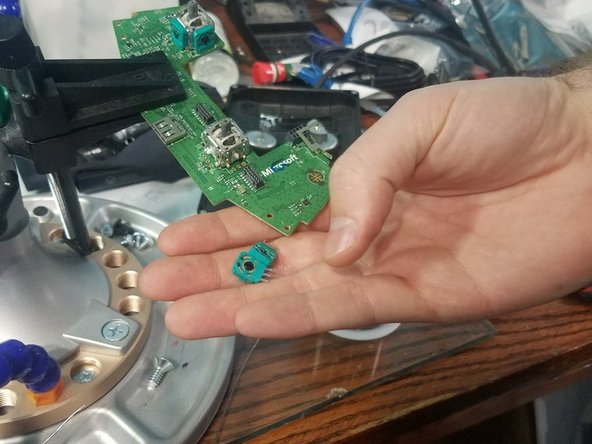
– Gently detach the 4 pins that are keeping the left analog stick in place. You’ve got this!
– Carefully remove the 4 pins securing the button on the right analog stick. Almost there!
Tools Used

Step 9

To tackle this step, you’ll need a soldering iron that can reach 650F degrees. If the components are being stubborn, try adding some fresh solder to make them easier to remove. This should help things go smoothly.
– Alright, time to give that left analog stick the boot! Go ahead and desolder it.
– Now let’s give that right analog stick the same treatment. Desolder those 6 pins and you’re golden.
Tools Used
Step 10

You’ll want to grab a soldering iron that sizzles up to at least 650°F. If you’re finding the old analog sticks a bit stubborn, adding a touch of fresh solder can make it a breeze to pop them out.
– Time to get up close and personal with your controller – start by carefully desoldering the left analog stick.
– Next, repeat the process on the right side: desolder the right analog stick from the controller.
Tools Used
Step 11

– If you’re having trouble desoldering, don’t worry – we’ve got you covered. Here are a couple of tricks to help you out.
– You can use a screwdriver to carefully open up the resistors, then remove them from the board to get access to those ground pins.
– Now, grab your snips and cut the pins. Next, use a soldering iron to heat up both sides, and gently remove the cut pin with some pliers. If you need help, you can always schedule a repair

