Xbox 360 Bearing Replacement Guide
Duration: 45 minutes
Steps: 15 Steps
So, you’ve got a steering wheel with a bearing that’s known for getting a bit wobbly over time – not fun, right? Upgrading to a metal ball bearing is a smart move! While there are plenty of videos on YouTube that dive into this, we’re here to keep things straightforward and fun using just your trusty hand tools. No machine shop required! Ready to roll up those sleeves and get started? Let’s make it happen!
Step 1

– Time to get to work! First off, grab your TX10 security screwdriver (you know, the one with the little hole in the top) and carefully remove the 8 screws from the base. Keep an eye out for those sneaky screws hiding behind the sticker – they like to play hide and seek!
Step 2

– Now it’s time to remove the remaining 8 screws from the back of the wheel assembly. Grab your trusty TX10 security screwdriver and get to work!
Step 3
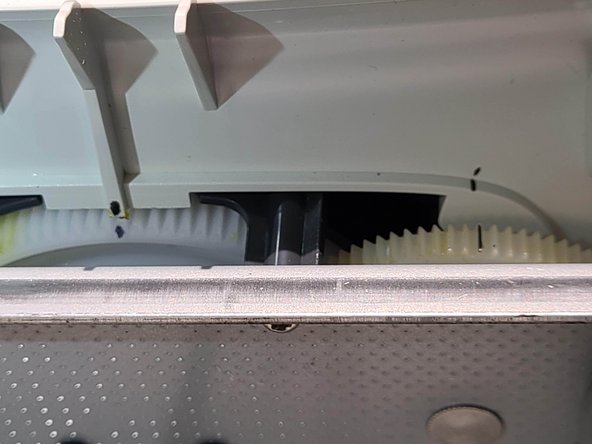

– Get ready to spin that steering wheel – turn it all the way to the left or right until it hits the stop. Take a look at the picture to see what we mean by ‘the stop’.
– Now it’s time to mark the main gear position. Don’t worry too much about the gear attached to the motor, just focus on getting that main gear marked.
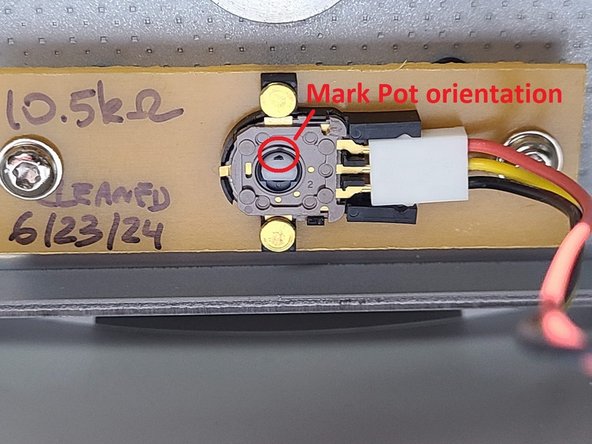
– Next up, let’s mark the position of the potentiometer. This is an important step, so take your time and make sure it’s just right.
Step 4
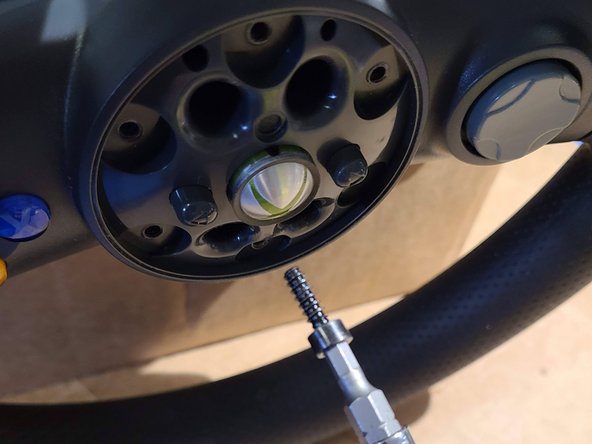

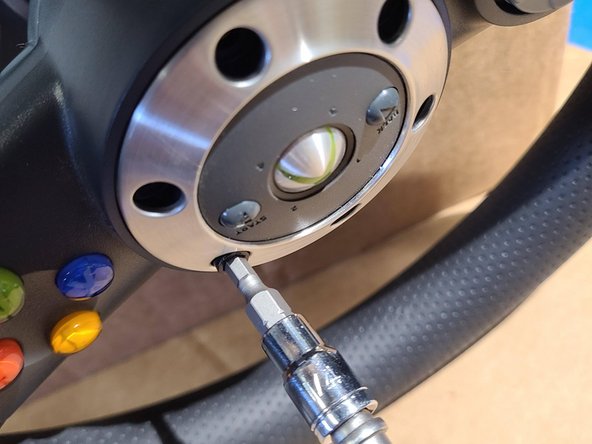
– Start by unscrewing the six 3/16th hex bolts, then gently take off the faceplate.
– Next, let’s tackle the four 3/16th hex bolts that are securing the steering wheel in place and remove those.
Step 5
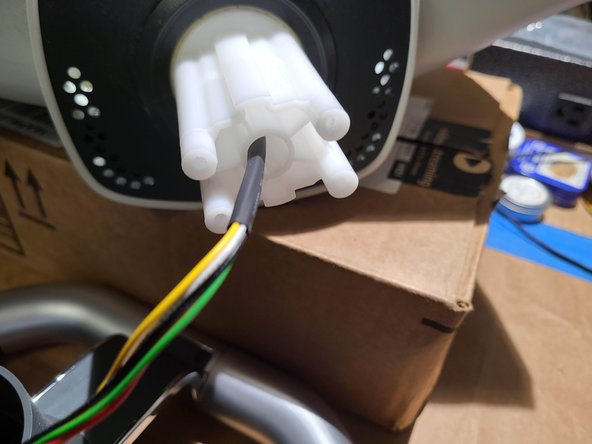
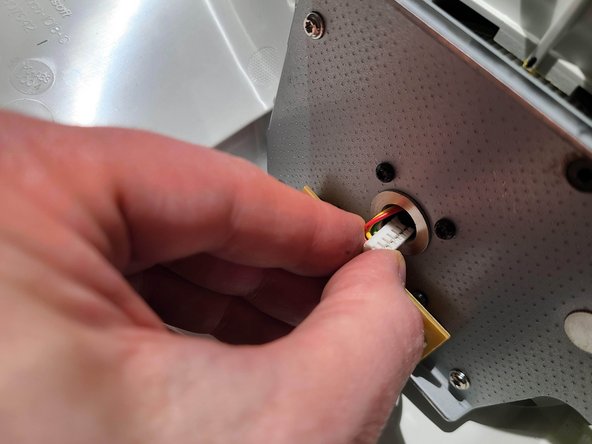

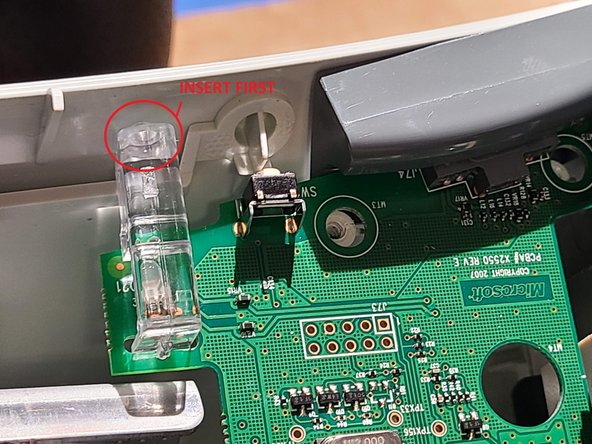
– Alright, time to get that steering wheel connector unplugged! Now, just a heads up, older steering wheels might have more than one connector, so be sure to disconnect all of them.
– Now, gently slide that steering wheel off the stem and guide the connector through the center hole. You got this!
Step 6
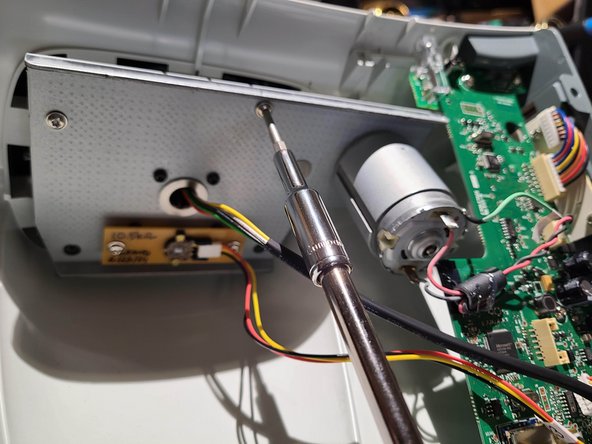

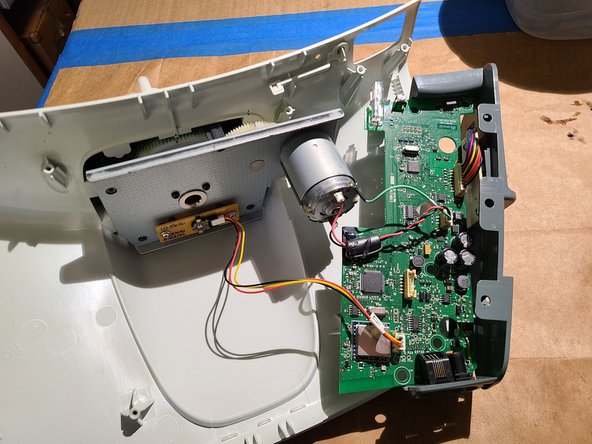
– Let’s kick things off by taking out those four TX10 screws that are keeping the motherboard cozy and secure.
– Next up, grab your tools and unscrew the four TX screws that are holding that motor back plate in place.
– With those screws out of the way, gently slide the motor plate and motherboard aside to give yourself some room to work.
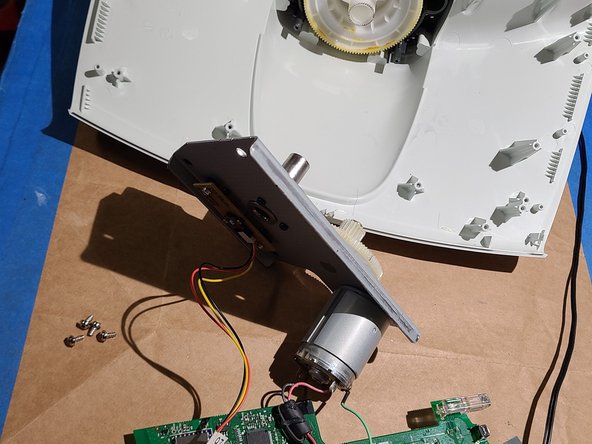
Step 7

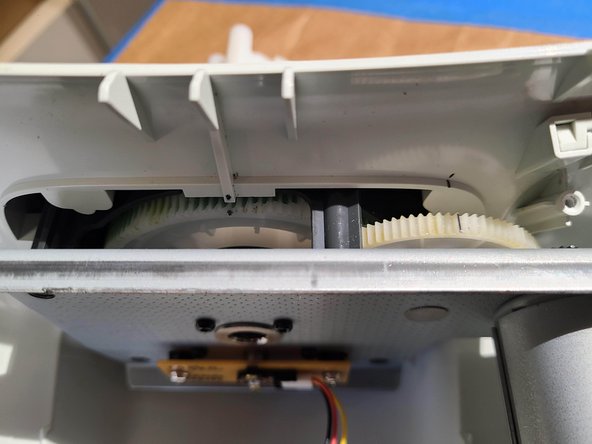
– OPTIONAL: Grab those calipers and take a moment to measure the height of the gear sticking out above the case. It’s a fun little task that gives you insight into your device’s innards!
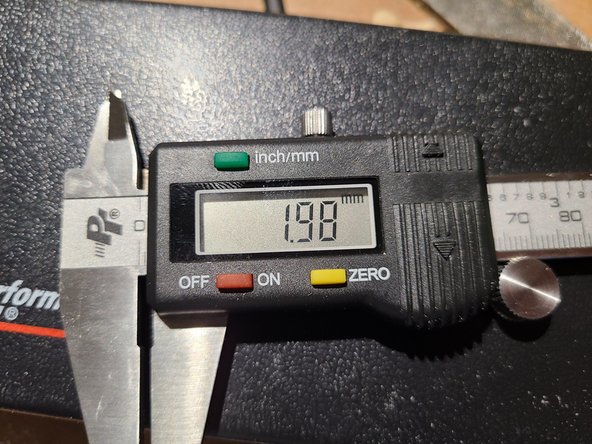
Step 8

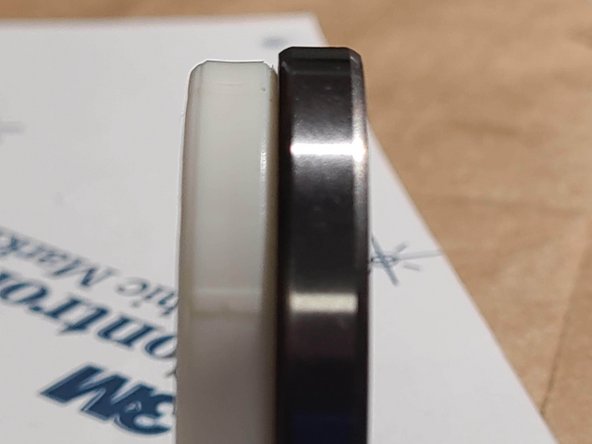
– OPTIONAL – take a moment to measure the old and new bearing dimensions, just to be sure everything fits perfectly.
– Notice that the outer ring holding the bearing is a bit too tight, so you’ll need to grind it down by 0.5 mm to make room for the new bearing – that’s a total of 1 mm of extra space you’ll need to create.
– The stem of the main gear is also a tad too thick, so you’ll need to grind it down as well to get everything running smoothly.
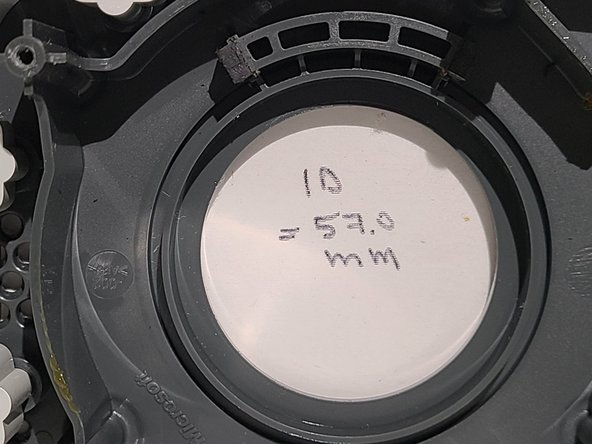
Step 9

– Take a moment to measure and mark the height of the old bearing on the stem. This little step will help ensure everything fits just right when you’re done!
Step 10

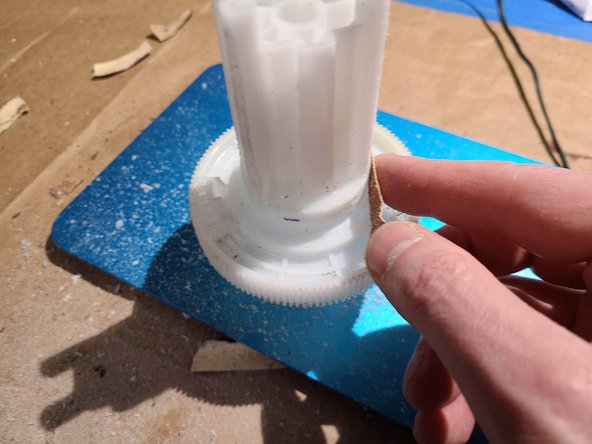

– Get ready to roll up your sleeves and dive in – put on a face mask, grab your trusty dremel, and carefully shave off some of that nylon all the way around. Keep going until the bearing slides smoothly down – this might take about an hour, so be patient and take your time. To make things easier, try mounting the stem on a vertical stick so you can rotate it while you work your dremel magic.
– Now it’s time to smooth out those edges – break out the 150 sandpaper and get to work on the dremel wheel. This will help everything run more smoothly in the long run.
– The moment of truth – make sure the new bearing fits perfectly in line with the mark from the old bearing. Keep in mind that the dremel might have worn down the mark a bit, so be sure to re-mark it with the old bearing as you go.

Step 11


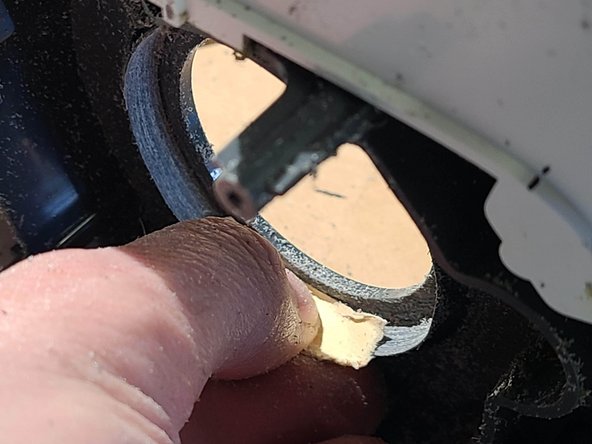
– Grab your trusty dremel and get ready to work some magic! Gently sand down the outer lip of the bearing in a smooth, circular motion. Take it slow – there’s not a ton of material to play with here!
– Once your bearing fits snug as a bug, it’s time to whip out some 150 sandpaper. Give those dremel marks a little love and smooth them out for a polished finish.
– Don’t forget to vacuum up any loose plastic bits! Now, carefully press the bearing into place. The lip is on the thinner side, so go easy on it. If the bearing isn’t sliding in smoothly, just give it a little more grinding instead of applying too much force.
Tools Used
Step 12

– Give everything a good clean and do a trial fit to ensure the gear height is just like it was before—perfectly aligned and ready to go!
– Slather some grease on that main gear and pop it back in, making sure your marks are lined up just right (the gear should be snug against the stop).
– Carefully guide the motor plate into position, keeping an eye on that potentiometer mark—alignment is key! If it got bumped out of place, you might need to give the potentiometer gear on the backside a little twist before you connect it.
Step 13
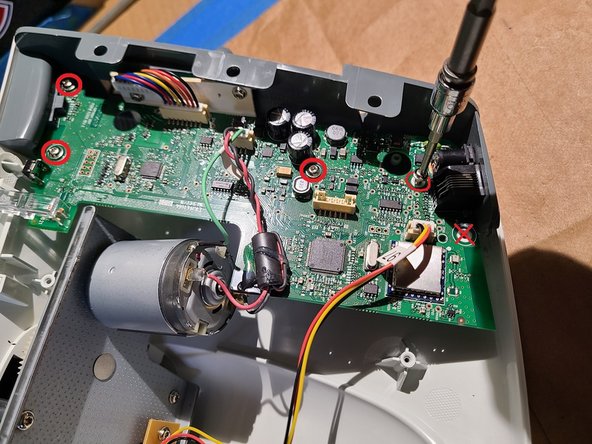

– Let’s get those four TX10 screws for the motor mounting plate snugged up — but remember, no over-torquing! We want it secure, not a wrestling match.
– Now, gently insert the motherboard at a slight angle. Start by aligning the LED light like a pro, then tighten up those four TX10 screws for the motherboard, but again, no over-torquing, please!
Step 14

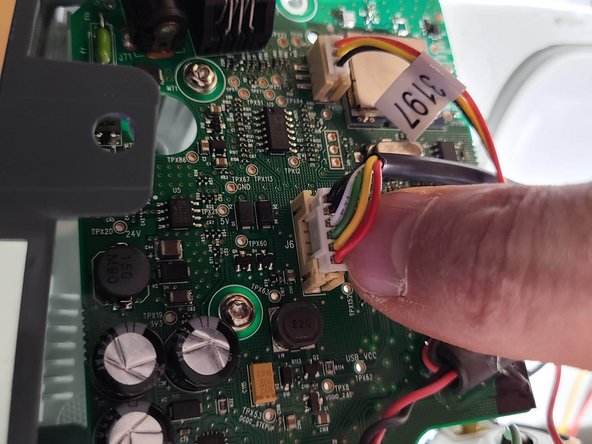

– Hey, that little connector in the middle? It’s got a mind of its own! Give it a little bend backwards to make sure it’s ready to slide back home.
– Now, take that connector and snuggle it back into its spot on the motherboard. You’ve got this!
Step 15

– Putting it back together is like reversing the magic trick, just go step-by-step backwards. Easy does it with those screws!
– No worries if you didn’t finish, happens to the best of us!
–