DIY Xbox Original Fan Replacement Guide: Step-by-Step Tutorial
Duration: 45 minutes
Steps: 12 Steps
Get ready to tackle your first-gen Xbox repair! Replacing the fan? No problem! Just take your time and follow each step carefully to make sure everything goes back together like a charm. If you need help, you can always schedule a repair.
Step 1

– Let’s get started by flipping your Xbox over and removing the rubber feet from each corner. Grab a flathead screwdriver and gently pry them out – it’s easier than you think!
Step 2

– Alright, time to get those stickers off the bottom of the Xbox! Peel ’em back and reveal the screws hiding underneath. You’ll need a Torx 20 screwdriver bit for these – just like those fancy little stars you see on your Xbox. Once you’ve unscrewed all six of them, set them aside so you don’t lose them (trust us, it’s easier than trying to find them later!).
Step 3

Having a hard time with that lid? Give your device a little shake while lifting it up—sometimes a little wiggle is all it takes to get things moving!
– Stand that console up straight and carefully take off the lid.
Step 4

Gently wiggle the cable back and forth to loosen it – it might take a little patience, but you’ve got this!
– To detach the IDE cable, give it a good, steady pull straight back from the hard drive. You’ve got this!
Step 5

You’ll find this screw nestled right between the hard drive and the DVD drive. Go ahead and give it a little attention!
– Using a Torx 10 screwdriver, carefully take out the screw hiding beneath the IDE cable. You’ve got this!
Step 6

The hard drive is hooked up to a power cable, but you don’t have to mess with it to get the drive out unless you’re swapping it out for a brand new one.
– Lift the hard drive straight up and gently out of the enclosure. Easy peasy!
Step 7

– Gently wiggle and pull the cable straight out from the DVD drive, just like you did with the hard drive cable. Easy peasy!
Step 8


– Unscrew those pesky screws on each side of the DVD drive with a Torx 10 screwdriver. You’ve got this!
Step 9

– Alright, both screws are out! Now carefully lift the drive straight up and out. Easy peasy!
Step 10

– Grab your trusty Torx 10 screwdriver and unscrew all eleven screws that are keeping the motherboard snug in its home. You’ve got this!
Step 11

– Gently unhook the power cord by lifting it out at a nice 45-degree angle, just like a smooth dance move.
– Once that power cord is free, carefully lift out the mother board. Wrap your fingers around the edges inside the case and smoothly raise it straight up and out. You’ve got this!
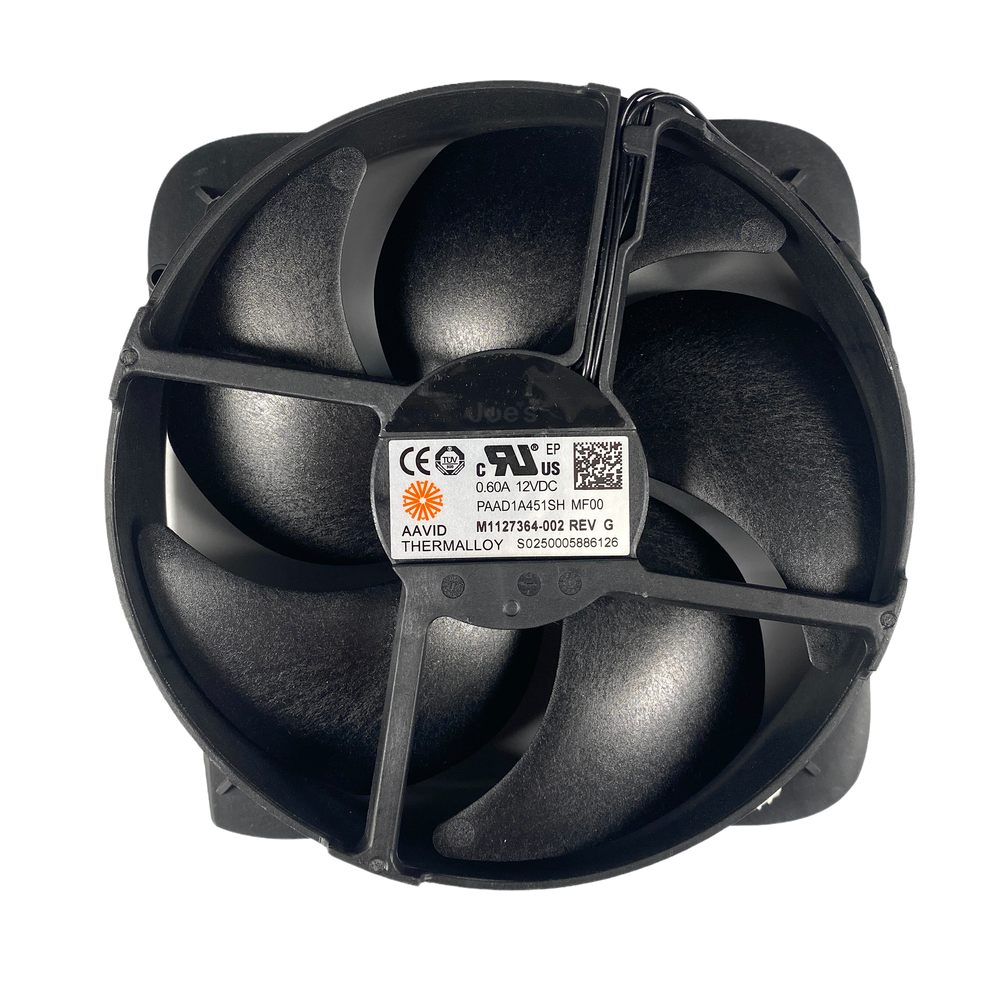
Step 12

– Gently give those old fan clips a little push with a flathead screwdriver on each side, and once done, pop in that shiny new fan like you mean it!

