DIY Repair Guide: How to Replace a Stuck Xbox 360 Optical Drive
Duration: 45 minutes
Steps: 14 Steps
If your DVD tray is playing hard to get when it’s empty but opens like a champ with a game inside, it might be that the belt is slipping or there’s some dirt lurking inside (or maybe both!). Don’t worry, this guide is here to help you tackle this little hiccup with ease.
Step 1
– Alright, let’s kick things off by popping that hard drive out! If there’s one in there, just press the button at the front and lift it up gently to free it. Easy peasy!
Step 2
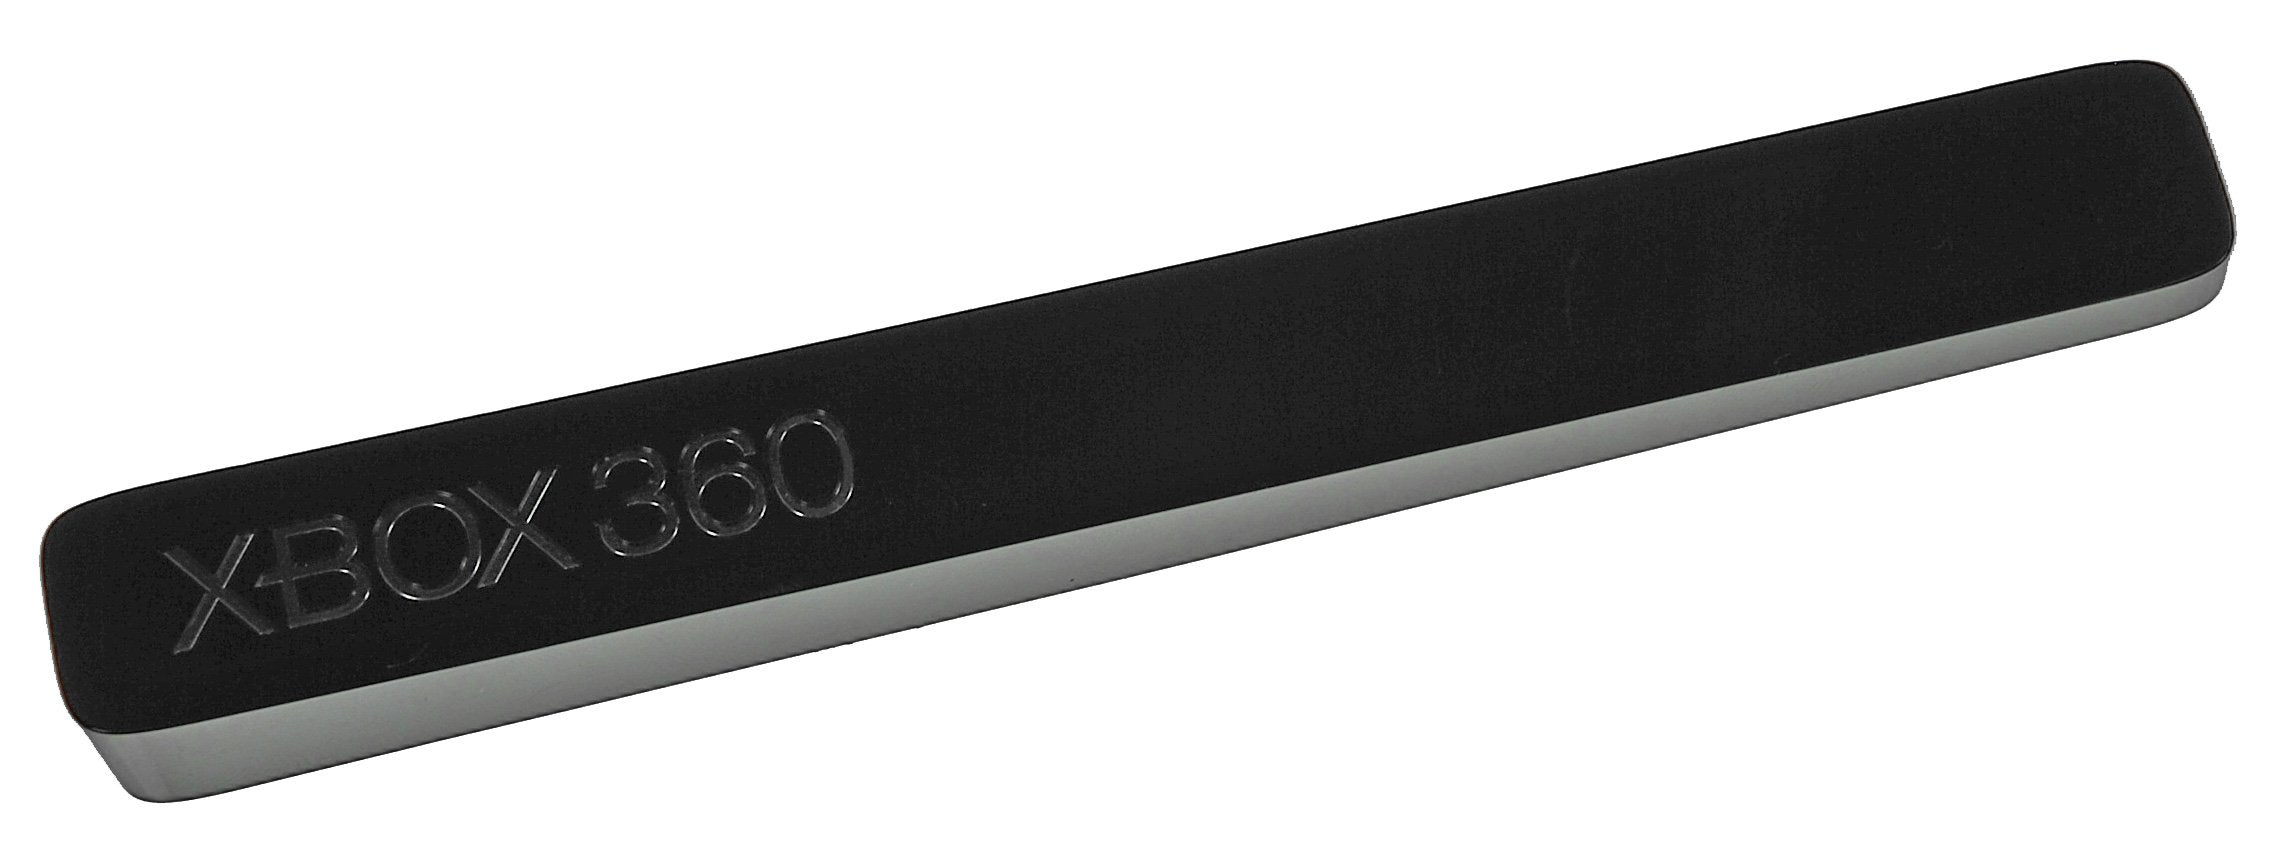
– Now it’s time to remove the face plate – let’s get started! Gently pull the right side of it away from the device, near the USB cover. You’ll find some clips holding it in place, so just give it a little nudge to release them.
Step 3
– Alright, let’s tackle that bottom vent cover! There are three little tabs on each side just waiting for some love. Grab your trusty Xbox tool or the sharp end of a spudger and gently release those tabs one by one. Once you’ve done that, give it a little lift from the front, just like it’s shown in the third pic. You’ve got this!
Step 4
– The other vent features two little holes near the front of the Xbox. Gently slide the finger of the Xbox tool or the pointed end of your trusty spudger into these holes to pop those front clips loose. There are two more clips waiting to be released from the sides, so lift from the front as you free those clips. And don’t forget, the back clip at the bottom is hiding under the rubber ‘foot’—give it a little nudge!
Step 5
– Alright, let’s get this party started! To open the front cover, you’ll need to peel back the Microsoft sticker. Just a heads up, this might void any warranty you have on the Xbox. No worries, we’re here to help if you need it. Flip the Xbox upside down, release the four clips you see, and lift the front part of the bottom cover. Easy peasy!
Step 6
– Let’s get started with removing the bottom cover. Use your trusty tool to release the five points hidden under the serial number label. Gently lift the cover from this side, and don’t forget to release the clip in the middle – it’s a little tricky, but you’ve got this. Next, use your tool to release the last two points near the power connection. Finally, lift the bottom cover off, and you’ll be one step closer to fixing your device. If you need help, you can always schedule a repair
Step 7
– Gently pop off the DVD eject button by releasing the clip and lifting the assembly from the front of the Xbox. There’s a little pin on the right that it slides onto, so give it a gentle nudge if it’s feeling stubborn.
Step 8
– Let’s get started! Begin by removing the six #10 Torx screws that hold the upper case in place. Once you’ve got them out, flip the xbox over and carefully lift the top cover off. You’re making great progress!
Step 9
– Alright, let’s get this DVD drive out! First, gently peel back the tape at the front of the drive. Then, give that DVD drive a little lift – just enough to see those connections in the back. Unplug the power and data cables at the back, and then you can pull it right out. Super easy, right?
Step 10
– Alright, it’s time to clear out the dust bunnies! First, find the fan shroud – it has a nifty clip right in the center. Just use your trusty Xbox tool finger to pop it off and lift it straight up. Next up, you’ve got the fans with two clips each, located above them. Just give that metal lip a gentle lift to release them. Oh, and remember to unplug the electrical connector too! Once you’re all cleaned up, simply put everything back together and enjoy your freshly serviced device!
Step 11
– Let’s get this party started! Grab your screwdriver and remove the screws holding the DVD drive. Next, carefully cut or peel the warranty sticker (buh-bye warranty!). With that out of the way, you can lift off the top and bottom metal cases.
Step 12
– Ready to roll up your sleeves? Let’s get that tray open! Peek under the front and you’ll find a little wheel. Give it a spin with your trusty xbox tool finger (clockwise for the win!). That’ll lower the laser assembly and free up the tray. While you’re in there, give that rubber belt a quick cleaning with some rubbing alcohol. Looking rough? No worries, just swap it out.
Step 13
– Give those runners a good scrub with some rubbing alcohol! If they’re looking extra grimy, don’t hesitate to pop out the tray for a deeper clean. Just release the tab you see and gently pull the tray out to the side.
Step 14
– Once you’ve given everything a good clean, slide that tray back into the DVD drive and make sure it glides in like a pro. When it’s all the way in, it should click back into place like it never left! Now, put the DVD drive back together because it’s ready to jump back into the Xbox. Reassemble the Xbox in reverse order, and just like that, you’re all set to game on!


