Xbox 360 Top Vent Replacement Guide: DIY Fix (7 Steps)
Duration: 45 minutes
Steps: 7 Steps
Get ready to breathe new life into your Xbox 360 by removing the gray plastic top vent. Follow this clear and easy-to-read step-by-step guide from Salvation Repair to help you through the process. If you need help, you can always schedule a repair.
Step 1
– Grab hold of the hard drive assembly and give that release button a little press while you lift the front edge up. You’ve got this!
– Now, gently pull the hard drive assembly out from the top vent. Easy peasy!
Step 2
– Position the console upright with the top edge pointing skyward.
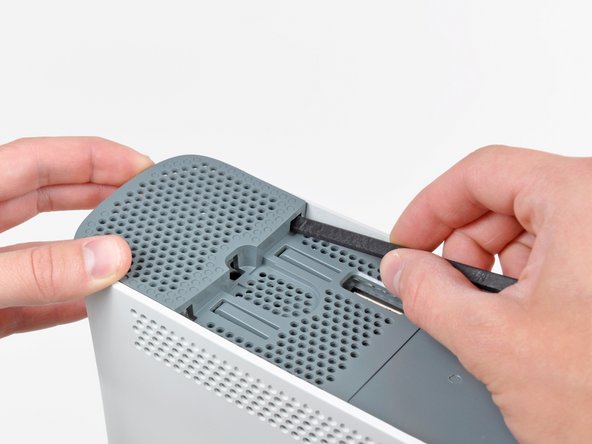
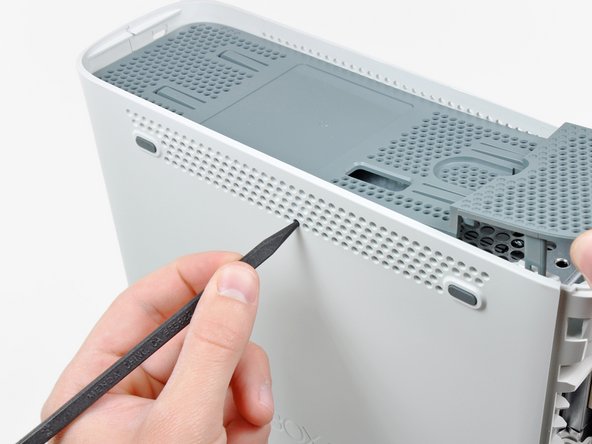
– The top vent is held in place by some sneaky clips. The first two clips are hiding just beneath the top vent, right near the faceplate, as you can see in the pictures.
Step 3
You can totally use the long finger of an Xbox 360 opening tool to get this job done!
– Now, take that trusty spudger and gently wedge the flat end into those teeny tiny gaps we talked about. Give those clips a little nudge to release ’em. You’re doing great!
Tools Used
Step 4
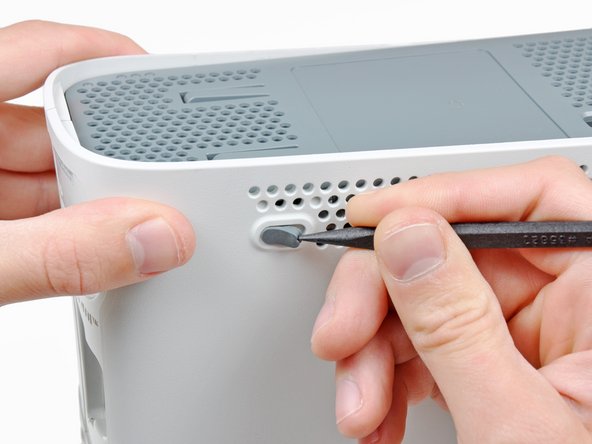
In the upcoming steps, grab the tip of a spudger or the finger of an Xbox 360 opening tool to gently pop those clips along the left and right sides of the top vent. We’ve highlighted their spots in red for you, so you can’t miss them!
Tools Used
Step 5
– Let’s get started by releasing the clips – begin at the middle of the top vent and work your way out.
– Gently lift the front edge of the top vent and use the tip of a spudger to nudge the center clips towards the inside of the console. Take your time and you’ll be a pro in no time!
Tools Used
Step 7
The final little clip is sneaky and hanging out just under the rubber foot that’s closest to the back of the console.
– To put your device back together, just reverse the steps!
– No worries if you changed your mind. You can always pick up where you left off later.
– High five for fixing it yourself!


