Xbox 360 Bottom Vent Replacement Guide – DIY Tutorial
Duration: 45 minutes
Steps: 6 Steps
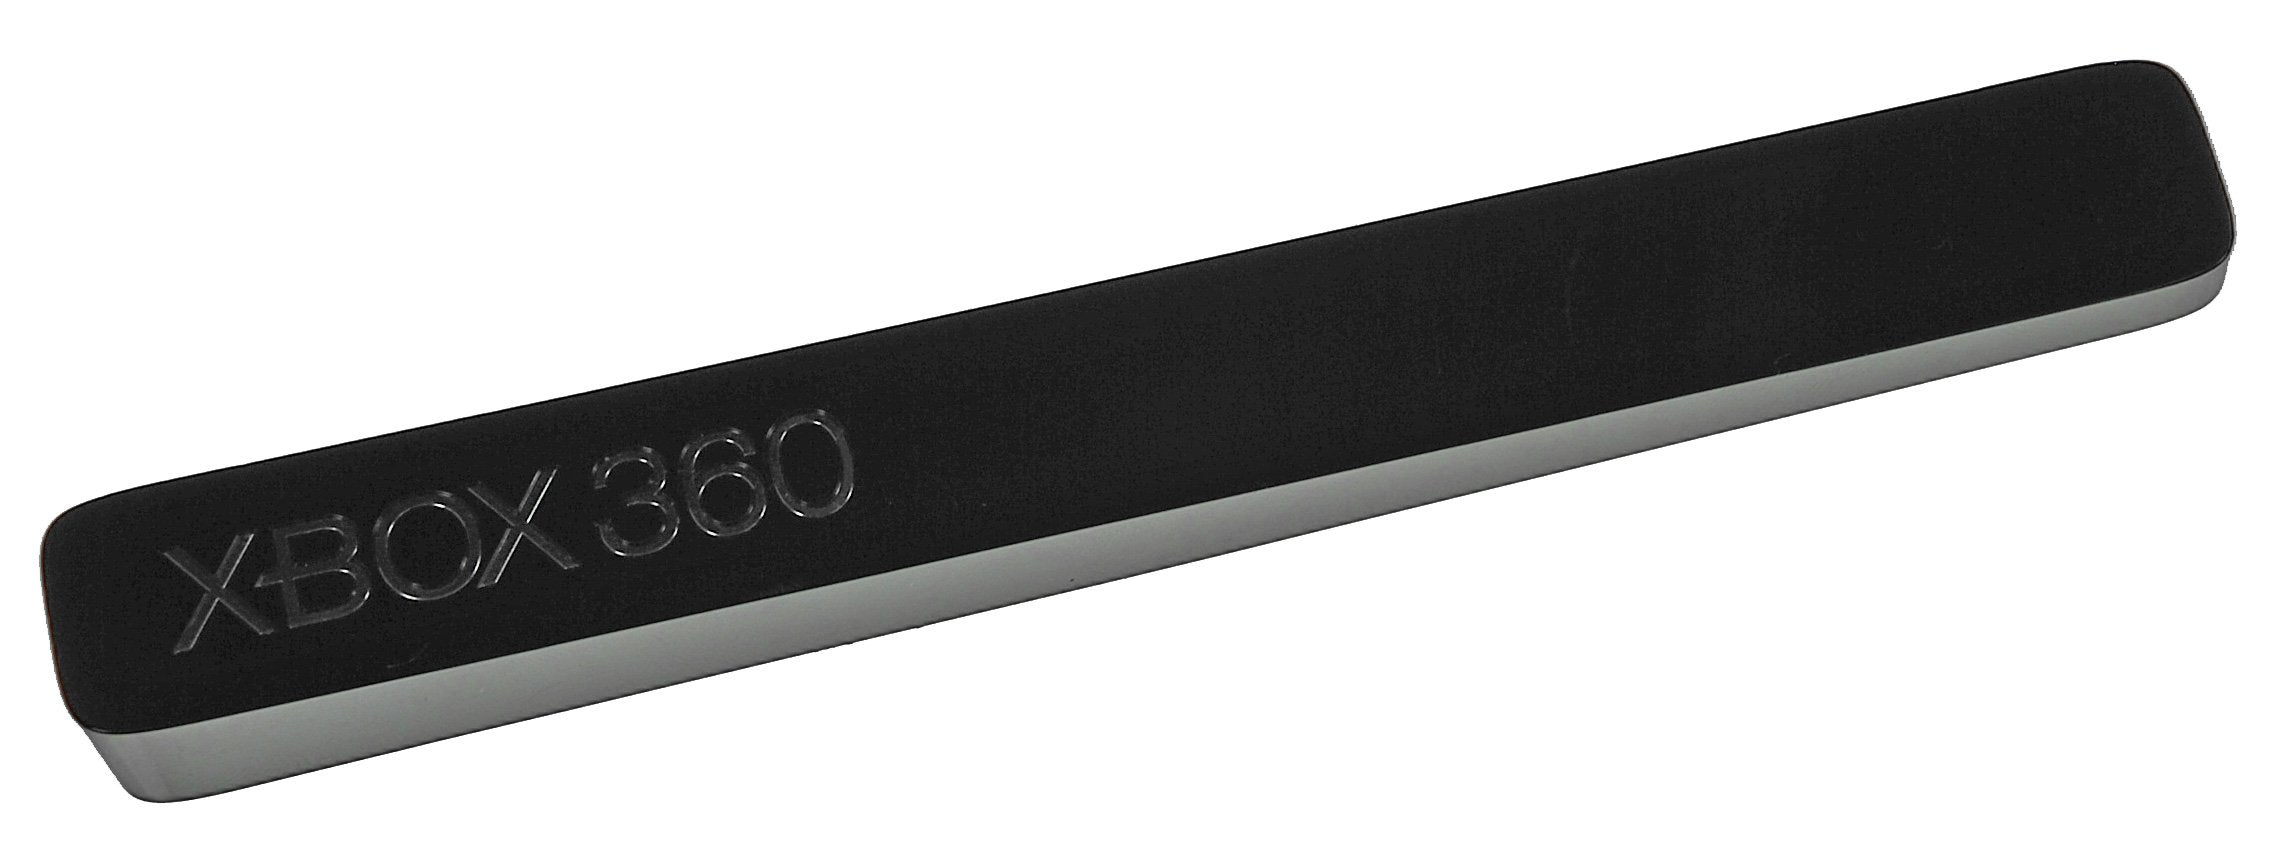
Get ready to tackle that gray plastic lower vent on your Xbox 360 with this handy guide! It’s easier than you think, and you’ll feel like a pro in no time. Let’s get to it!
Step 1
During the upcoming opening process, feel free to use the finger of an Xbox 360 opening tool instead of a spudger. It’s a nifty little hack that can make things easier for you!
– Position your console upright, with the bottom edge facing the sky!
– Gently slide the flat end of a spudger or the edge of your trusty Xbox 360 opening tool into the tiny gap at the front edge of the bottom vent.
– Carefully nudge the front edge of the bottom vent away from the faceplate like a pro!
Tools Used
Step 2
Get ready for some action! In the next few steps, you’ll be using the snazzy tip of a spudger or the trusty finger of an Xbox 360 opening tool to pop those clips loose along the left and right sides of the bottom vent. Just follow the red highlights to find their spots!
Now, gently insert your tool into the little holes molded into the white plastic side case. You’ve got this!
Tools Used
Step 4
– Now, let’s do the same thing to those two center clips on the bottom vent. They’re just waiting to be released!
Step 6
– Time to put everything back together! Just follow these steps in the opposite order and you’ll be golden.
– If you changed your mind, no worries! You can always step back.
– If you find yourself stuck at any point, remember, you can always schedule a repair.


