Replace Xbox 360 S RF Module Guide
Duration: 45 minutes
Steps: 37 Steps
Swap out that pesky RF module to get your Xbox 360 S power button back in action! It’s a straightforward fix that will have you gaming in no time. If you need help, you can always schedule a repair.
Step 1

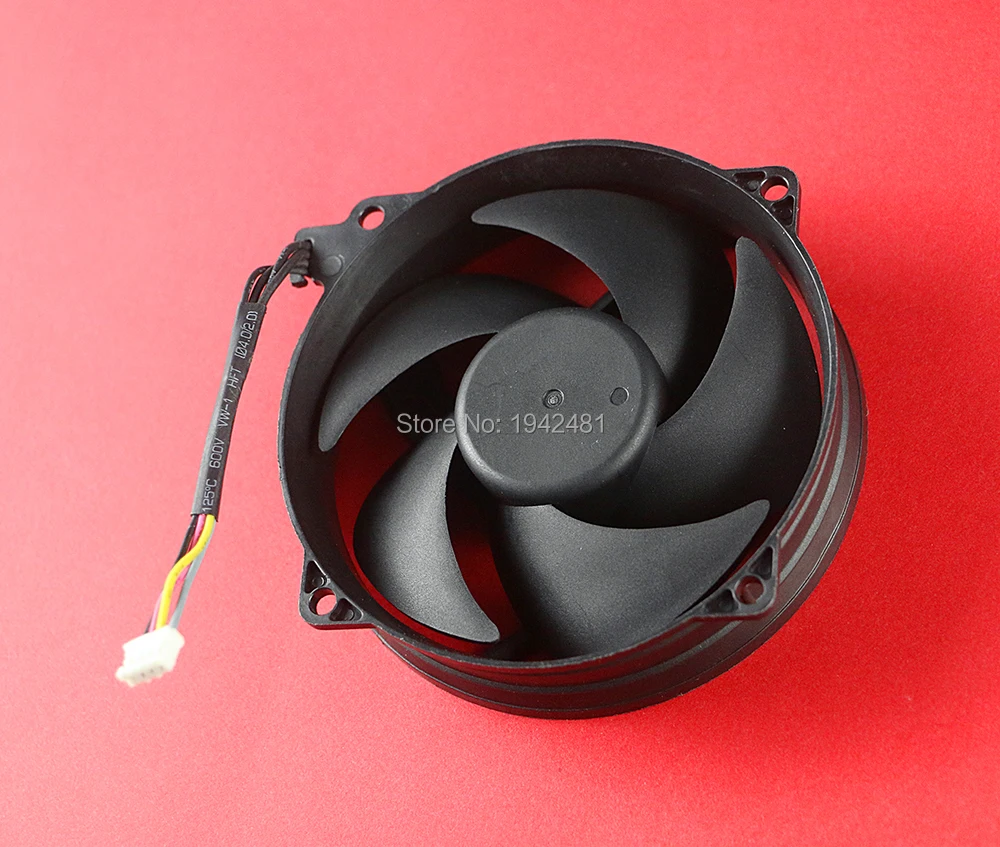
Be gentle when you’re taking off the fan vent—those little plastic clips can be a bit delicate, so let’s keep them safe and sound!
– Next up, it’s time to tackle the top vent! It’s held tight to the top panel by thirteen little clips. Let’s get those clips off and free the vent like a pro!
Step 2


– First off, let’s flip that console around so those cool ‘XBOX 360’ labels are upright and the front faceplate is looking to the left. Looking good already!
– Now, grab your trusty metal spudger and carefully slide it between the top vent and the bezel at the back of your Xbox. We’re sneaking in there!
– With a gentle twist of the spudger, pry the edge of the fan vent upwards until those pesky plastic clips give way. Easy does it, you’re making great progress!
Tools Used


Step 3


– Slide a metal spudger right between the fan vent and the top bezel on the left side of the console. It’s like giving your device a little nudge!
– Now, just like we did before, start gently prying the left side of the top vent away from the top bezel. Go slow and steady!
– Keep going along the left side of the device, popping all those clips free. You’re doing great—just a little more to go!
Tools Used


Step 5


These clips are easy to take apart! Just slip a metal spudger under the bottom edge of the clip and gently pry it away from the console. It’s like giving the clip a little high five, but with a tool!
– In the next few steps, you’ll be popping open the six clips marked in red. Let’s get those clips released with a smile!
Tools Used
Step 6


Turn the console so that the left case is facing you and the faceplate is facing the right.
You’ll hear a ‘pop’ when the clip is free. Let’s keep going!
– Grab your trusty metal spudger and slide it right into the front-most slit on the left edge of the top bezel, squeezing it between the bottom edge of the clip and the left case – just like we practiced!
– Now, give that spudger a twist away from the console while gently lifting up on the top bezel to let that clip set free. You’ve got this!
Tools Used
Step 7


– Just like you did before, gently pop out those last two clips on the left side of the top bezel. You’ve got this!
Step 8

Don’t worry, the top panel won’t budge from the console just yet – that’s totally normal at this stage.
– Get a good grip on the whole top panel, and give it a gentle lift from the left edge. You want to lift it just enough to pop the clips free and let the panel rest on the case.
– If any of the clips get stubborn, you can use a spudger to gently pry them loose. No worries, it’s all part of the fun!
Tools Used
Step 9


– Let’s get started by rotating your Xbox 360 S so the rear is on the right and the right case is facing you – easy peasy!
– Now, take a metal spudger and carefully insert it through the slit on the right edge of the top bezel, making sure it’s between the bottom edge of the clip and the right case. You’re doing great!
– While gently lifting the top bezel with your fingers, rotate the spudger away from the console to release the clip. If you need a little extra help, don’t worry, you can always schedule a repair with Salvation Repair.
Tools Used
Step 10


– Now, on the right side of the top panel, let’s give those middle and front clips a little nudge and release them. It’s just like what we did in the last steps, so you’ve got this!

Step 12


Position the Xbox 360 S so that its bottom is facing you, ready to tackle the task ahead!
– Slide the latch that’s holding the hard drive cover in place to the left – it’s like unlocking a secret compartment!
– Gently pull the hard drive cover away from the console. You’re making great progress!
Step 13


That fabric tab’s holding onto the hard drive like it’s their last dance! Give it a good tug, but be gentle – you don’t want to break anything.
– Grab hold of the fabric tab that’s labeled with the size of your hard drive (like “250 GB”) – it’s attached to the hard drive.
– Pull that hard drive right out of the console. It’s like giving it a high five, but in a more techy way.
Step 14

Next up, it’s time to pop off the bottom vent! Let’s get to it!
– It’s snugly held in place by the seven clips you see here, just waiting for you to give it a little nudge.
Step 15


Alright, let’s flip the Xbox 360 S around so that the hard drive port is nice and cozy facing up, while the faceplate gets a comfy leftward angle. You got this!
Step 16


All the clips along the right and front edges should be loose now. If a few extras have decided to join the party and come undone, that’s completely okay!
– Just like the earlier steps, gently wiggle those two pesky clips on the bottom right edge free. You got this!
Step 17


– Gently lift the bottom vent away from the bottom bezel to remove it. You’ve got this!
Step 18


– Those little red clips? Yeah, those are the ones that can be a little stubborn. No worries, we’ve got this! Grab your metal spudger and slide it under the bottom edge of the clip. Once it’s snug, gently pry away from the console. And poof! The clip is free! It’s like magic, but less smoke and mirrors. 😉
Tools Used
Step 19


You might hear a satisfying ‘pop’ sound, which means the clip has released its catch. Keep going, you’re doing great!
Step 20


You should now see that the entire left side of the bottom bezel is all clear and ready for the next step!
– Slide a trusty metal spudger into the left middle slit of the bottom bezel, sneaking it between the clip’s bottom edge and the left side of the case.
– While you’re at it, gently pull the bottom bezel upward and twist that spudger away from the console to pop the clip loose.
– Now, let’s give some love to the front of the bottom bezel’s left edge and free that clip in a similar way!
Tools Used
Step 21


Flip that console around so the faceplate is grinning to the right and the right side is looking right back at you.
This clip can be a bit of a challenge to budge. A little elbow grease will help you get that spudger in just the right spot.
– Time to get this repair started! Insert your trusty spudger into the rear-most slit on the right edge of the bottom bezel. Gently push it down while guiding the tip against the right case, and you’ll find the clip starts to loosen.
– Now, carefully release the clip and pull the bottom bezel up – it’s like a little puzzle piece coming together! If you need help, you can always schedule a repair
Tools Used
Step 22

Step 23


Hey there! Just a heads up, this little clip is the shy one of the group. It’s smaller than the rest and prefers to stay put, so don’t try to lift it from above like the others. Give it a gentle nudge instead!
Step 24

If you keep prying open your Xbox 360, you might just end up peeling off that warranty sticker on the outer case. And trust us, removing that seal could mean waving goodbye to your Microsoft warranty for any parts not directly connected to the logic board. So, tread carefully, friend!
Step 25


Alright, let’s get this show on the road! Flip your device so the screen is facing you, like you’re about to watch a movie.
– First up, find those two clips that are keeping the right and left cases together at the top edge of the console, just behind the Wi-Fi card. They’re the sneaky little connectors!
– Now, with one hand, gently push the left and right cases away from each other. While you’re doing that, use a metal spudger to carefully pry those clips away from the case. You’ve got this!
Tools Used
Step 26


Keep those two cases apart like they’re in a dance-off! This way, the clips won’t sneak back together on you.
– Slide a spudger between the left and right cases to keep them apart while you focus on other areas of the repair. If you need help, you can always schedule a repair.
Tools Used
Step 27


Turn that Xbox upside down with the faceplate looking to your left, and make sure the left side is aimed right at you!
– As you gently push the left and right cases apart with one hand, don’t forget to free that sneaky clip hiding out next to the hard drive slot.


Step 29


Feel free to take out those spudgers that are keeping the top and bottom clips apart! You’re doing great!
– Let’s get this party started! Gently slide the flat edge of a metal spudger between the left and right cases, right where the warranty sticker used to be. You’re a rockstar!
– Now, pry the left case upwards to create a little gap between the cases. Then, smoothly slide the spudger towards the left case. You got this!
– Time to release that last clip! Rotate the spudger upward. You’re almost there!
Tools Used
Step 30


– Let’s get this party started by releasing the clip in the front left corner of the top edge. This clip secures the left case to the faceplate. You’ve got this!
Step 31


– Turn the console upside down so the bottom is facing up, ready for action!
– Pop open the clip in the front left corner of the bottom edge to free the left case from the faceplate.
– Gently swing the left case away from the device to unhook the last two inner clips.
– Now, go ahead and take off the left case!
Step 32


Let’s get started by placing the console right-side-up, so the faceplate is facing forward – easy peasy!
– Gently unclip the fastener located at the front right corner along the top edge that’s holding the right case snugly to the faceplate.
Step 33

Flip that console over, friend! Let’s see that bottom side. Make sure the faceplate is looking right at you.
– Let’s loosen that grip! Carefully release the clip in the bottom right corner of the top edge that’s holding the right case to the front case.
Step 34


The faceplate is still hanging out with the console via a delicate ribbon cable. Hold off on fully removing the faceplate just yet!
– Alright, let’s give that faceplate a little lift on the left side. You’ll feel those last two clips letting go, and then… voila! The faceplate is free.
– Time to gently detach that faceplate from the rest of the device. You’re almost there!
Step 35


The locking tab has a bit of a limited range – it’ll only budge about 2 mm, so be gentle!
– Alright, let’s get this party started! Using a spudger or your trusty fingernail, gently lift that clear blue tab away from the connector.
– Now, slide that locking tab on the power switch board cable connector towards the top of the console. It’s like a little dance party for that tab.
– Time to pull the power switch cable straight out of the connector. It’s like a graceful swan dive, but for a cable.
– Boom! You’ve now freed the faceplate from the rest of the console. You’re doing great!
Tools Used
Step 36

– Time to get those two 5.6 mm T8 Torx screws out of the way! They’re holding the RF module snug against the metal case, so grab your trusty screwdriver and let’s make it happen!
Step 37


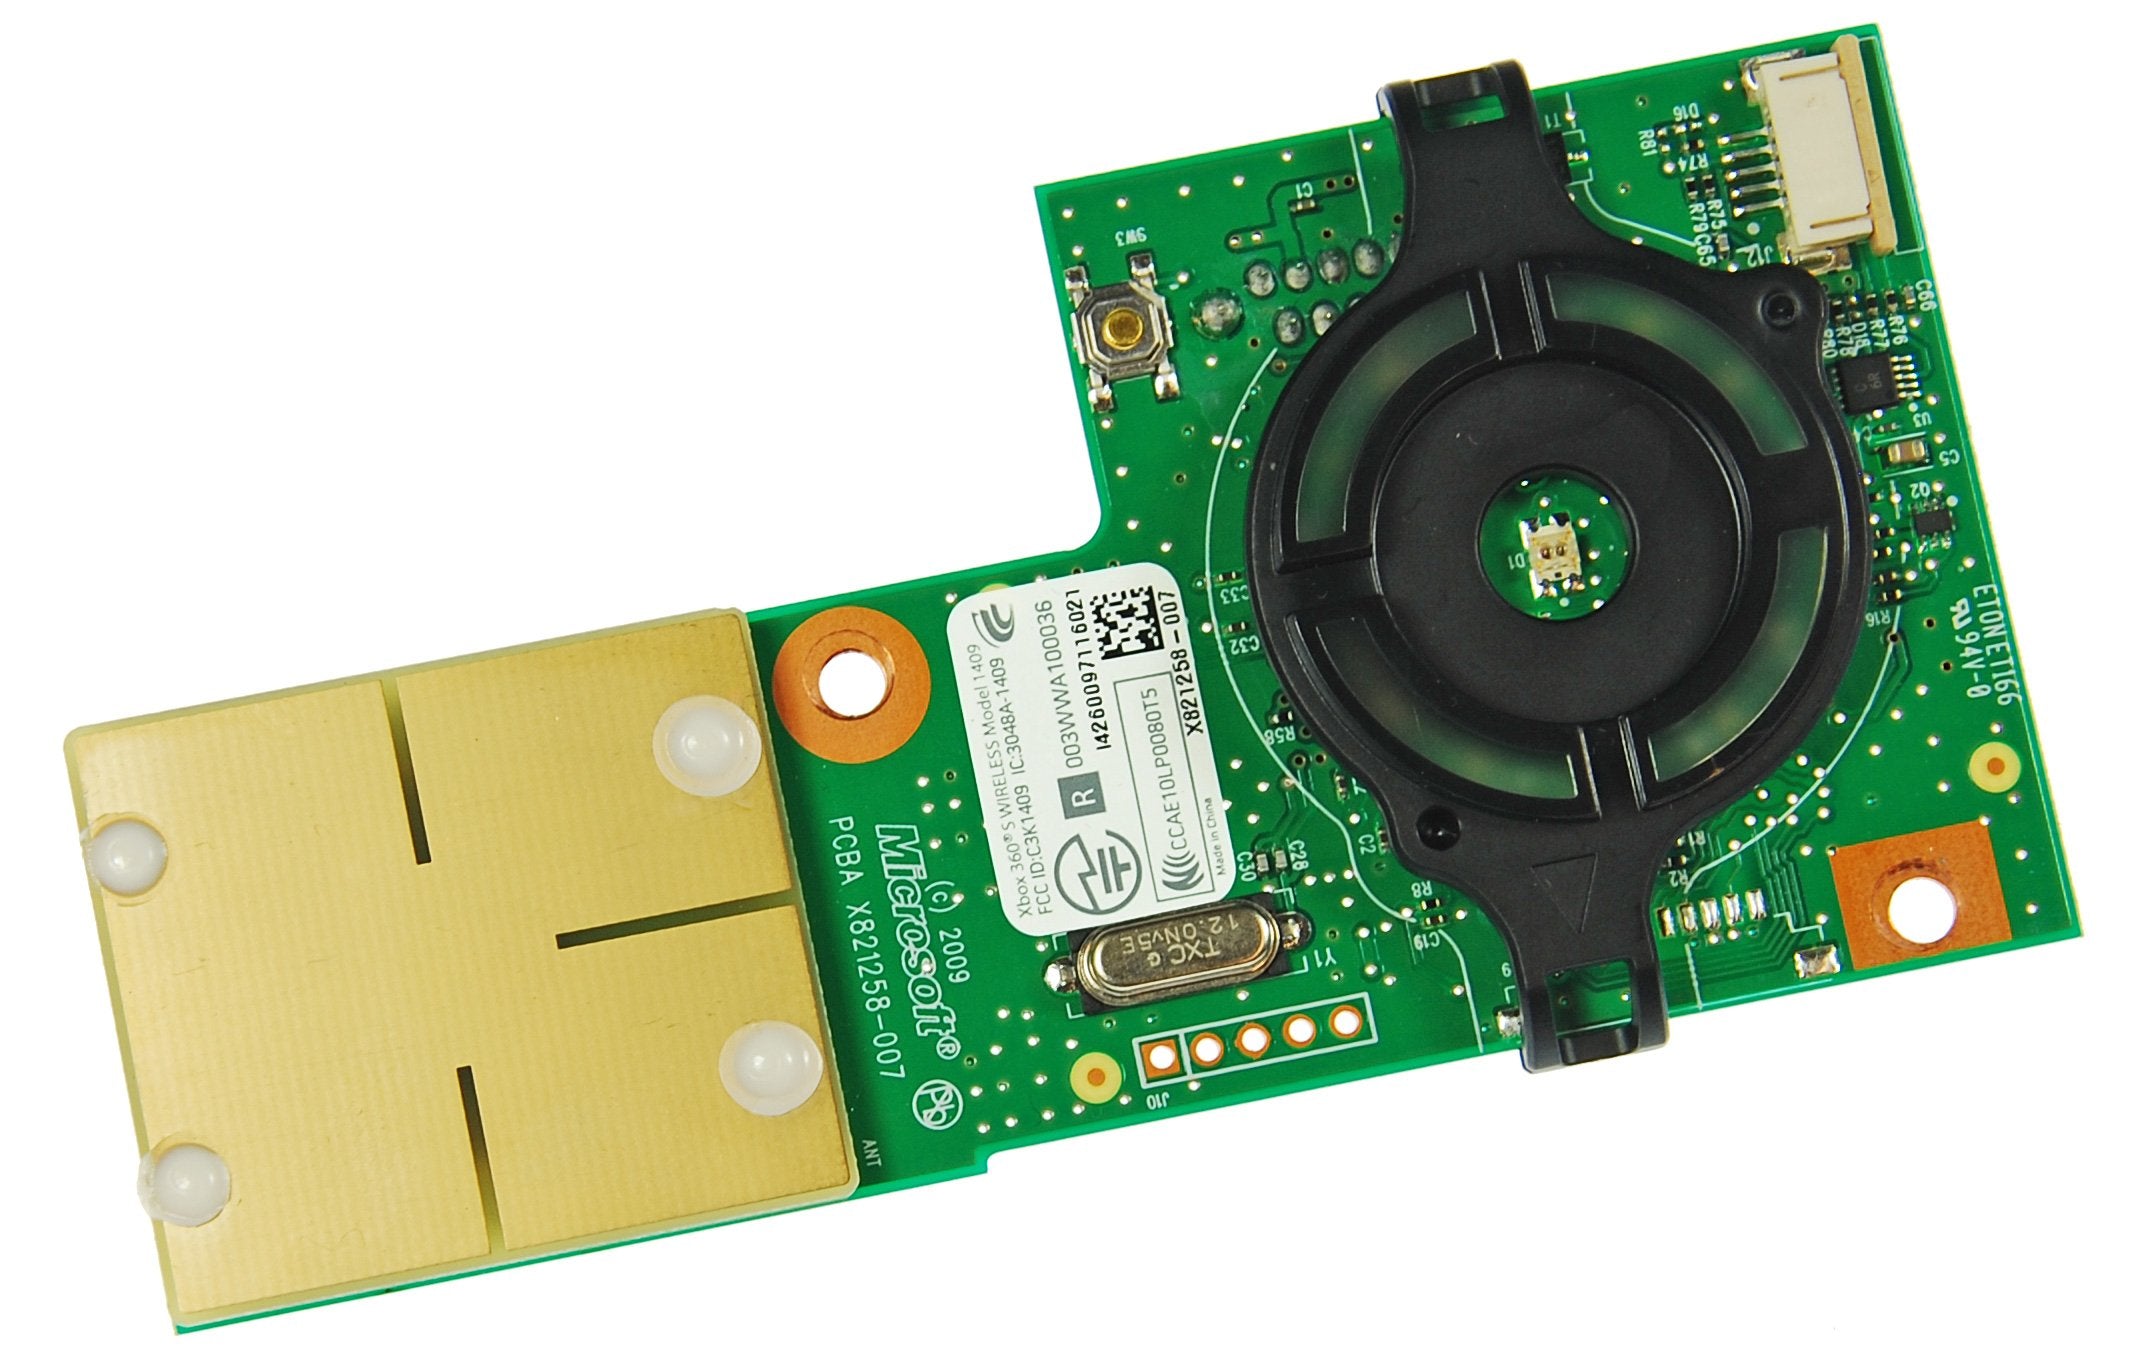
Hey, that RF module is still hanging out with the Xbox, connected by a big ol’ USB plug. Let’s get it unplugged and ready to go!
– To put everything back together, just follow these steps in reverse – easy peasy!
– If you didn’t quite get it done, no worries! You can always schedule a repair and let the pros handle it.
– You’re almost done! Take a deep breath, and you’ll be enjoying your freshly repaired device in no time.