DIY Guide: Replace Xbox 360 S Case – Step-by-Step Tutorial
Duration: 45 minutes
Steps: 31 Steps
Get your Xbox 360 S looking shiny and new again by swapping out the outer panels. It’s a great way to give your console a fresh new look, and with this step-by-step guide, you’ll be done in no time. If you need help, you can always schedule a repair.
Step 1


Alright, let’s get this party started! Flip that Xbox 360 S around so you’re lookin’ at the bottom. You got this!
– Slide that latch to the left to release the hard drive cover like a pro.
– Gently pull the hard drive cover away from the console and give yourself a pat on the back!
Step 2


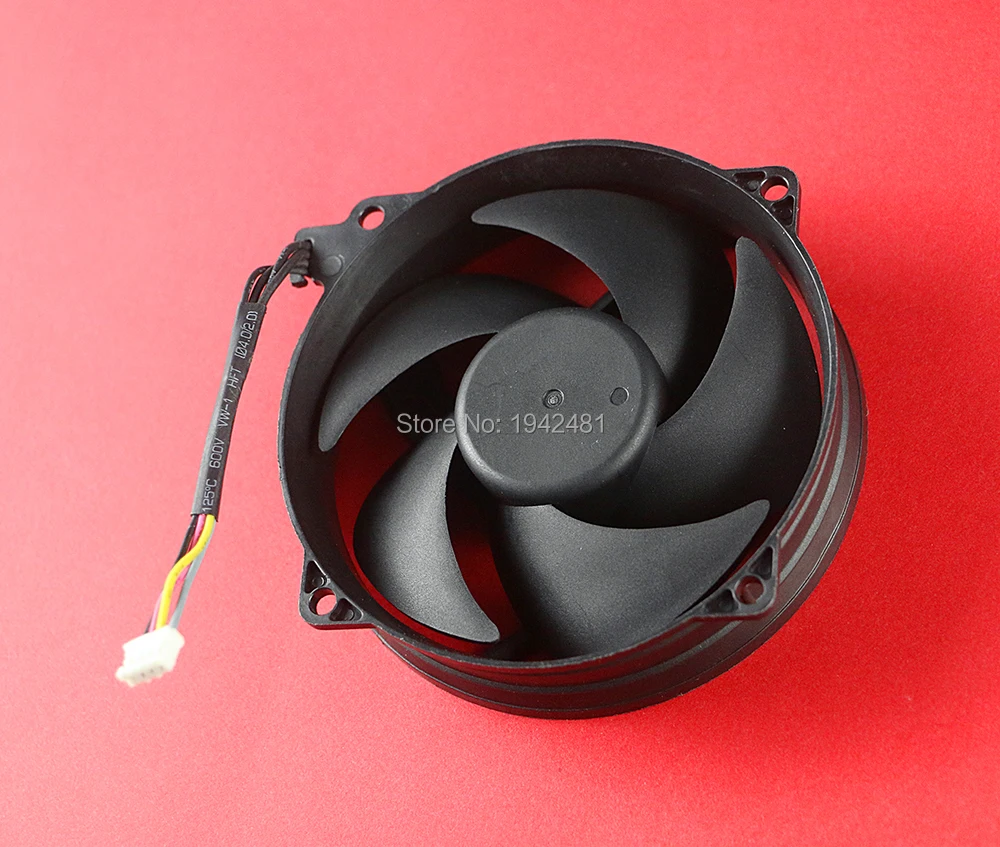
That fabric tab is holding on tight! It’s attached to a little catch inside the hard drive housing. You might need to give it a little tug to get the hard drive out. No worries, it’s all part of the adventure!
– Grab that fabric tab marked with the hard drive size (like ‘250 GB’) and give it a good hold.
– Now, gently pull the hard drive straight out of the console like you’re unveiling a surprise!
Step 3

Let’s get started by removing the bottom vent in the following steps.
– It’s all held together by seven sneaky clips nestled on the bottom panel. You’ve got this!
Step 4


Position your Xbox 360 S with the hard drive port facing upwards and the faceplate looking to the left, like it’s striking a pose!


Step 5


High five! You’ve got those clips loosened up. If any others decided to join the party, that’s cool too. Let’s keep going!
– Now, let’s tackle those last two clips on the bottom right side. Use the same technique we just learned and gently pry them up. You got this!
Step 6


– Gently pop off the bottom vent by lifting it away from the bottom bezel. You’ve got this!
Step 7


Next up, it’s time to tackle the bottom bezel! It’s held in place by four clips, just waiting for you to give them a little nudge. Let’s get that console open and see what magic lies inside!
– To get those red clips off, gently slide a metal spudger under the bottom edge of each one. Once you’re snugly underneath, just give it a little pry away from the console, and voilà, the clip will release!
Tools Used
Step 8


You’ll hear a delightful little ‘pop’ when the clip finally lets go of its catch!
Step 9


You should now have the entire left side of the bottom bezel freed up, nice work!
– Slide a metal spudger into the left middle slit of the bottom bezel, and gently wedge it between the bottom edge of the clip and the left case.
– While you’re at it, lift the bottom bezel up and twist the spudger away from the console to release that pesky clip.
– Now, just like before, work on freeing the clip at the front of the bottom bezel’s left edge.
Tools Used
Step 10


Let’s flip this console around so the faceplate is on your right and the right case is facing you – easy peasy!
Okay, this clip can be a bit stubborn, so be prepared to use some gentle force to get that spudger in just right. Don’t worry, you got this!
– Slide the spudger into the back slit on the right side of the bottom bezel. Give it a little nudge behind the clip by pushing downward while pressing the tip of the spudger against the right casing. You’ve got this!
– At the same time, release that clip and gently lift the bottom bezel upwards. Easy peasy!
Tools Used
Step 11

Don’t worry, this clip doesn’t have a clear path like the others. Look for it hiding under the bezel near the hard drive slot. You’ll find it!
Step 12


This little clip is a bit shy compared to its buddies, so leave it be and don’t try to pull it out from the top like the others.
– Let’s give that bottom bezel a little lift on the left side, just enough to create some space.
– Now, grab your trusty metal spudger and slide it behind the last clip on the left side. Gently push the clip away from the right side of the case. We’re making room for our next move, so don’t worry, it’s all part of the plan!
Tools Used
Step 13

Those little fan vent clips are delicate, so be super careful when you’re removing the vent. You don’t want to break them, right? Just take your time and you’ll be golden.
– Get ready to tackle this! First up, we’ll be popping off the top vent that’s held snugly in place by thirteen little clips. Let’s do this!
Step 14


– Get your Xbox 360 console in the right position – make sure the ‘XBOX 360’ text on the sides is upright and the faceplate is facing left.
– Carefully insert a metal spudger between the top vent and the top bezel, near the back of your Xbox. This is where the magic happens!
– Gently rotate the spudger away from the console, easing the edge of the fan vent up until the two plastic clips release. Take your time, you’re doing great!
Tools Used
Step 15


– Slide a metal spudger into the gap between the fan vent and the top bezel on the left side of the console. You’ve got this!
– Using the same approach as before, start gently prying the left side of the top vent away from the top bezel. Keep going!
– Keep prying along the left side of the device, releasing all those clips on that side. Almost there!
Tools Used


Step 17


To release each clip, slide a metal spudger under the bottom edge and gently pry it away from the console. This should set the clip free with minimal effort. If you’re having trouble, don’t worry – it’s all part of the process. Take your time and you’ll be back on track in no time.
– Let’s get started! In the following steps, we’ll be releasing the six clips highlighted in red. It’s easier than you think, and with these simple steps, you’ll be a pro in no time!
Tools Used
Step 18


Position the console so that the left side is facing you and the faceplate is aimed to the right. Let’s get this party started!
Listen for a satisfying ‘pop’ sound, which means the clip has happily released its grip.
– Ready to rock? Take your trusty metal spudger and slide it in through the front slot on the left side of the top bezel. It should be snug between the bottom edge of the clip and the left case – you know, just like we talked about before!
– Now, hold onto your spudger and give it a little twist away from the console. At the same time, gently pull up on the top bezel. This should release the clip – we’re almost there!
Tools Used
Step 19


– Now, let’s tackle those last two clips on the left edge of the top bezel. Use the same technique you mastered earlier to set them free.
Step 20

The top panel is still holding on tight to the console. Don’t worry, it just needs a little extra coaxing.
– Take hold of the top panel with both hands and gently lift the left edge high enough so the clips can rest comfortably on the left case.
– If any clips decide to play hard to get and reattach themselves, just grab your trusty spudger and give them a little nudge to set them free.
Tools Used
Step 21


– Turn your console around so the back of the Xbox 360 S is pointing to the right, and the right side is looking right at you.
– Slide a metal spudger into the back slit on the right edge of the top bezel, right between the bottom of the clip and the right case.
– As you gently lift the top bezel with your fingers, twist the spudger away from the console to pop that clip free!
Tools Used
Step 22


– Just like you did before, gently pop open the middle and front clips along the right side of the top panel. You’ve got this!

Step 24

Proceeding to open your Xbox 360 beyond this point means you’ll need to break or remove that shiny warranty sticker on the outer case. Just a heads up: doing so might void your Microsoft warranty for any components not directly attached to the logic board. So, think twice before you make that move!
Step 25


Place the console right side up, ensuring the faceplate is directed towards you.
– First, track down the two clips that connect the right and left case along the top edge of the console, hiding behind the Wi-Fi card. Get familiar with their location!
– Now, use one hand to gently push the left and right case away from each other, and with the other hand, carefully pry those clips away from the case using a trusty metal spudger.
Tools Used


Step 27


Turn the Xbox upside down so the faceplate is to your left and the left side of the case is facing you.
– With one hand, gently push the left and right cases apart, and with the other hand, release the clip next to the hard drive slot. It’s like a little dance, but for your device!


Step 29


You can go ahead and take out those spudgers that are keeping the top and bottom clips separated.
– Slide the flat edge of a metal spudger between the left and right cases right where that warranty sticker used to hang out.
– Gently pry the left case upwards to create a little gap between the two cases, and then slide the spudger in towards the left case.
– Give the spudger a little upward twist to pop the last clip free.
Tools Used
Step 30


– Pop open the clip in the front left corner of the top edge that’s holding the left case snugly against the faceplate. You’ve got this!
Step 31


– Turn your console upside down, so the bottom is looking up at you.
– Pop open the clip in the front left corner of the bottom edge that’s keeping the left case snug against the faceplate.
– Gently rotate the left case away from the device to free the last two pesky inner clips.
– And just like that, remove the left case!