DIY Xbox 360 S Laser Lens Replacement Guide: Step-by-Step
Duration: 45 minutes
Steps: 25 Steps
Step 1

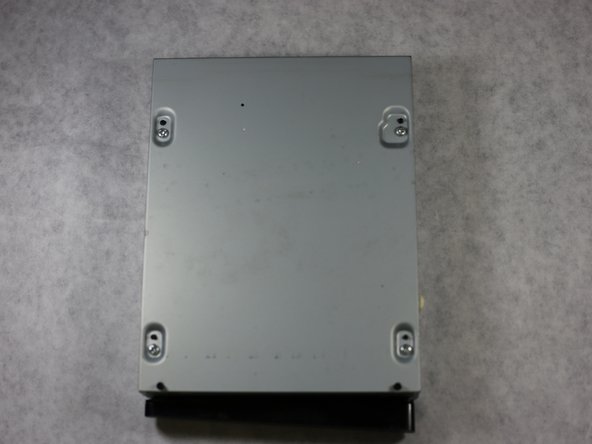
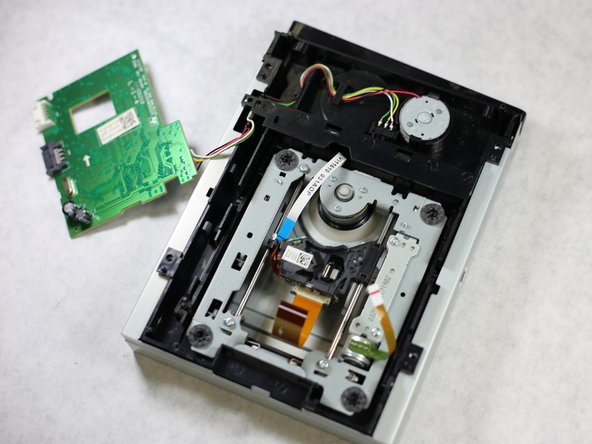
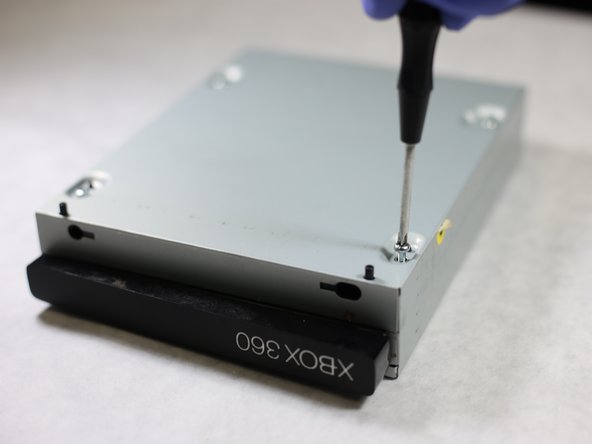
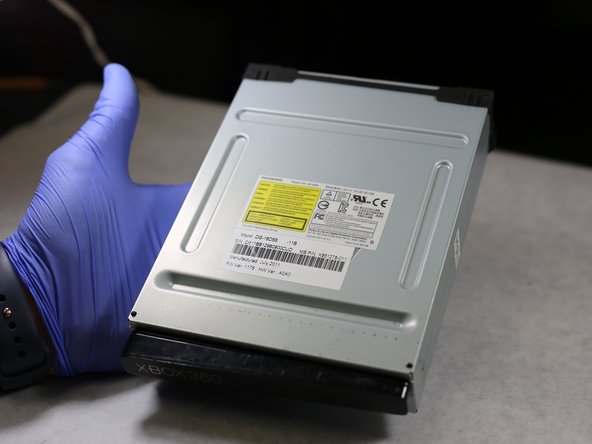
– Xbox 360 S Optical Drive Replacement
– To get to the laser and swap it out, you’ll first need to take off the disk drive. No sweat, you’ve got this!
– Check out the handy guide linked at the top that walks you through removing and replacing the optical disk drive. If you need help, you can always schedule a repair.
Step 2
If you’ve got a shiny new laser lens with an anti-static solder joint, just check out the video guide to easily tackle that solder joint removal. You’ve got this!
Check out this helpful video: https://youtu.be/iL8wVC9PLBk
When getting a shiny new lens, some come ready with a solder joint, while others like to keep it simple and bare.
If yours has the solder joint, it’s time to channel your inner tech wizard and desolder it! Don’t worry, we’ve got a video to guide you through the magic.
Step 3

– Alright, you’ve nailed steps 1 and 2! Now, let’s get that elastic band off the disk drive.
Step 4
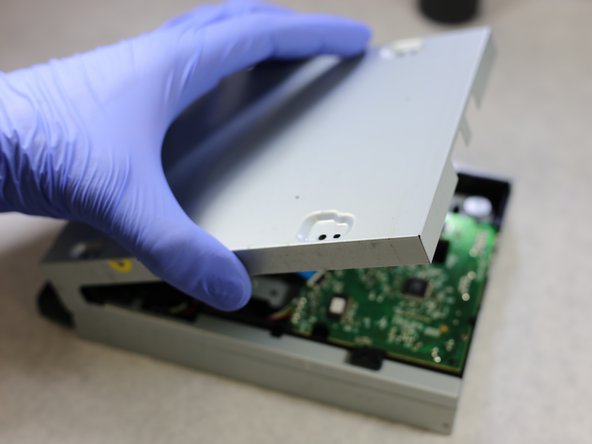
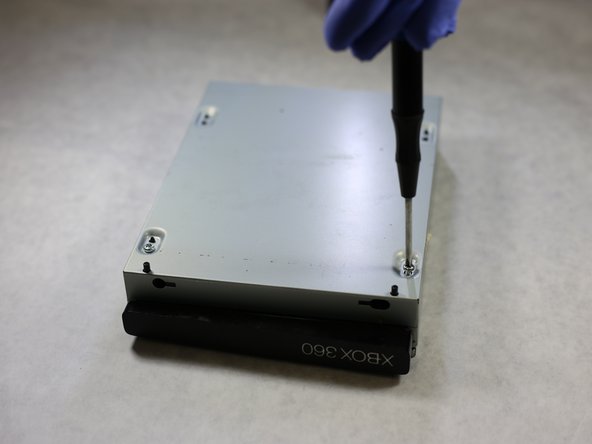

– Now that we’ve got the underside in view, let’s spot those 4 main screws.
– Time to take those 4 screws out!
– Lift off the cover to reveal the inner assembly.


Step 7
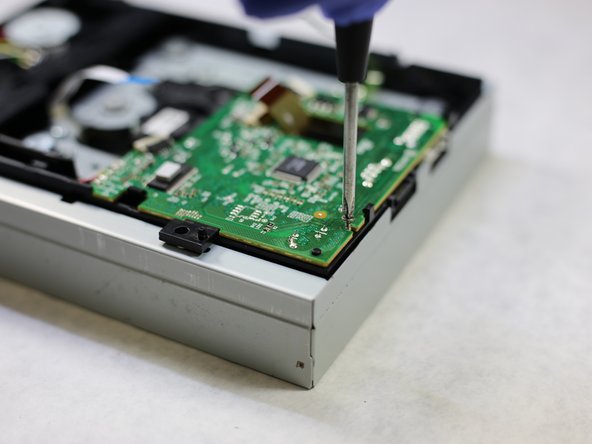


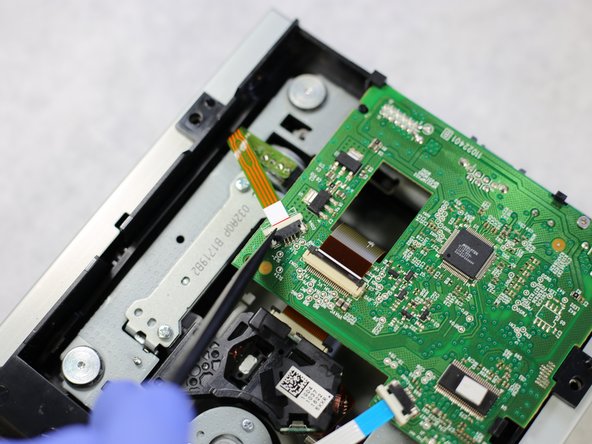
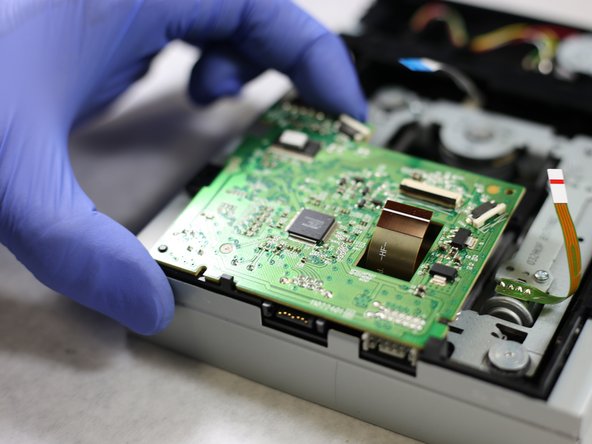
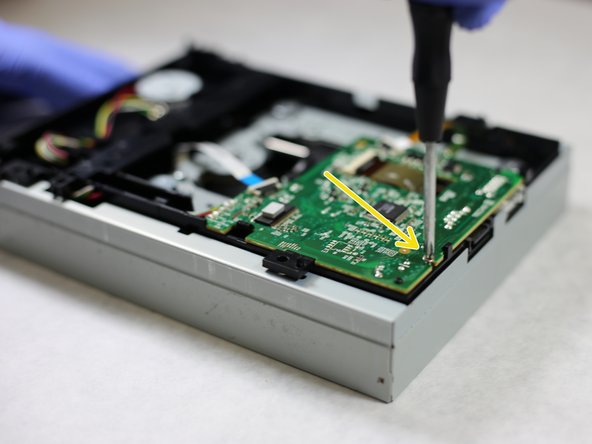
– Find the screw that’s keeping the motherboard snug with the disk drive.
– Grab your trusty screwdriver and gently twist that motherboard screw out.
Step 8

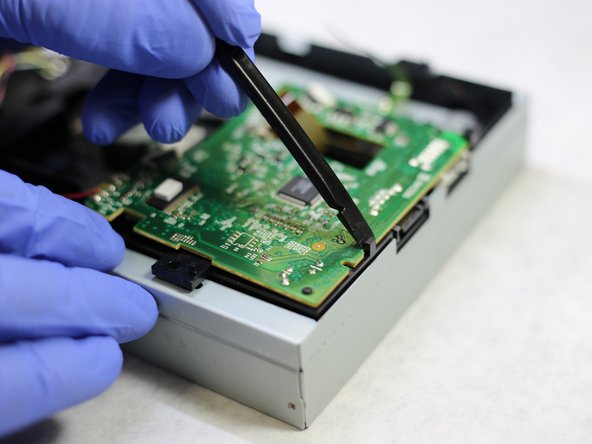
– Alright, grab your trusty spudger and use its flat side to carefully slide under the largest plastic pin at the edge of the board.
– Give that pin a gentle push backward until it pops off the board, just like magic!
– Now, it’s time for round two! With your spudger, gently push the smaller second pin backward and watch it release from the board.
– Finally, ease the board away from the pin just a smidge so that it’s free from the last pesky plastic bit (you know, that black corner thing).
Tools Used
Step 9


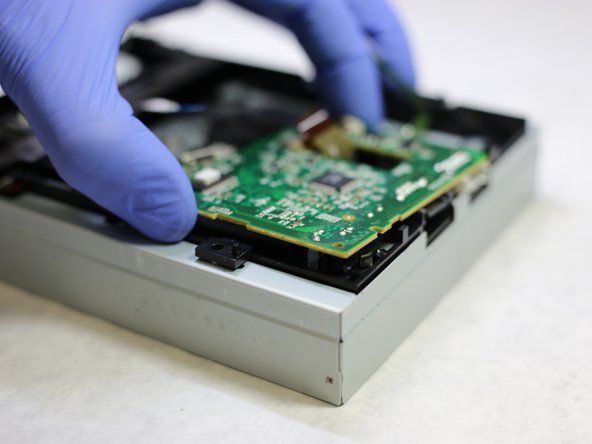
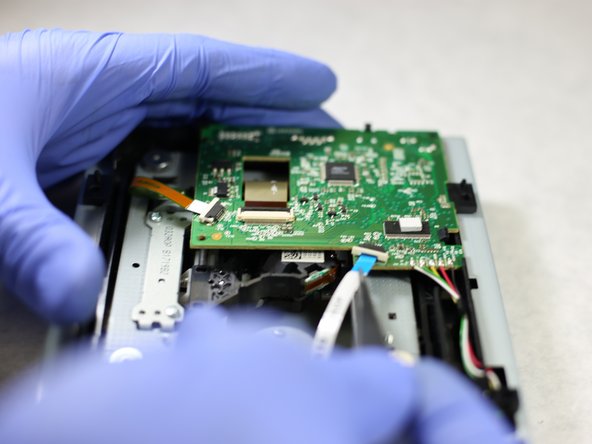
Take it easy on that motherboard! Gently guide it out, you don’t want to give those wires a rude awakening, right?
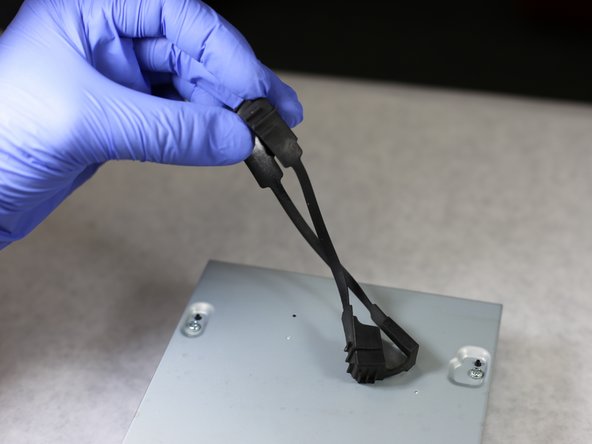
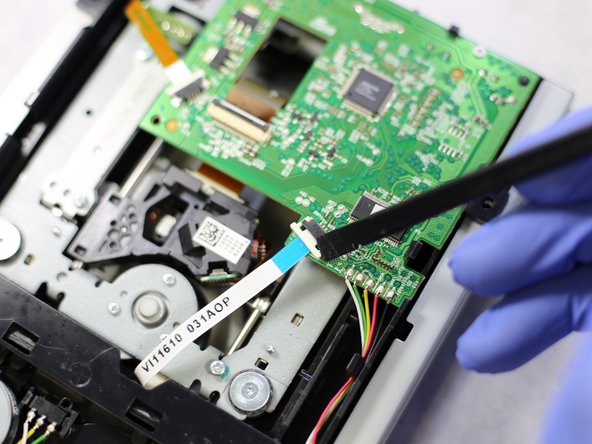
– Now that the board is free, let’s find that sneaky pin holding the wires in place.
– Grab your trusty spudger and give that pin a little push back.
– Lift the whole board up to release those wires – easy peasy!
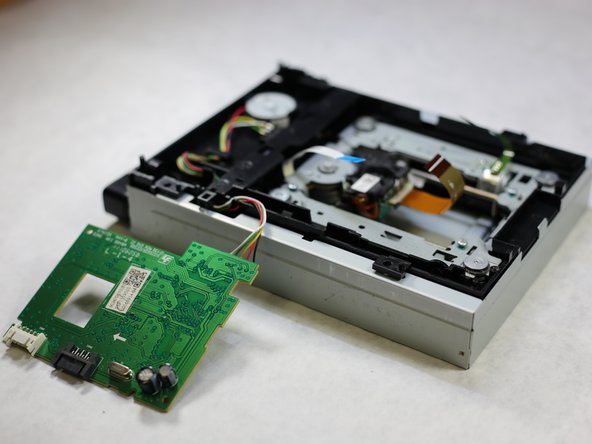
– Place the motherboard beside the disk drive like best buds.
Tools Used
Step 10

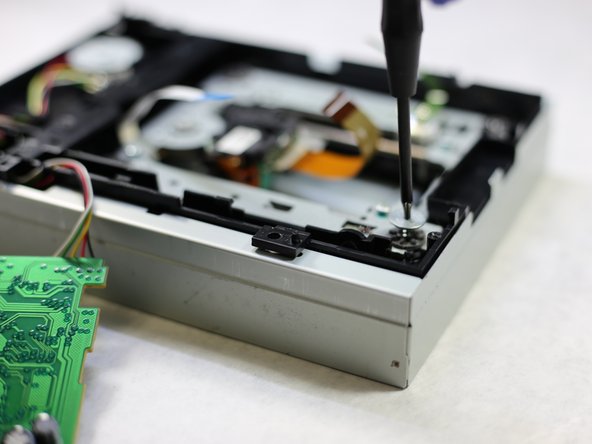
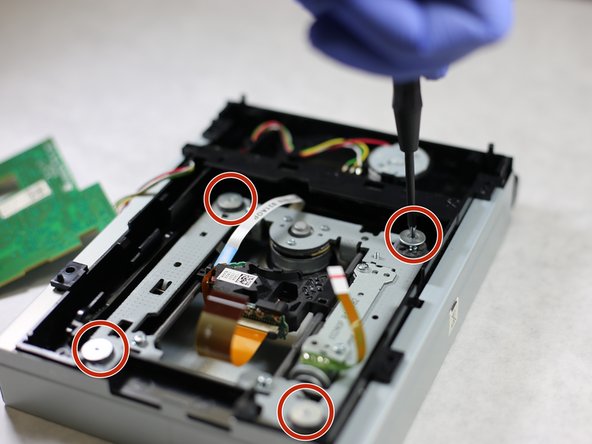
– First, track down the 4 circular hex screws that hold the laser rail assembly in place – they’re the key to getting started!
– Now, grab your trusty T6 hex screw driver and carefully remove these 4 screws. Take your time, you got this!
Step 11


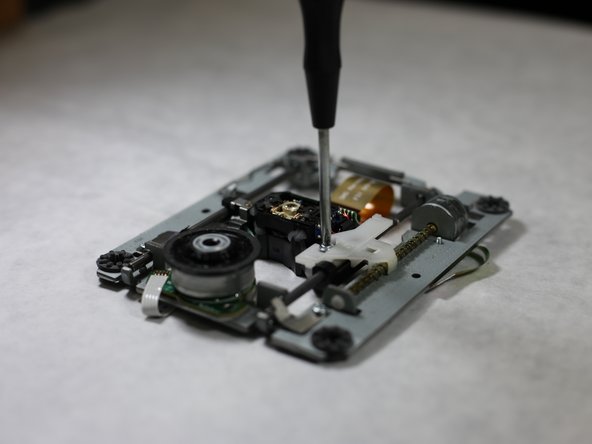
– Gently lift the rail assembly out of the disk drive, and then set that disk drive aside like a pro!
Step 12


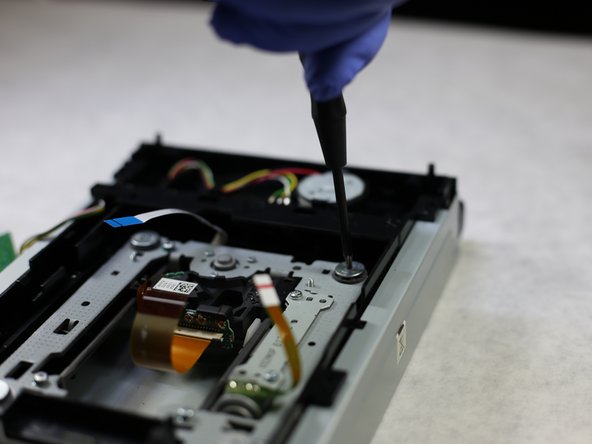
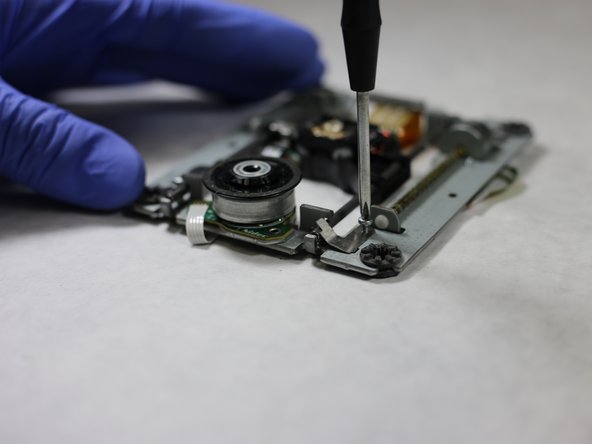
– Turn the laser rail assembly upside down to reveal those sneaky screws waiting for you.
– Unscrew the bolt that holds the laser lens to its trusty plastic fastener.
Step 13
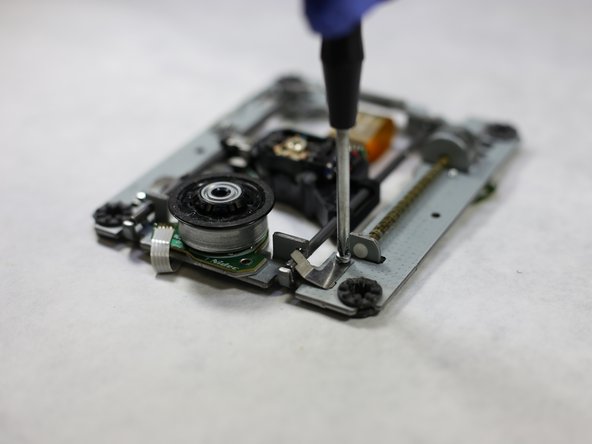


– Let’s loosen that screw holding the metal fastener to the rail. No sweat!
– Now, with the screw out of the way, give that metal fastener holding the rod to the rail a little nudge and watch it come right off. Easy peasy!
Step 14

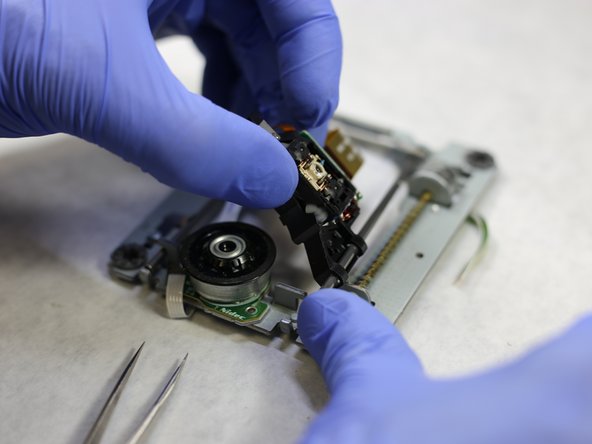

– Gently nudge the rail end to the side and ease it out from beneath the metal latch.
– Carefully slide the lens off the rail and set the rail assembly aside for now.

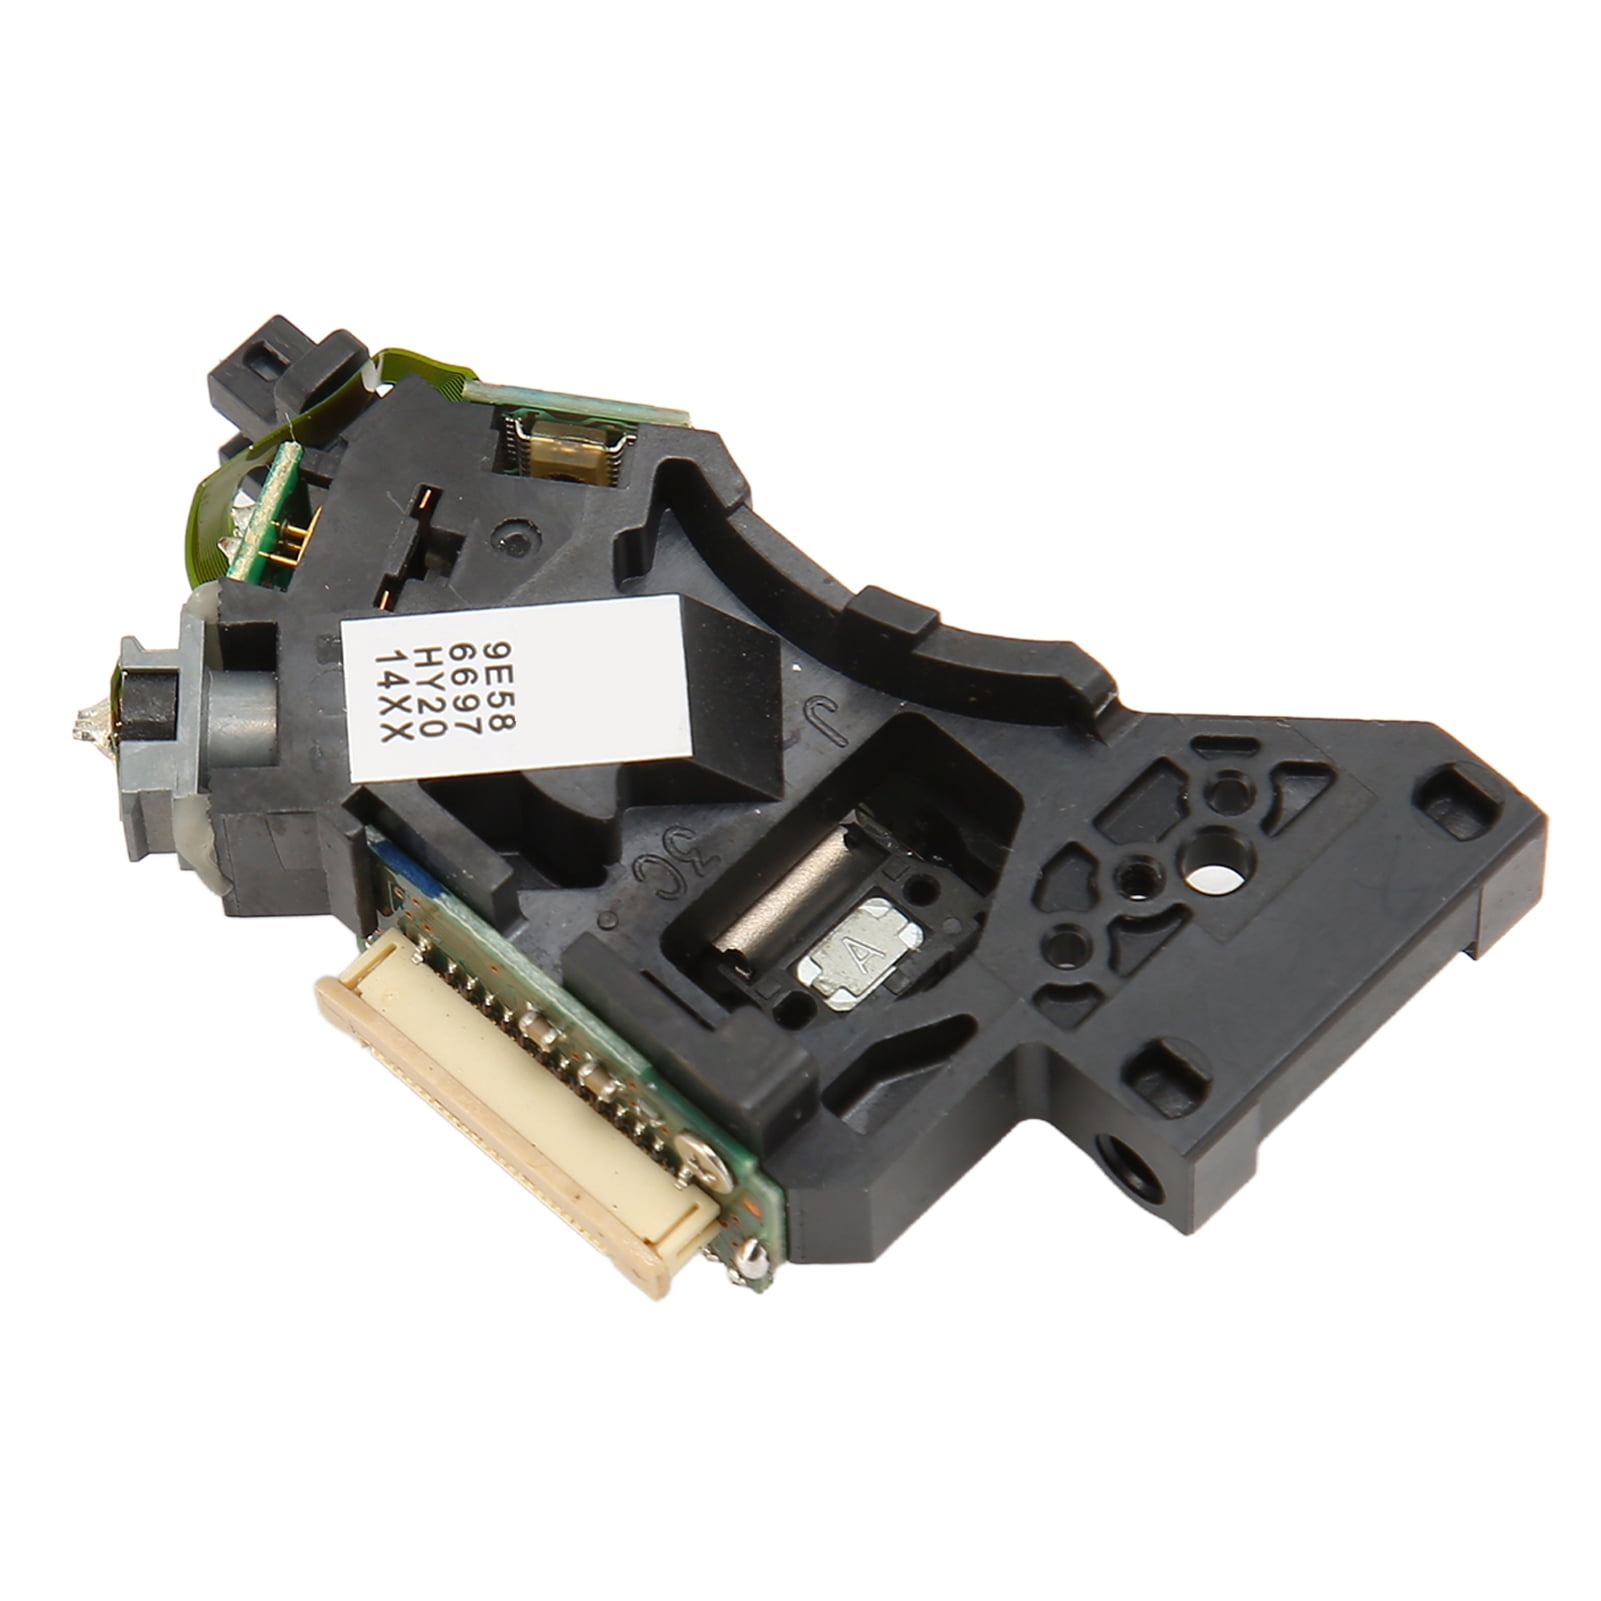
Step 16

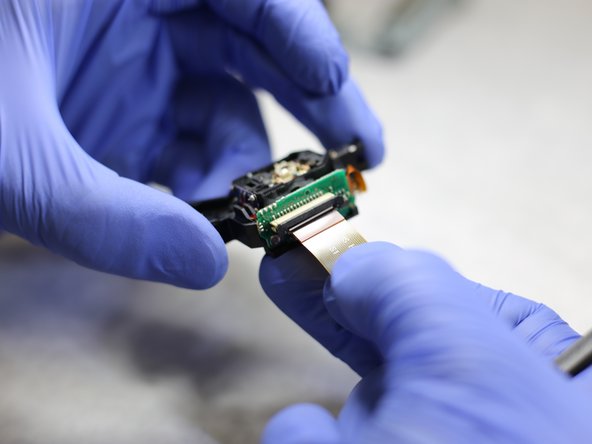
– Let’s start with the lens – this is what we’ll be working with.
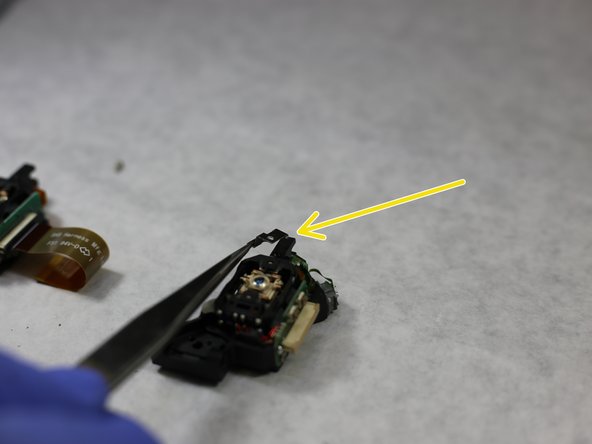
– Next, carefully remove the screw that’s holding the metal fastener in place on the old lens. This will help you get started on the replacement process.
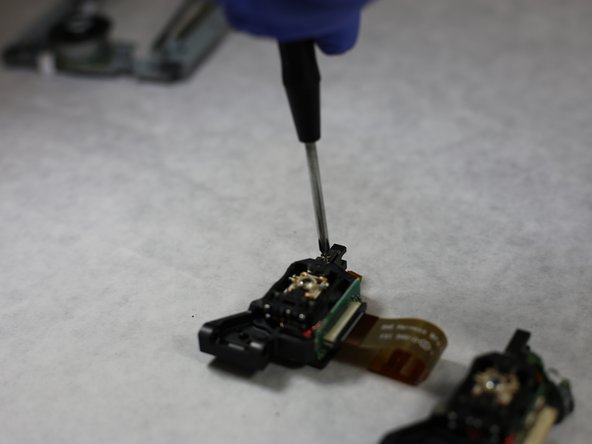
– Now that the screw is out, you should be able to remove the metal fastener that was holding everything together. It’s starting to come apart, and that’s a great sign!
Step 17

– Slide the ribbon into the new lens and snap it into place by securing the plastic fastener. You’ve got this!
– Take the metal fastener you removed earlier and place it on the new laser lens. Use the screw you took out to fasten it securely to the replacement lens. Easy peasy!
Step 18

– Gently slide the new lens onto the right rail, like it’s taking a cozy seat.
– Now, give a little push to clip the other side of the lens onto the left rail. It’s a snug fit, but you’ve got this!
Step 19

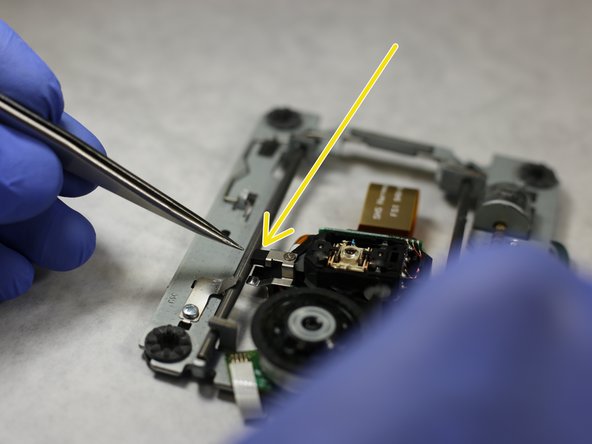
– Time to get that right rail back in place! Slide it under the metal latch – it’s the part pointed to by the arrow. Make sure it’s secure and even.
– Now, let’s put everything back together. Take the metal fastener you removed earlier and put it back where it belongs. Secure it with the screw you set aside, and you’re good to go! If you need help, you can always schedule a repair
Step 20

– Grab that plastic fastener and its trusty screw.
– Attach the plastic fastener back onto the laser lens and use your trusty Philips head screwdriver to snugly secure the screw. Now the lens should be happily resting on the rail.
Step 21

– Slide that rail assembly right into the disk drive like you mean it!
– Grab those 4 screws you took out earlier and fasten everything snugly in place.
Step 22

Need a little extra help? Check out steps 8 and 9 for some additional photos to guide you through the process.
Let’s work our way backwards! Start with the first photo in step 9 and secure those wires into their enclosure using their pin. Easy peasy!
Now, head back to step 8 and follow the photos in reverse order. You got this!
– Time to put that motherboard back where it belongs! Carefully slide it back into its spot.
– Now, get those plastic pins working their magic. Use them to secure the motherboard back to the disk drive, making sure it’s nice and snug.
Step 23

If you’re still feeling a bit stuck, no worries! Just retrace your steps back through step 6 and then step 5 to find that groove again.
– Let’s get those three ribbon wires back onto the motherboard, shall we? These are the same three wires that took a little vacation in steps 5 and 6.
– Now, it’s time to reattach the screw we removed from the motherboard in step 7. This little guy is the key to keeping the motherboard snugly in place with the disk drive.
Step 24

– Time to swap out that cover! Carefully pop it off and give it a good look over.
– Now, flip the disk drive over and snuggle those four screws back in their cozy spots. They’re the ones you took out in the last step, remember?
Step 25

– You’ve made it this far, you rock star! You should have a working XBOX 360 S now. 😎 Want to give yourself a high-five?
– If you didn’t get it working, no worries! You can always schedule a repair.
– Keep on truckin’!