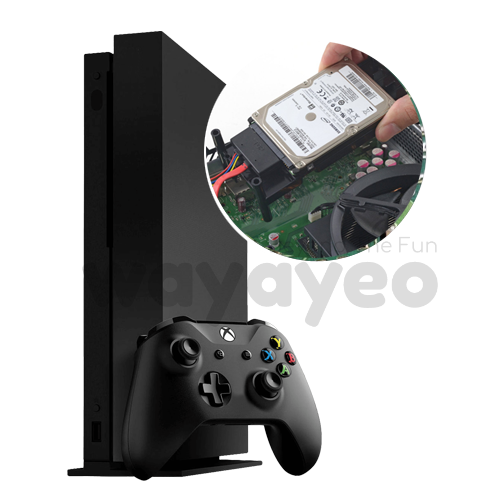
Step-by-Step Xbox One S Case Replacement Guide
Duration: 45 minutes
Steps: 5 Steps
Get ready for a little DIY adventure as we walk you through the process of taking off your Xbox One S case! Just a heads up: the clips that hold the case in place are a bit delicate, so be gentle during removal to avoid any breakage. Let’s dive in!
Step 1

– Give your Xbox One S a little flip so that its bottom side is looking up at you. You’re doing great!
Step 2

Hey, those clips can be a little delicate. Just be careful when you’re taking the bottom off the case, and they’ll be fine! If you’re not sure, you can always schedule a repair.
Get ready for some satisfying clicks as you pry the case open – it might take a bit of elbow grease, but don’t worry, it’s doable!
Start at the back where the warranty sticker is, and work your way along the rear edge until all the clips are free. Then, move on to each side. When you’ve got three sides loose, begin at the front edge opposite the sync button. Take your time, be gentle, and you’ll have it open in no time without causing any damage.
– Start by tackling the back case where the warranty sticker is hanging out. Slide your trusty plastic opening tool into that little gap between the bottom of the case and the top side with the grates. Next, hunt down those clips that are holding the case snugly in place. Use the opening tool to gently pop those clips out! A solid tip? Pry the black case away from the bottom for the best results.
– Now, use that opening tool to pop those clips right out. Remember, prying the black case away from the bottom is your go-to method here!
Step 3

– Now that those clips are all open, give that bottom part of the case a little nudge and watch it pop right off! You’re doing great!
Step 4


– Grab your trusty T10 Torx screwdriver and let’s get to work! Carefully unscrew the six vibrant green screws, measuring 50 mm long, from the metal case. Look for those labels F1 through F6 as your guide. You’ve got this!
Step 5


– Carefully ease apart the inner case from the bright white outer shell with the right technique.
– Gently push the white plastic edges outward at the back to free them from the plastic I/O shield.