Microsoft Lumia 950 XL Screen Replacement Guide: Step-by-Step Instructions to Repair Your Phone
Duration: 45 minutes
Steps: 12 Steps
Step 1


Don’t forget to pop out that SIM card or microSD card if they’re hanging out in there!
Everything should come out smoothly, so no need to stress about glue or sticky stuff getting in the way.
– Popping off the Lumia 950 XL back cover is a breeze! Look for the little dent at the bottom—that’s your starting point.
– Gently pry the back cover open using your fingers—no tools needed!
– Carefully lift the battery out with your fingers. Easy peasy! If you need help, you can always schedule a repair.
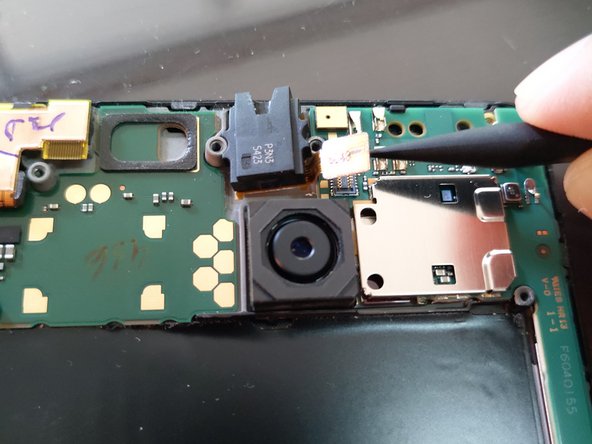
Step 2


Hey buddy! Time to be a certified phone detective! Look under the round camera hole for a sweet snapclasp. Sneak a tweezer for a gentle grab. No muscle power needed, we promise!
– Whip out your screwdriver and have a blast unscrewing those 12 Torx screws (T5)! Once you’ve done that, it’s time to get your back plate dancing,.lift it up from the bottom of the phone and let it groove. If you need help, you can always schedule a repair.
Step 3


– With the back plate off, you’ll spot some pretty cool components like the heat pipe, earpiece, and loudspeaker just waiting to be discovered!
– Next up, gently pry out the headphone jack connector using a spudger. Once it’s loose, lift it out with a tweezer. Easy peasy!
Step 4


– First up, we’ve got three connectors that need to be unplugged before diving into the motherboard fun.
– Grab your trusty spudger and gently wiggle out the first two connectors.
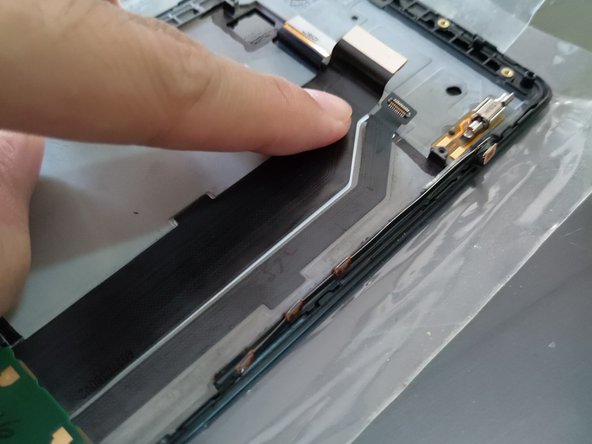
– Now, there’s a sneaky little connector linked to the side buttons. Just like before, use your spudger to disconnect it.
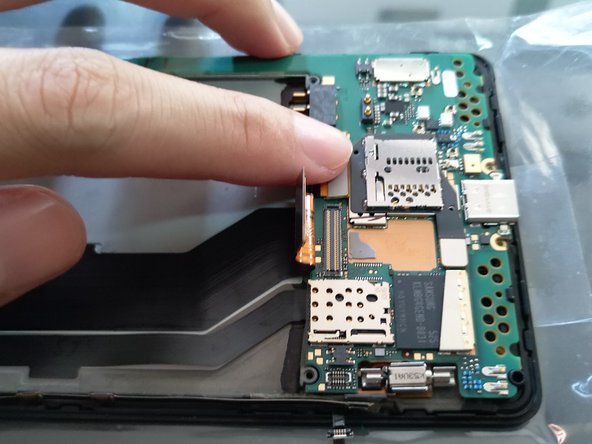
Step 5
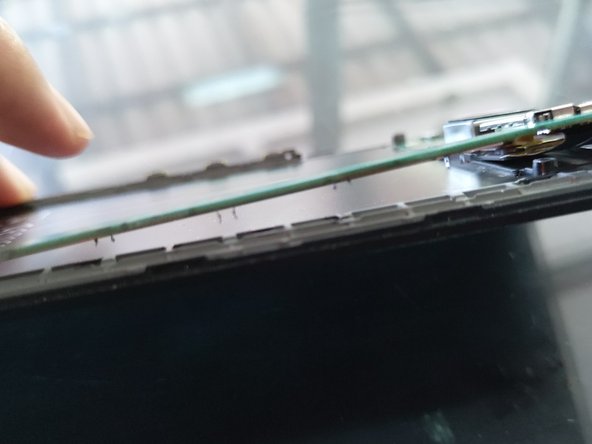


– The motherboard is snugly held by the back of the display panel. Let’s tackle this together!
– Begin at the top right corner of the phone. Gently free the motherboard from its clip using your hands or a Jimmy tool for a little extra leverage—no need to wrestle with it!
– Grab your tweezers and carefully lift the motherboard. It might take a bit of effort since there are some tiny clips holding it down, but you’ve got this!
– Keep working your way around the motherboard until you reach the bottom half of the phone. Easy peasy!
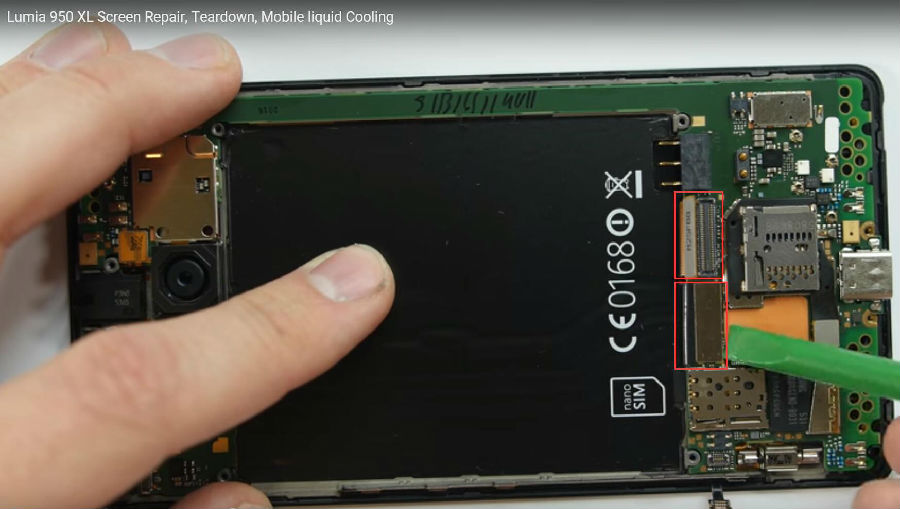
Step 6


This connector serves as the bridge, linking the motherboard with the daughter board for seamless communication.
– Alright, there’s just one sneaky connector left on the back of the motherboard—time to set it free.
– With that done, the motherboard is ready to make its exit.
– First up, peel off that sticker hiding beneath the battery—it’s like uncovering a secret.
– Gently lift the motherboard from the bottom of the phone and give it a careful flip. There’s the hidden connector, waiting for you.
– Use your spudger to disconnect it, and you’re golden. If you hit a snag, you can always schedule a repair.
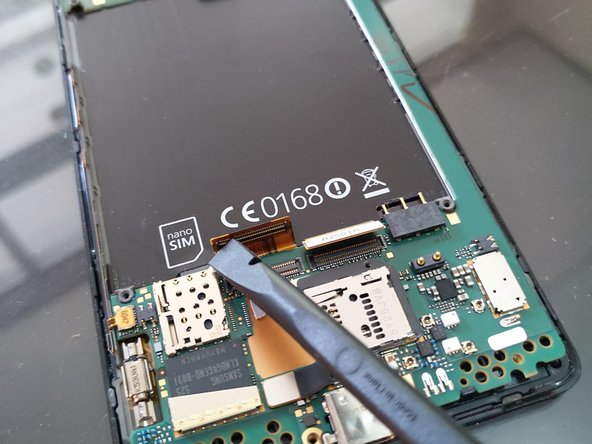
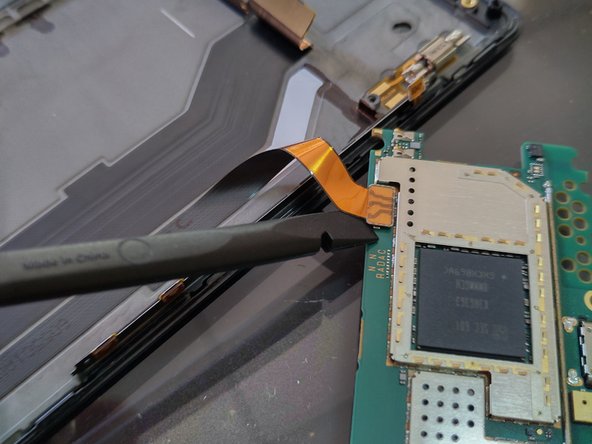
Step 7
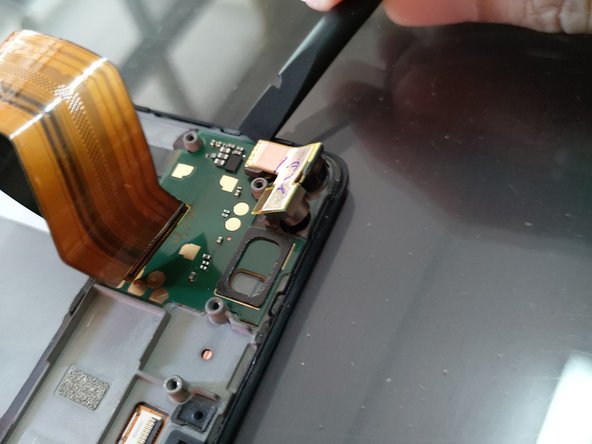

– Gently detach the two connectors linking the daughter board to the motherboard. They’re just a little stuck, so you can peel them off with ease using your hands.
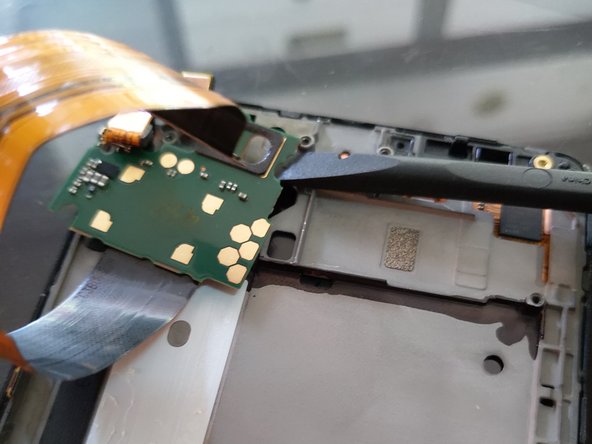
– Carefully take out the daughter board using a spudger. You’re doing great!


Step 9

– Alright, let’s get this assembly party started! Pop that daughter board right into the new screen. Make sure it fits snuggly.
– Now, it’s time to give that vibrating motor a cozy home. Slide it back into its spot like it never left.
– Your new screen is pretty smart, it comes with a sticky friend to hold those cables from the daughterboard in place. Just make sure those cables are snug!
Step 10


– Let’s get that connector reconnected on the back of the motherboard! Start by gently securing it in place. Begin your adventure at the top right corner of the phone and use a spudger to nudge the motherboard into the clips just right.
– Now, don’t forget to reconnect all 3 connectors; they are all part of the team!
Step 11

Hey there! No worries, you can tackle this part later after giving the device a shot at turning on.
– First up, slide that headphone jack into place and get it snugly connected to the motherboard. Nice and steady!
– Next, let’s make sure everything stays in tip-top shape by reapplying that sticker under the battery. It’s like putting on a cozy blanket!
– Now, it’s time for the grand finale! Carefully position the back panel over the motherboard and securely fasten it down with all 12 screws. You’ve got this!
Step 12

– Once you’ve snugged that back cover into place, go ahead and give your phone a whirl! Power it on and see what happens!