How to Replace Microsoft Lumia 640 XL Battery: Step-by-Step Guide
Duration: 45 minutes
Steps: 7 Steps
In this guide, we’ll walk you through the process of swapping out the battery in your Microsoft Lumia 640 XL. Let’s get that power back on track!


Step 2


Hey there, champ! Just a heads-up, be gentle with that battery. We wouldn’t want to accidentally cause any hurt feelings, right?
– Now, gently lift the battery off the phone using the flat end of your spudger. It’s like giving it a little high five, but with a tool. Don’t worry, it’s pretty easy.
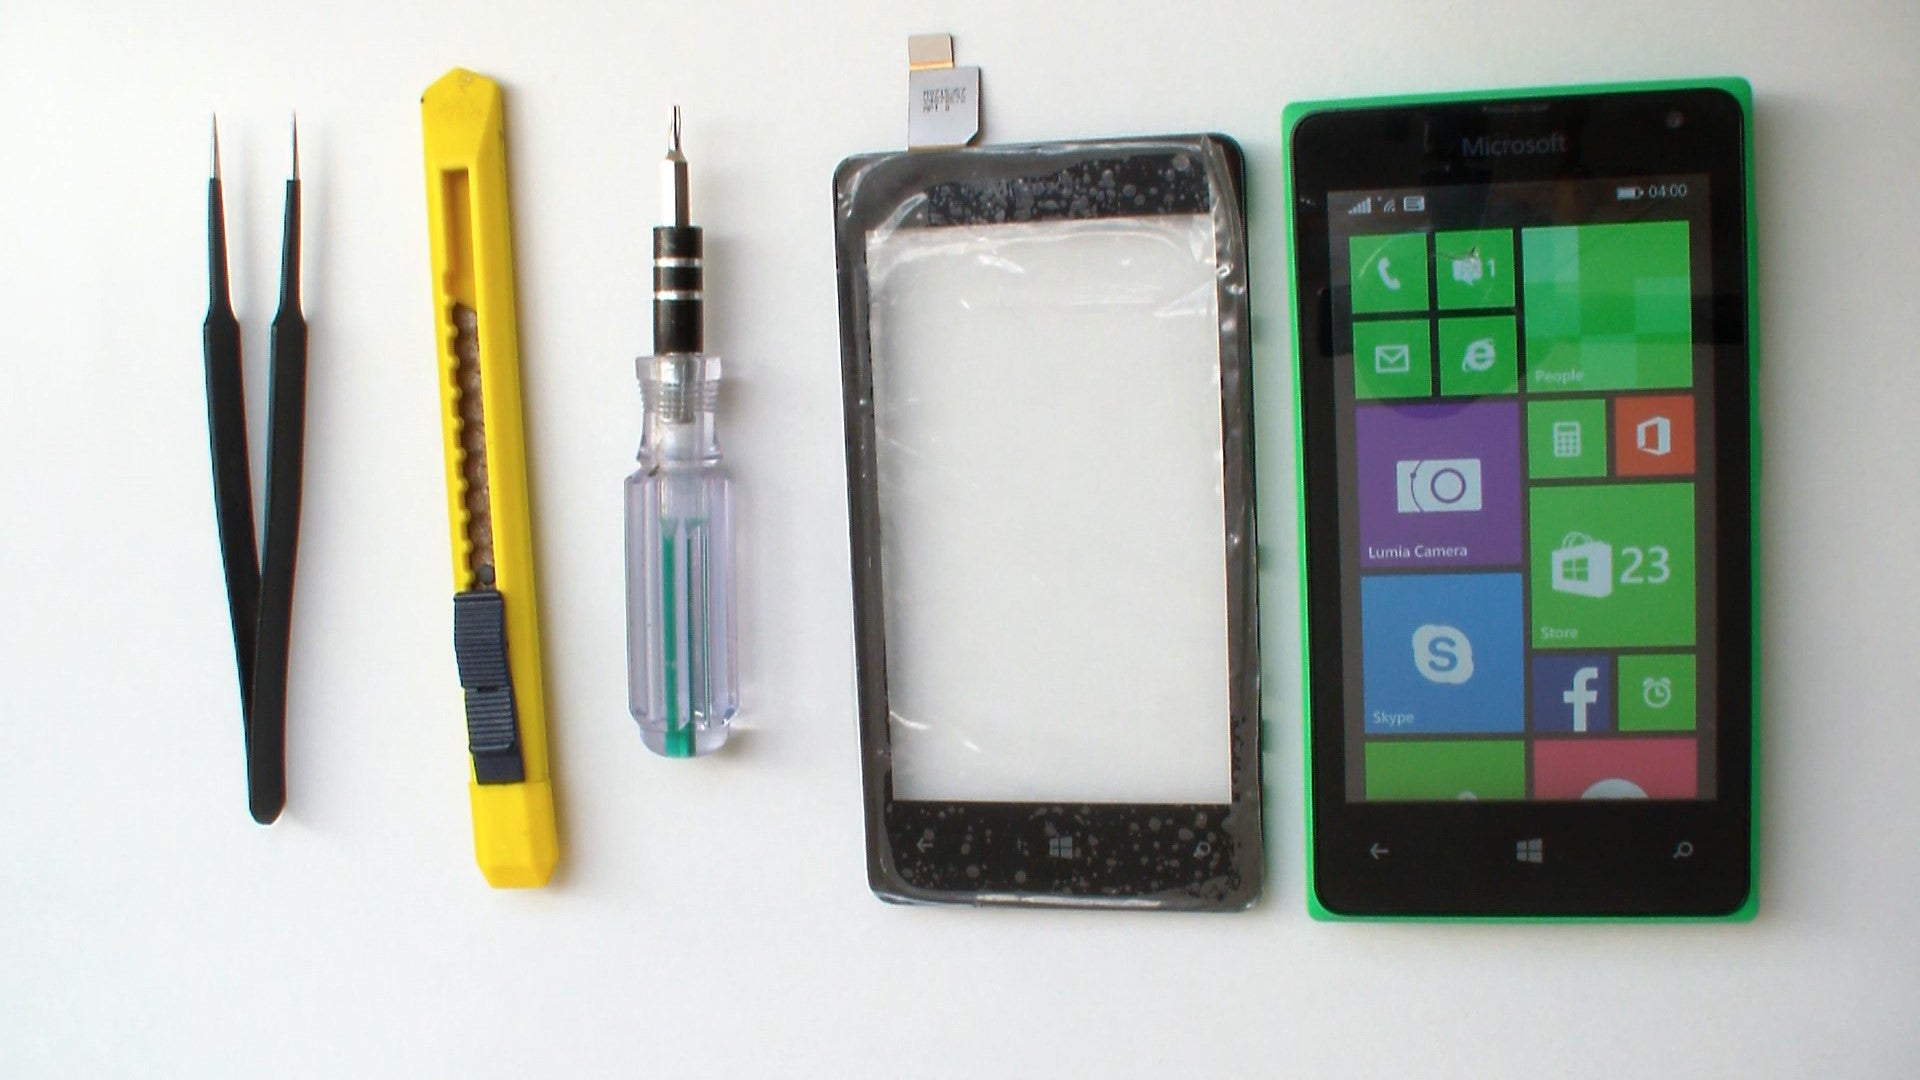
Tools Used


Step 4


Grab some E6000 Adhesive Glue—it’s your best buddy for re-attaching things!
– Gently lift and peel the connector away from the phone using your trusty tweezers.
Tools Used


Step 5


– Take off those three T3 screws measuring 2.66 mm! You’ve got this!
Step 6


– Hey there! Let’s lift off that pesky connector with some fun tweezers. And guess what? We’re taking the adventurous dive to lift that motherboard right off with those tweezers and give it a gentle tug with our fingers. Way to go, repair guru!
Tools Used
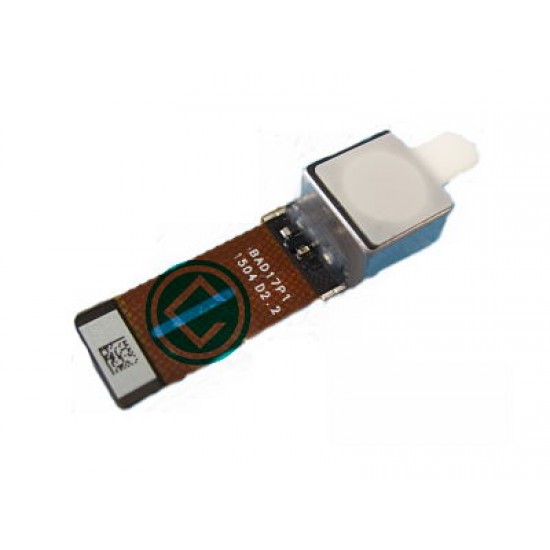
Step 7

– Carefully detach the rear-facing camera from the motherboard using tweezers, just like a pro!
Tools Used
Success!