DIY Microsoft Lumia 640 XL Motherboard Replacement Guide

Duration: 45 minutes
Steps: 6 Steps

Ready to dive into some tech magic? This guide will walk you through the process of taking out and swapping in a new motherboard for your Microsoft Lumia 640 XL. Let’s get that device back in action! If you need help, you can always schedule a repair.

Step 1

– Gently place your left hand on the screen and your right hand on the back.

– With a bit of pressure from your fingertips, carefully pull to separate the back from the screen.

Step 2

– Gently pry the battery up from the phone using the flat edge of your trusty spudger. You’ve got this!

Tools Used
  1. SpudgerMicrosoft Lumia 640 XL Motherboard Replacement

Step 3

– Let’s get those ten T3, 4.09 mm screws out of the way!

– Now, gently lift the mid-frame assembly from the phone using the flat edge of your spudger.

Tools Used
  1. SpudgerMicrosoft Lumia 640 XL Motherboard Replacement

Step 4

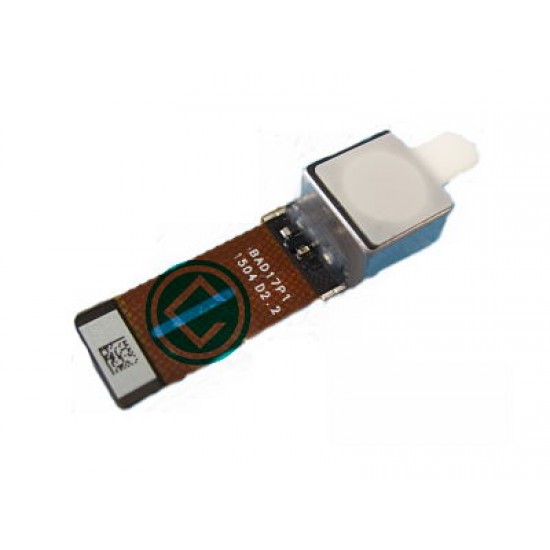
– Grab those tweezers and gently lift the connector away from the phone. You got this!
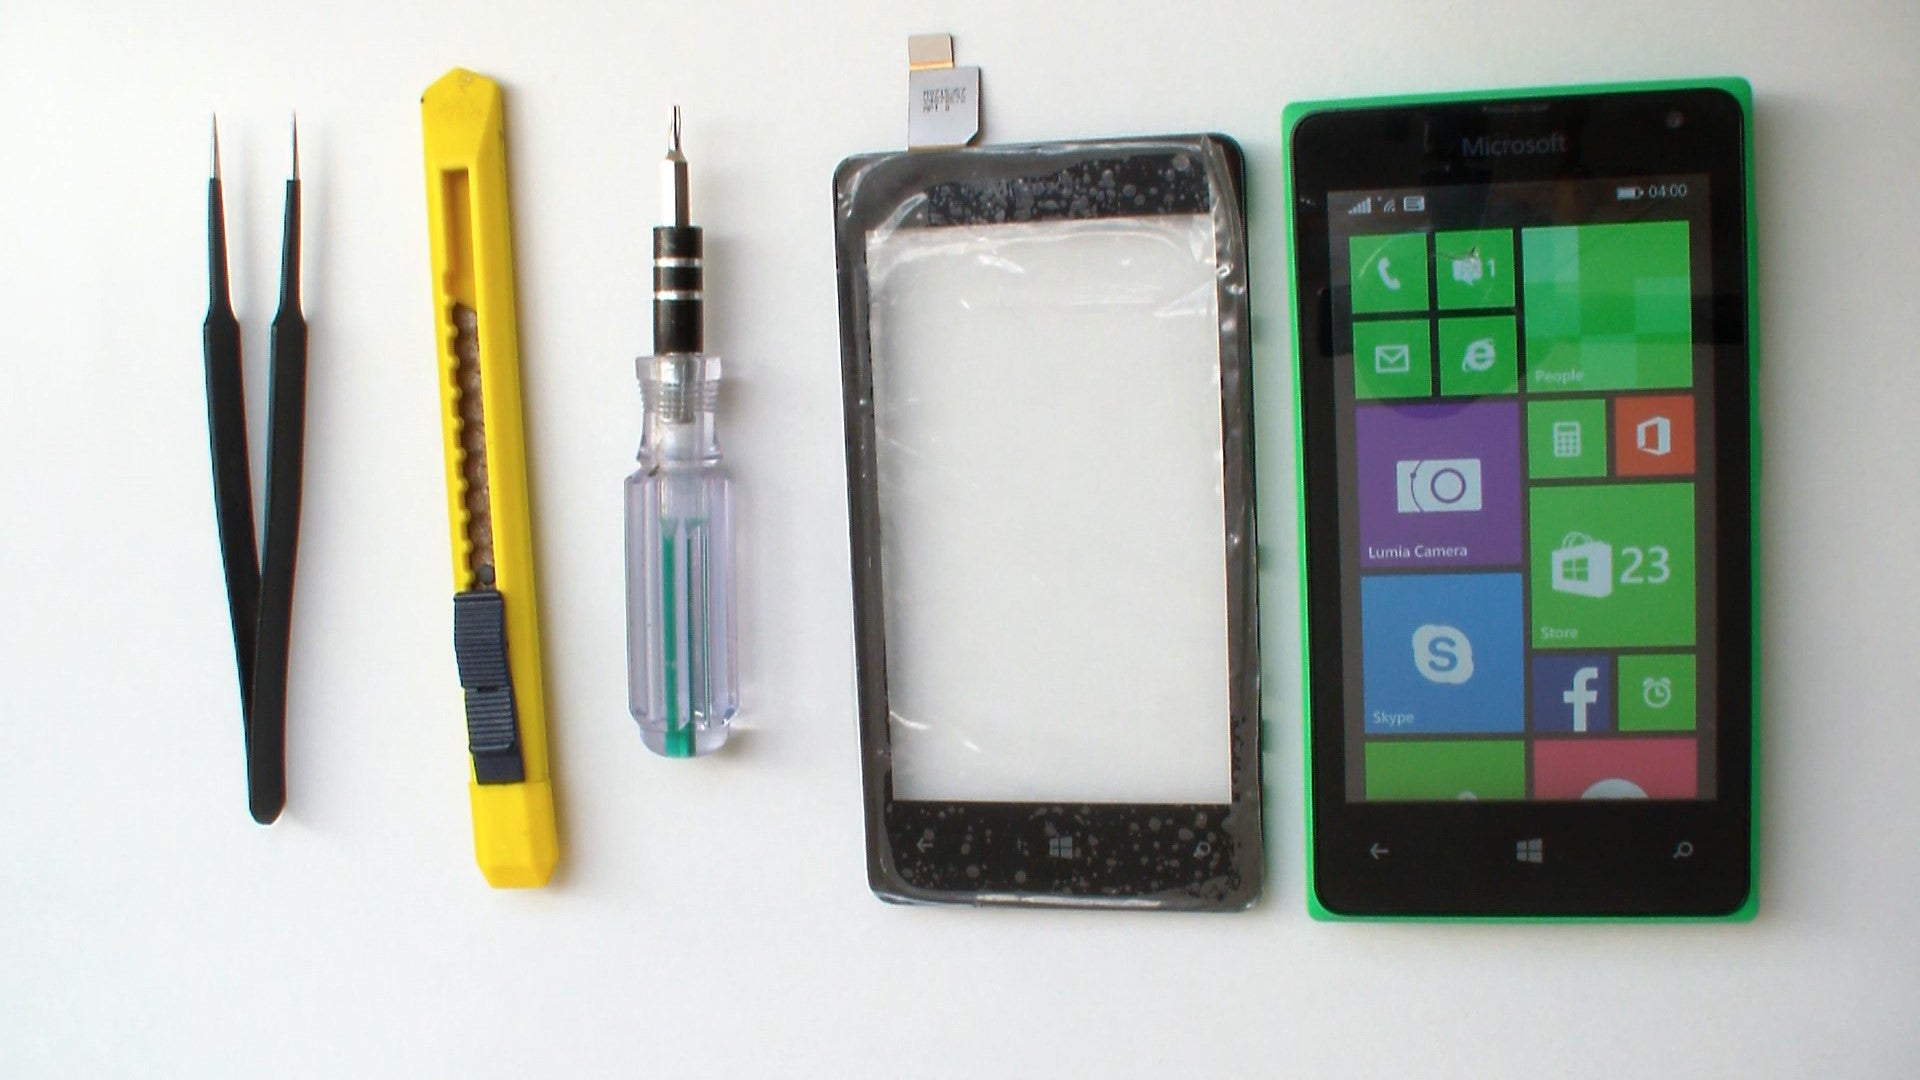
Step 5

– Time to get those T3, 2.66 mm screws out of there! Go ahead and remove all three of them. You’ve got this!

Step 6

– To put your device back together, just reverse the steps you followed. Easy peasy!

– Changed your mind? No worries, just hit cancel.

– If you’re stuck, don’t sweat it—you can always schedule a repair with us.

Tools Used
  1. TweezersMicrosoft Lumia 640 XL Motherboard Replacement

Success!
To put your device back together, simply retrace your steps in reverse. You’ve got this!
If you’re feeling a bit lost, remember, it’s totally okay to take a break!
And if you run into any tricky spots, you can always schedule a repair!

Leave a Reply

Your email address will not be published. Required fields are marked *

🍪
Have a cookie! This site uses cookies to enhance your experience. Opt-Out Options.