DIY Microsoft Lumia 535 Logic Board Replacement Guide
Duration: 45 minutes
Steps: 5 Steps
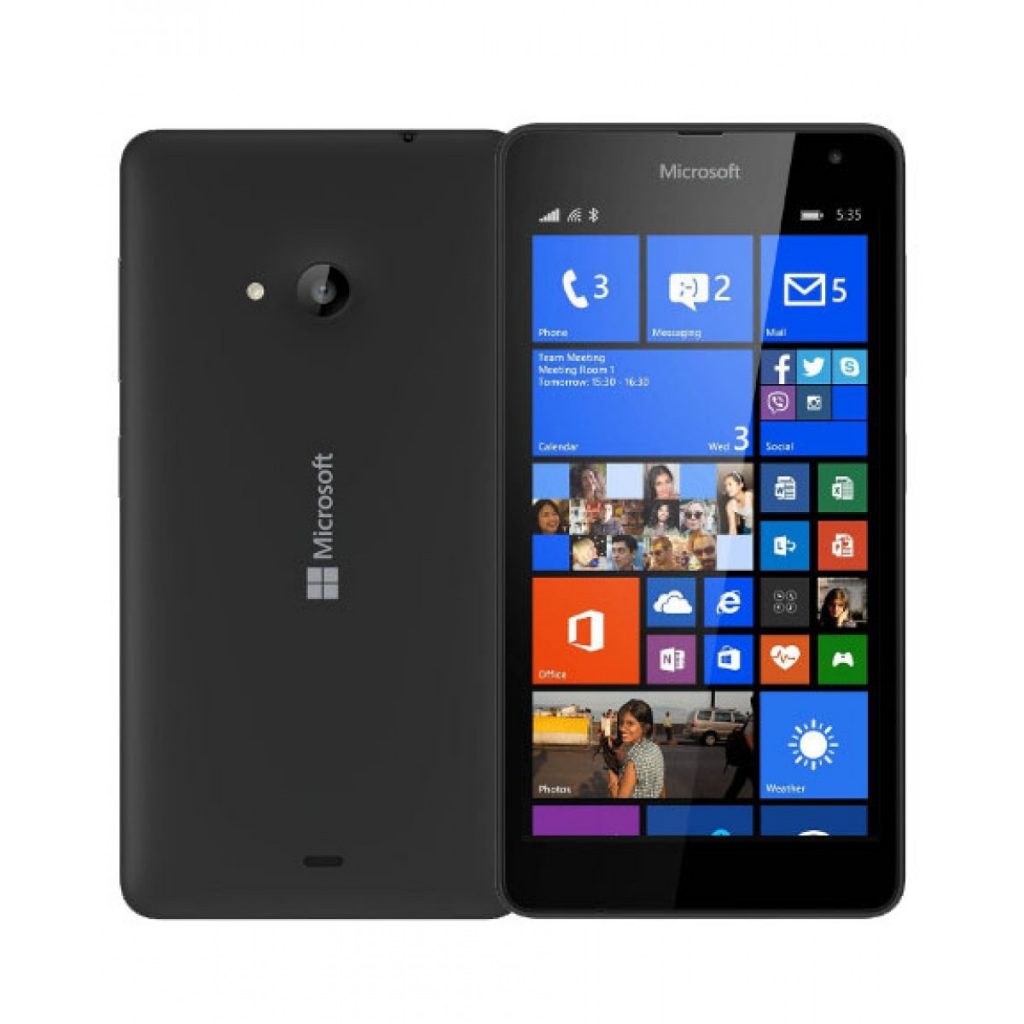
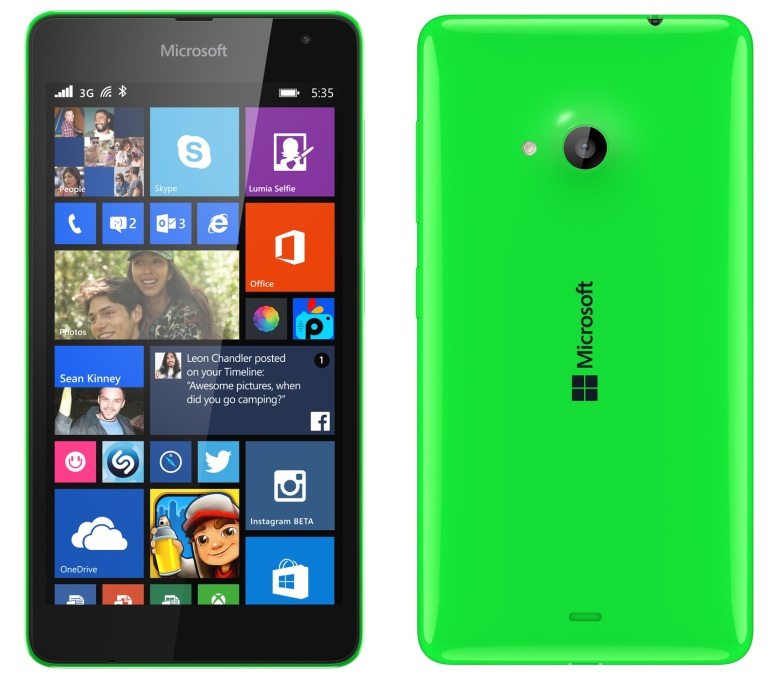
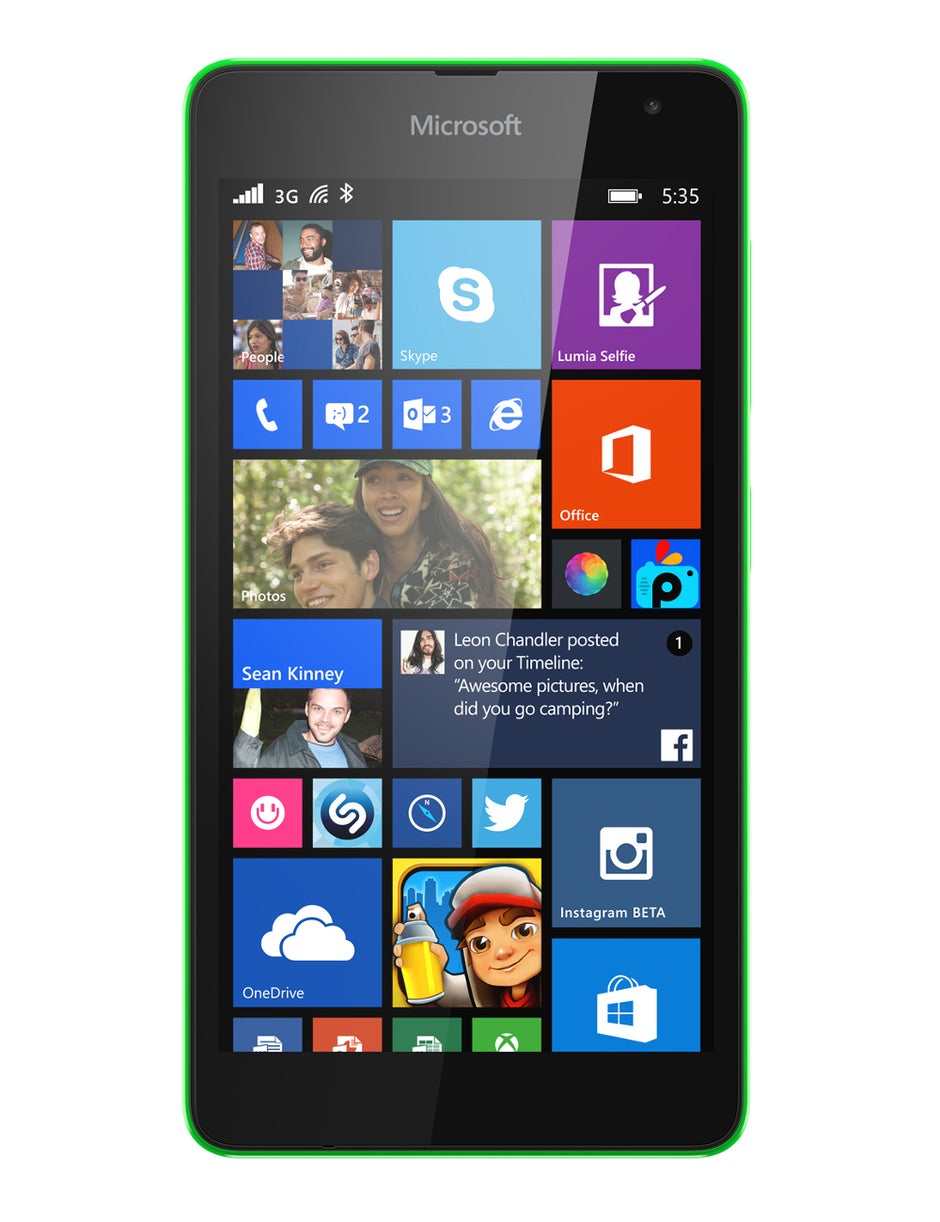
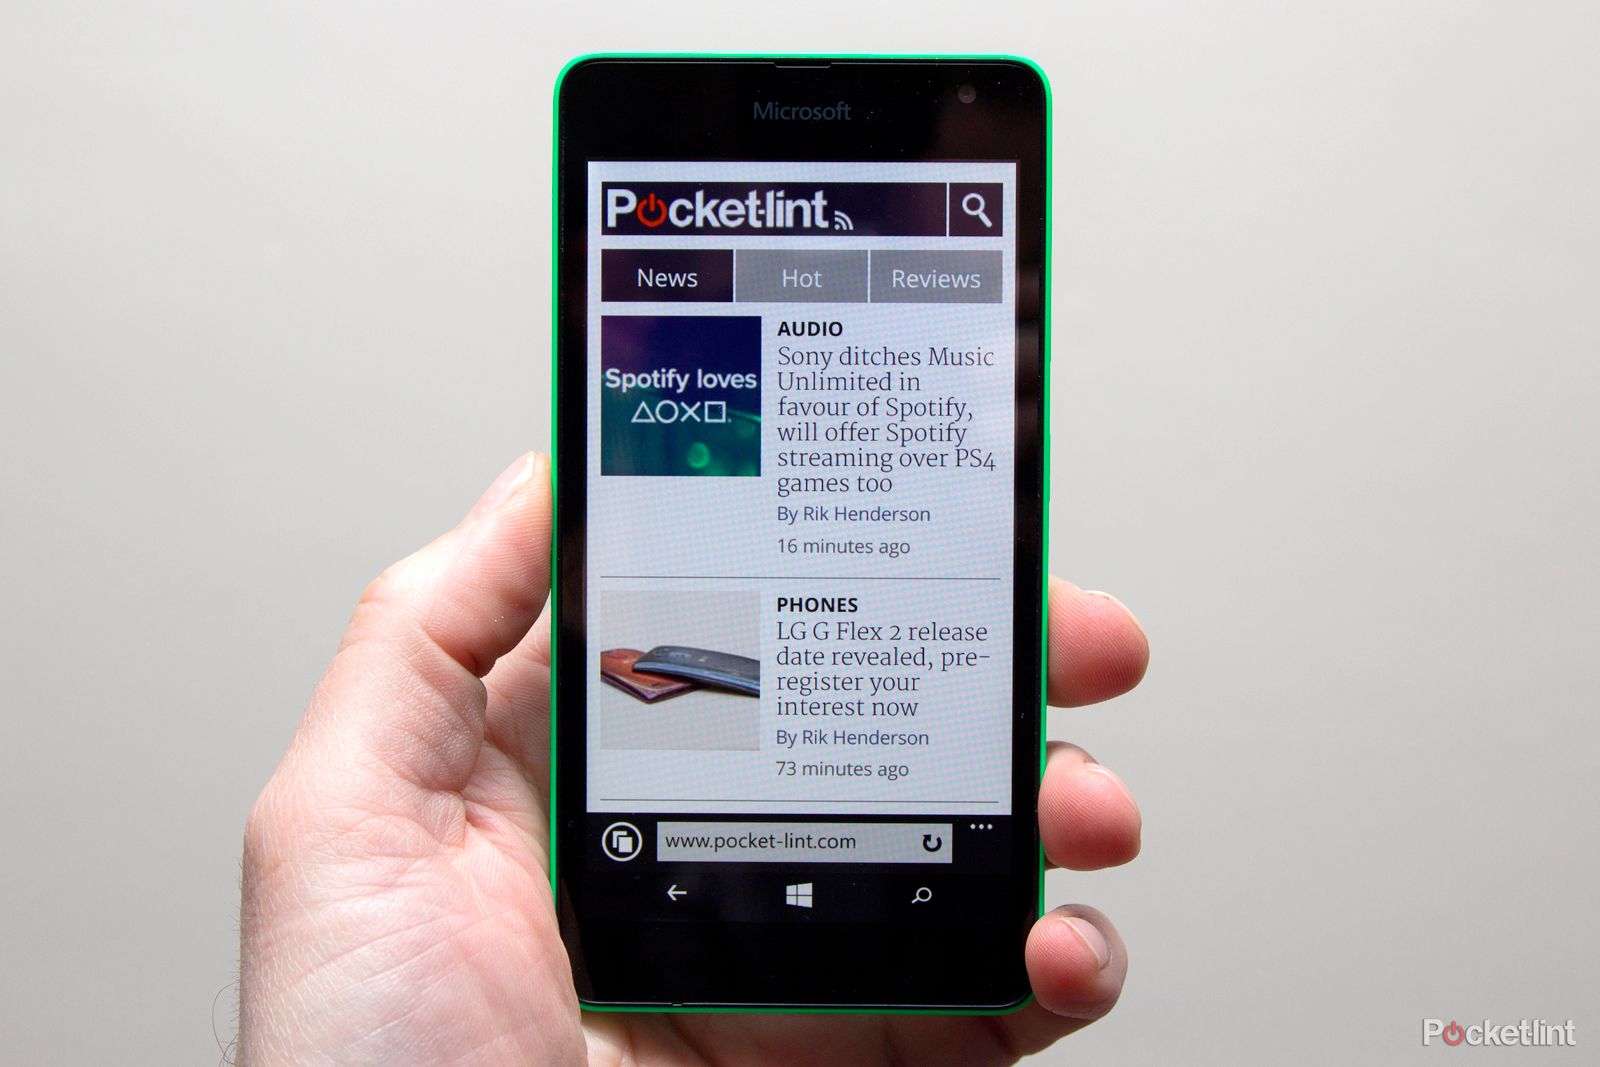
Let’s dive into the exciting world of the Microsoft Lumia 535 RM-1090 / RM-1091 / RM-1089 / RM-1092! In this guide, we’ll walk you through the steps to disassemble and swap out the Logic board. It’s easier than it sounds, and we’re here to help you every step of the way! If you need help, you can always schedule a repair.
Step 1
– First things first, power down your phone. It’s nap time for your device!
– Next up, gently take out the battery along with any SIM or memory cards. Let them have their little break too!
Step 3
– Whoa, let’s booty-shake this back cover away from that middle frame with some help from a pliable plastic opening tool!
Step 4
– Alright, let’s get this party started! First things first, unplug your device. You don’t want any surprises, right?
– Next, we need to remove those two little Torx T4 screws holding everything in place. It’s like unscrewing a tiny treasure chest!
– Time to disconnect a few cables. Let’s start with the touch screen flex cable. Be gentle, it’s a delicate friend.
– Next up, the LCD Display flex cable. Treat it with care!
– Now for the charging dock board flex cable. Let’s remove that foam and tape, then flip that black lock up and ease out the flex. It’s like a little dance, but for electronics.
– Finally, we have the coaxial antenna cable. This one takes a bit of patience. Grab the metal connector and pull, not the cable! You don’t want to rip it off! If you need help, you can always schedule a repair
Step 5
– To put your device back together, just follow these steps in reverse order. You’ve got this!
– If you ran into any hiccups along the way, it’s totally okay to hit cancel.
– Remember, if things got tricky, you can always schedule a repair!
Success!


