Nokia Windows Phone Boot Manager Error Fix: Step-by-Step Guide
Duration: 45 minutes
Steps: 9 Steps
Just a heads up: this process will wipe everything off your phone, including apps, games (and all your hard-won progress), text messages, call logs, music, photos, and much more! So, save what you need before proceeding!
Make sure your laptop is plugged into an AC adapter and that the battery has some juice! The last thing we want is any accidental mishaps while you’re working on your phone!
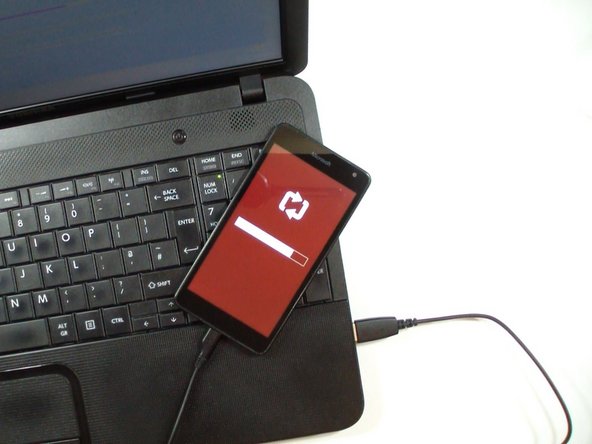
If your phone is feeling a bit sluggish, refusing to start, or throwing a tantrum with its operating system, don’t sweat it! You can bring it back to life using the Windows Device Recovery Tool. Just a heads up: this process will wipe everything off your phone, including all your favorite apps, games (and their progress), text messages, call logs, music, photos, and a whole lot more! Before diving in, ensure your laptop is plugged into an AC adapter and the battery is charged. That way, your phone stays safe and sound throughout the recovery process!
Step 1


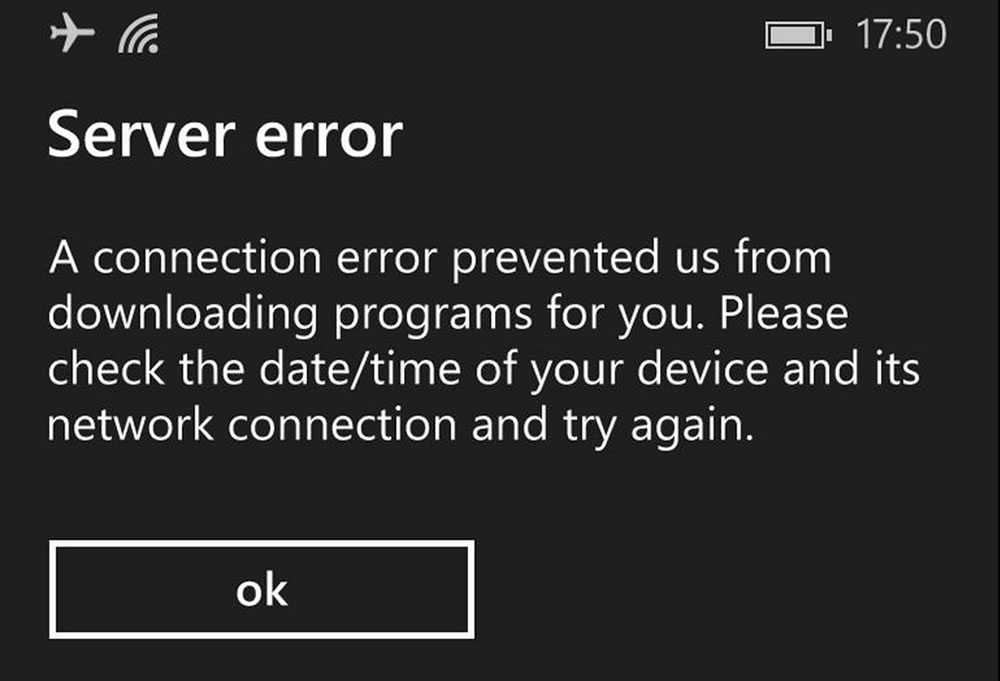
– Hey there! You’ve got a Windows Boot Manager error on your Microsoft Lumia? Don’t sweat it. We’ve got this!
– First things first, hop online and grab the Windows Device Recovery Tool.
– This tool works wonders for HTC One, HTC 8X, LG Lancet phones, and all the Lumia phones running Windows Phone 8.0/8.1 or Windows 10.
– If you’re rocking a Nokia phone, use the Nokia Software Recovery Tool instead.
– Want a quick jump to the Windows Phone Recovery Tool Page? Click here!
Step 2


– Get that app up and running! It’s time to launch it!
Step 3


Alright, the driver install might take a little while. Just hang tight, and don’t worry if your phone decides to take a quick nap during the process – that’s totally normal!
– Let’s get your device connected and ready to roll!
– If your new device isn’t getting any love from Windows, give your phone a quick reboot.
– Press and hold both the Power and Volume down buttons together until your phone gives a little buzz.
– Now, hang tight while your computer recognizes your phone and sets up those fancy drivers!
Step 4


– Oops! Looks like the installation took an unexpected break when your phone decided to restart. No worries!
– Give your phone another restart, and let’s get back on track.
– Once that’s done, hop over to the device manager where you should spot ‘Lumia USB Connectivity.’ We’re all set to kick off the recovery journey!
Step 5


– Start by choosing ‘My device was not detected.’ Let’s get that sorted!
– Next, pick your device’s manufacturer. We want to make sure we’ve got the right one.
– If your phone still isn’t being recognized, give it a little reboot – press Volume Down and Power together like a boss!
Step 6


Heads up! Everything on your device is about to get wiped clean. But don’t worry, it’s all part of the process to get your device back in tip-top shape!
– Hit that ‘install software’ button to kick off the download adventure!
– Just a heads up, the file is over 1GB, so grab a snack and hang tight!
Step 7

Let’s make sure that battery is juiced up! Give it at least a 25% charge.
Keep your laptop plugged in. It’s like giving it a little power nap.
Alright, from here on out, don’t unplug it. We wouldn’t want to accidentally shut down the party, right?
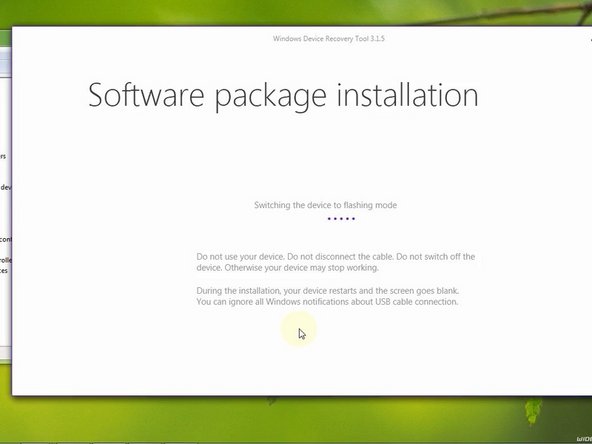
– The recovery tool will switch your device into flash mode and get to work installing the software. It’s like magic, but with more circuits and less glitter.
Step 8

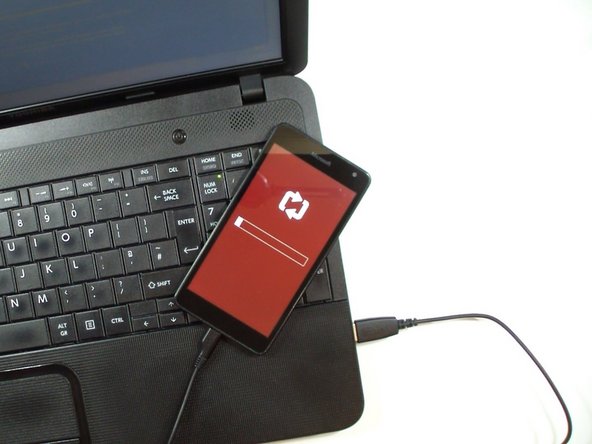
– Hey there, the software package might take a sec to install, so grab a coffee and relax!
– Once the flashing is done, give your phone a little break – unplug it! You’re doing great!
Step 9

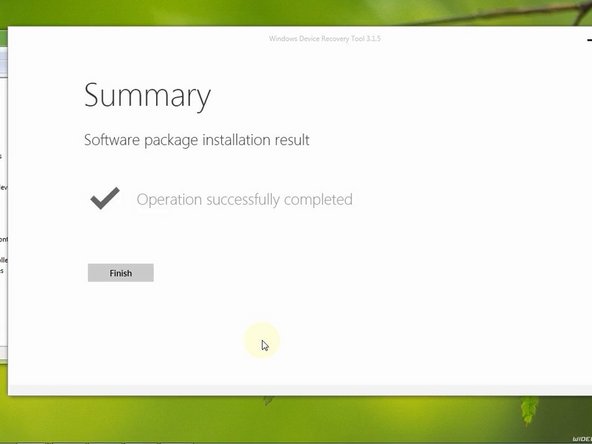
– You’ve done it! You’re a rockstar. You’ve totally fixed your device. If you need help, you can always schedule a repair
Success!