DIY Asus Zenfone Max M2 Screen Replacement Guide
Duration: 45 minutes
Steps: 9 Steps
Oops! Did your Asus Zenfone Max M2 take a tumble? Are you seeing strange lines on your display or finding your touch screen unresponsive? No worries, we’ve got your back! This guide is all about helping you navigate the steps to remove and replace your Zenfone Max M2’s screen. Before diving in, be sure to check out the tools list and gather everything you need, including a shiny new replacement screen. Ready to roll? Let’s make your phone as good as new!
Step 1


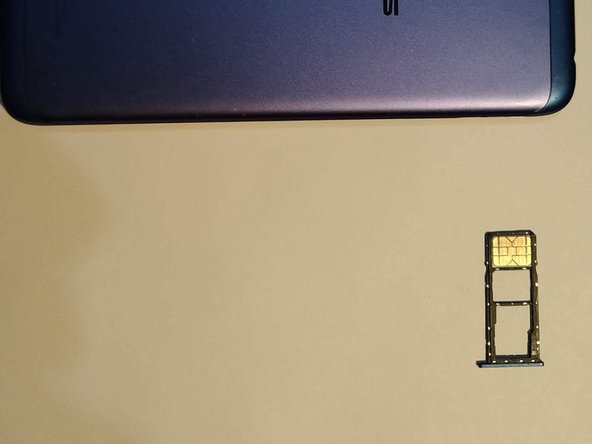
Before diving into the repair, make sure to power down your phone. It’s like putting your phone to sleep before the big fix!
– Time to say goodbye to that SIM card! Pop out the SIM card tray with ease.
– Now, grab your trusty plastic pick and slide it around the back cover. Just keep at it until you hear that delightful ‘pop’ as it separates from the phone.
– Let’s get cracking! Start prying open the back cover at the SIM card slot, where it’s a bit more flexible. You’ll be in in no time!
Step 2


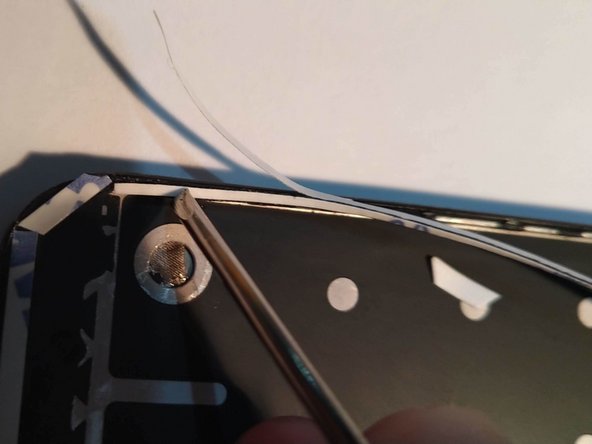
You’ll find some adhesive tape hanging out below the fingerprint scanner!
– Gently lift that fingerprint sensor up like it’s a secret treasure waiting to be found.
– Grab your trusty screwdriver and unscrew those three little screws holding the bracket snugly beneath the fingerprint sensor. You’ve got this!
Step 3


– First up, unscrew those seven little guys holding the speaker plastic in place and gently lift it off.
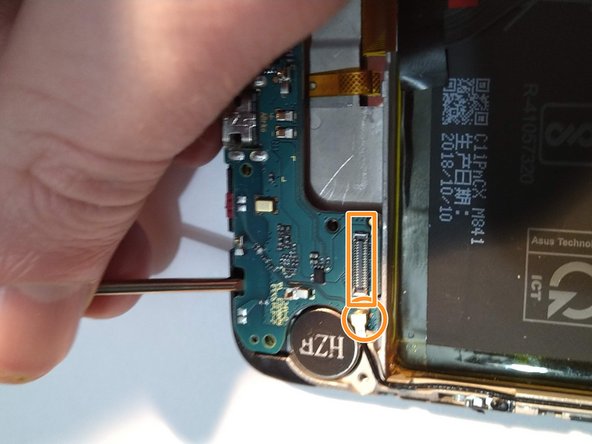
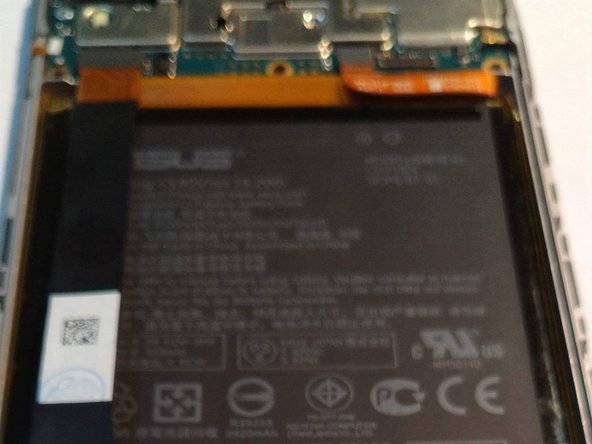
– Next, unplug the antenna cable and the interconnect cable that’s chilling across the battery.
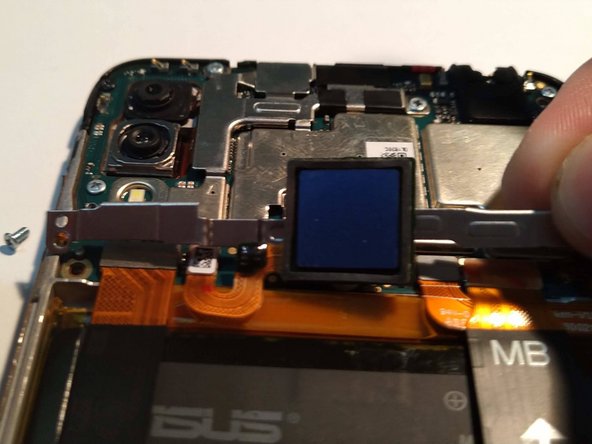
– Now, take out the remaining screws keeping the daughterboard in place and carefully remove it.
– Lastly, disconnect the connectors hiding under the top bracket. You’re doing great! If you need help, you can always schedule a repair.
Step 4

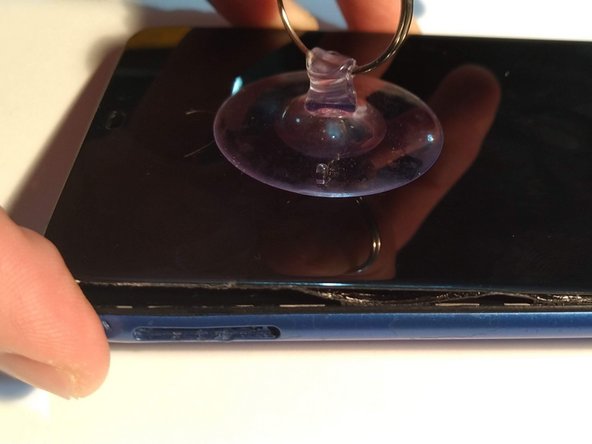

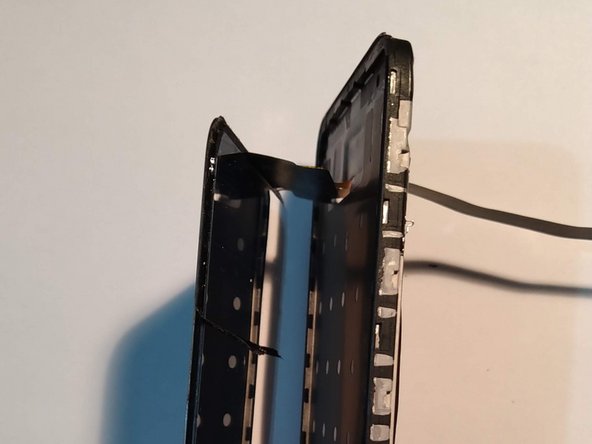
Got a cracked screen? No worries! Just slap on some tape to keep it together. This nifty trick helps the suction cup hold on tight and stops those pesky glass shards from going rogue.
– Grab those suction cups and gently pull back that broken screen! You’ve got this!
– The screen is held in place with tape, so take your time and be gentle—it will come off! If you need a bit more oomph, feel free to reinstall the back cover for some extra leverage.
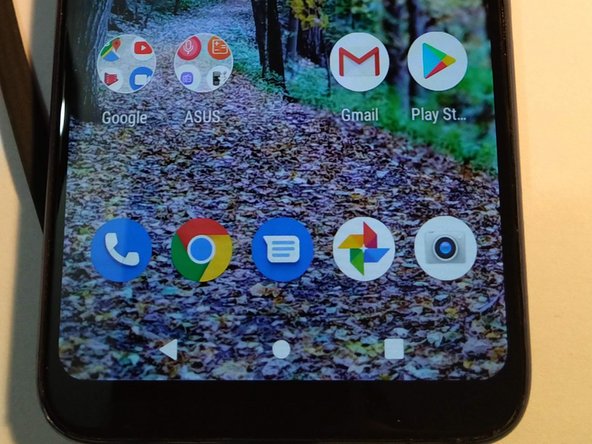
– Before sealing everything back up, give that new screen a test run! Reconnect the display cables, power on your phone, and make sure it works like a charm. Remember to turn off your phone again before finishing up the reassembly.
Step 5
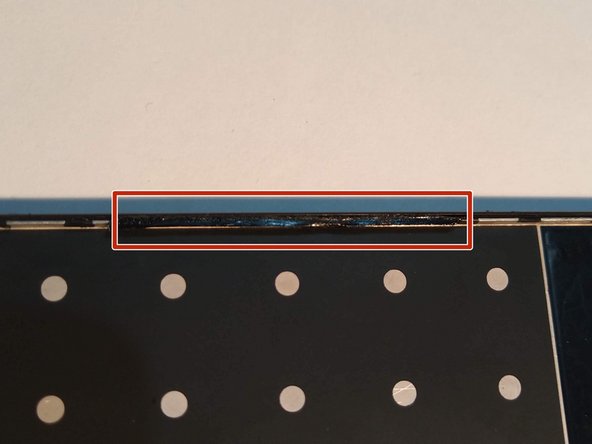
Grab a spudger to gently scrape it off.
Avoid touching the tape with your fingers to keep the adhesive strong.
– First things first, give that old adhesive residue a little scrub and set the old screen aside like a pro.
– Now, grab some 3M 9448A tape and lay it down on the inner edges of your phone—let’s make sure it’s nice and secure, covering as much surface area as you can.
– When it’s time to put it all back together, don’t forget to use your trusty tweezers to finesse that new adhesive into place.
– Peel off the front backing, and voilà! You’re all set to install that shiny new screen!
Step 6


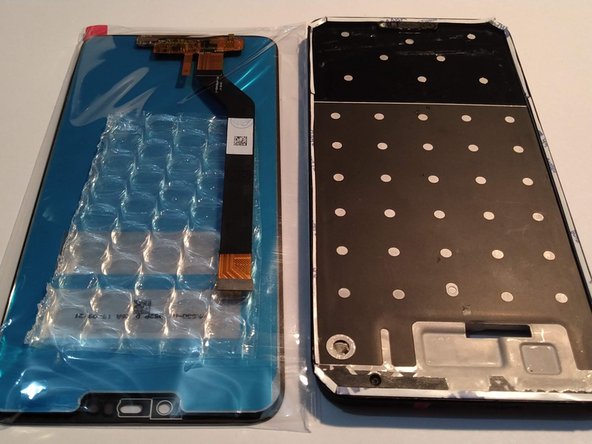
– Unwrap that shiny new screen like it’s a present and toss aside all that packaging.
– Gently guide the ribbon cable through the designated slot in your phone.
– Carefully align the new screen with the tape and press down lightly to make sure it sticks like it means it.
– Now, give your phone a little flip!


Step 8

– Start by snapping that bottom speaker cover back into its cozy spot and give it a twist of your trusty screwdriver.
– Next up, let’s reintroduce the top cross-bracket and fingerprint sensor. Secure them in tight with your screwdriver magic.
– Finally, close everything up by reinstalling the back cover along with the SIM card tray. You’re almost there!
Step 9

– Now that you’ve mastered the art of reassembly, simply retrace your steps in reverse to put everything back together!
– If you found this guide to be a bit of a challenge, remember, it’s perfectly okay to reach out for help. You can always schedule a repair if you need it.
– Great job! You’re on your way to becoming a repair expert!
Success!