Asus Zenfone 4 Max Screen Replacement Guide – DIY Tutorial
Duration: 45 minutes
Steps: 16 Steps
Give your Asus Zenfone 4 Max a fresh look and feel with a new screen! Let’s get this done, you’ve got this! This step will restore your phone’s screen to its former glory. If you need help, you can always schedule a repair
Step 1


– Grab your trusty removable head screwdriver and a T3 bit. Time to get those two screws out from either side of the charging port. You’ve got this!
Step 2

– Carefully slide the opening tool into the gap between your phone and the back cover. Let’s get that back off!
– Gently wiggle the opening tool up and down to loosen the back casing. You’re doing great—keep it steady!
Step 3


– After you’ve popped off the back, it’s time to tackle those four screws on the bottom panel. Grab your trusty AT3 bit and unscrew away!
Step 4

– Pop off the bottom panel with a little finesse.
Step 5


Feel free to wiggle that opening tool on either side of the battery and even at the bottom to make it easier to pop that sucker out!
– Time to give that battery some space! Carefully wedge an opening tool between the battery and phone.
– Gently pry the battery out of the device. You’re doing great!
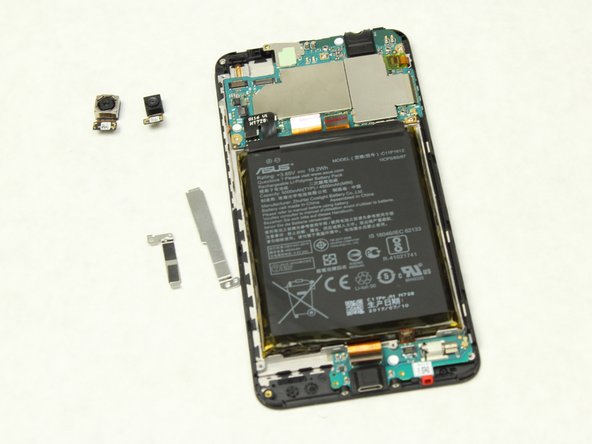
Step 6

– Time to give your device a fresh start! Pop out the old battery and slide in the new one. It’s like a new lease on life for your tech!
Step 7

– Grab your trusty removable head screwdriver and a T4 bit, and let’s tackle those screws on the phone’s base! Locate the little guys on either side of the charging port and let them know who’s boss.
Step 8

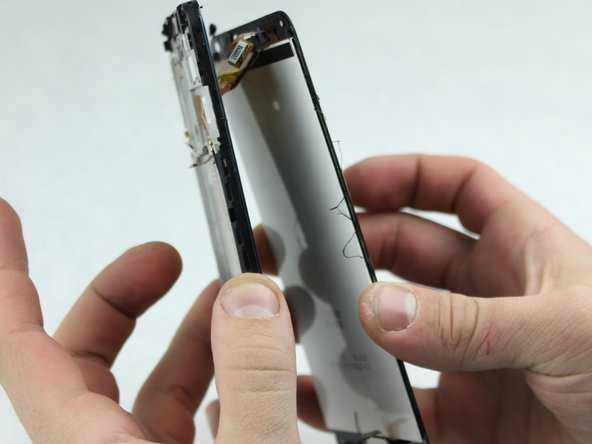
Now, get ready to hear the sweet sound of victory as you carefully pull apart the back casing from your phone. Keep calm and carry on, my friend!
– Kick things off by checking out one of the four corners of your device and spotting that seam around the front. It’s your starting line!
– Grab your trusty opening tool and give it a gentle nudge between the back case and the phone. A little muscle goes a long way here!
– Carefully glide the tool along the edges, making your way to each corner, until the back pops off. Easy peasy!
Step 9


– Grab your trusty removable head screwdriver, equipped with a PH0 bit, and let’s kick things off! Gently unscrew the panel hiding under those two cameras and watch it come off with ease. You’ve got this!


Step 11

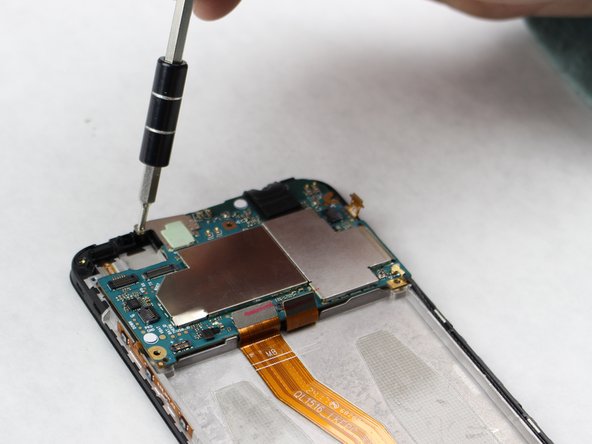

– Grab your trusty screwdriver fitted with a PH0 bit and start unscrewing all those screws hanging out on the circuit board. Let’s get this party started!
Step 12

Handle the power cable with care—it’s delicate, so go easy on it! If you need help, you can always schedule a repair.
Leave that cable hangin’ loose – it’s gonna be your trusty sidekick later on!
– Gently unplug the power cable from the right side of the circuit board, and give yourself a pat on the back for being so careful!
Step 13

– Carefully lift and take out the circuit board.
Step 14

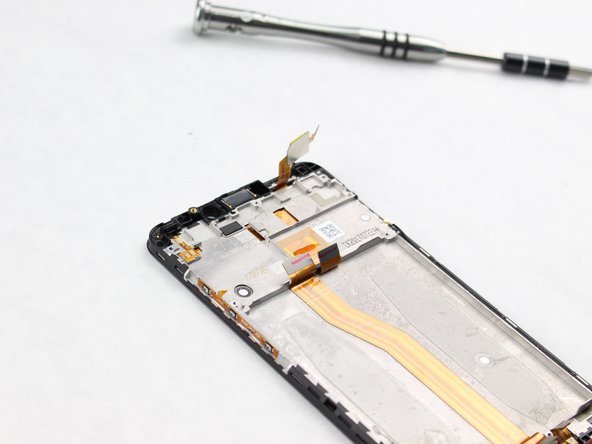
– Unplug that power cable on the right side of your device and let it dangle there like it’s taking a little break!
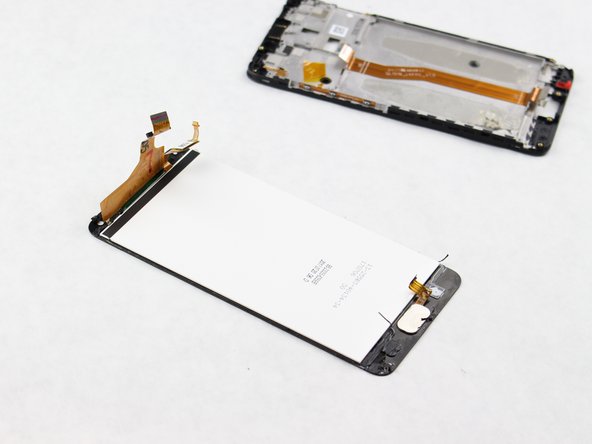
Step 15

A blow-dryer can be your best buddy when it comes to warming up the screen for a smoother lift-off. Give it a gentle blast of heat to make things easier!
– Grab a trusty metal spudger and let’s get that screen off your device! Gently glide the tool around the edges, separating the screen with a little finesse and a lot of care. You’ve got this!
Tools Used


Success!