Asus ZenFone 3 Zoom Speaker Replacement Guide – DIY Tutorial
Duration: 45 minutes
Steps: 11 Steps
Get ready to rock n’ roll with this awesome guide on how to replace the Speaker/Charger Port/Headphone Jack of your Zenfone 3! If these functions are giving you the blues, don’t worry, we’re here to help you bring the party back. Just grab your tweezers, Torx T2 screwdriver, prying tool, and the Phillips #00 screwdriver, and let’s get this repair started!


Step 2

– Grab your trusty Torx T2 screwdriver and unscrew those two tiny 2 mm screws. You’ve got this!
Step 3


You’ll notice a delicate layer connecting the two parts. No need to stress about removing it! Just gently pull the two pieces apart, keeping the inner sides facing up.
– Hey there, tech whiz! You’re doing a fab job with this phone revamp. So, let’s get that phone case off. First, find a cool, nifty tool that’ll fit nicely between the screen and that metal back of your phone. Once you’ve got a good grip, give a little tug at the bottom and hey presto, your phone’s ready for some TLC. Remember, if you need help, you can always schedule a repair! Just can’t crack it? No worries, our heroes are waiting!
Step 4

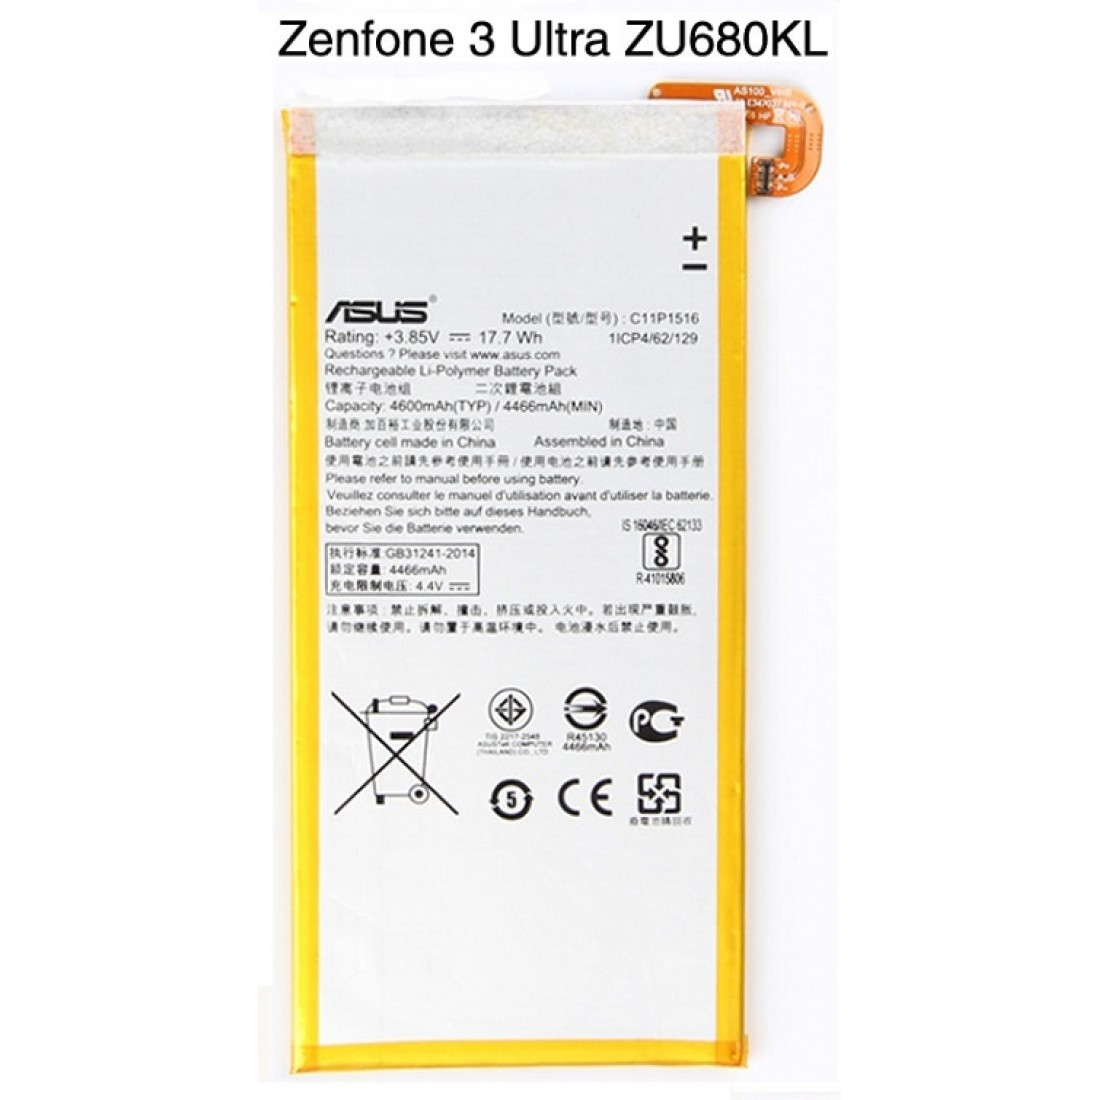
– Using your trusty Phillips #00 screwdriver, go ahead and unscrew the two 3 mm screws on the shiny silver band at the top of the battery. Once those little guys are out, gently lift off the band and set it aside. You’re doing great!
Tools Used

Step 5

– Time to get peelin’! Gently peel back the silver tape. You got this!


Step 8
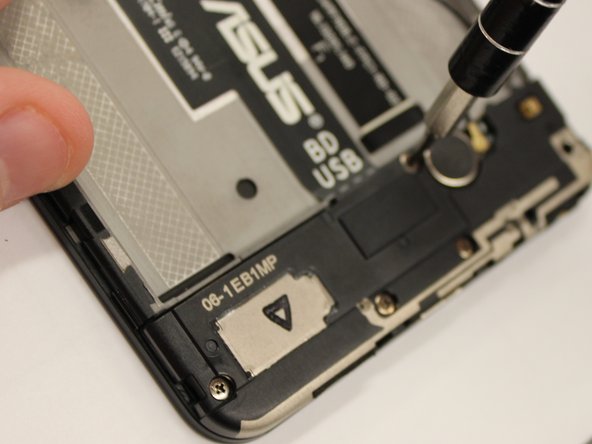

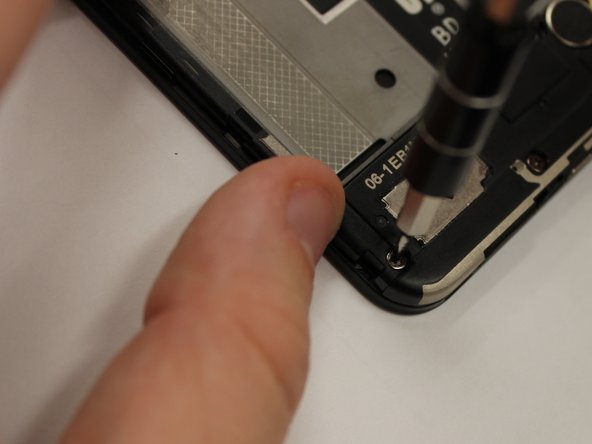
– Grab your trusty Phillips #00 screwdriver and let’s conquer those 3mm screws at the bottom of the device. Unscrew them all like a pro and watch as your device starts to open up to new possibilities!
Tools Used
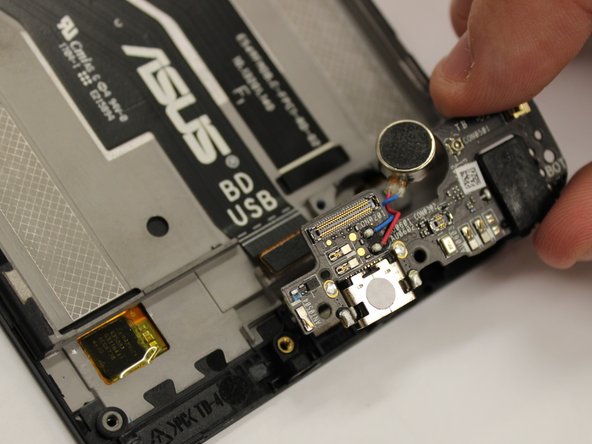
Step 9

– Let’s get that black piece off of there!
Step 10
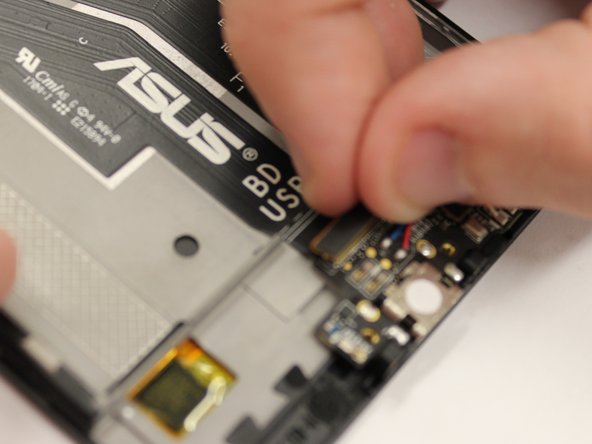

– Disconnect those wires—let’s keep things tidy!
Step 11


– Put your device back together like a puzzle! Just do the steps in reverse order.
– Didn’t finish? No worries! You can always cancel.
– Need help? You can always schedule a repair
Success!