Asus ZenFone 3 Zoom Fingerprint Scanner Replacement Guide
Duration: 45 minutes
Steps: 9 Steps
Let’s jazz up your Zenfone 3! This guide will walk you through replacing that fingerprint scanner. Maybe it doesn’t spring to life anymore, or it’s misreading fingerprints—no worries, we’ve got you. Grab your tweezers, Torx T2 screwdriver, a prying tool, and the Phillips #00 screwdriver. Let’s make some tech magic happen!


Step 2

– Grab your trusty Torx T2 screwdriver and tackle those two little 2 mm screws. You’ve got this!
Step 3


You’ll notice a delicate film linking the two parts together. No need to bother with that! Just gently fold the pieces apart, ensuring the insides are facing up.
– Gently slide a prying tool between the screen and the metal back of your phone at the bottom. This will help you pop off the backing like a pro!
Step 4

– Grab your trusty Phillips #00 screwdriver and unscrew the two 3 mm screws on the shiny silver band at the top of the battery. Once they’re out, gently remove the band. Easy peasy!
Tools Used

Step 5

– Gently peel away that shiny silver tape like you’re unwrapping a surprise gift!


Step 8

– First, let’s get that wire unplugged, the one linking the two big parts of your device. Now, gently separate those two halves of the phone like you’re peeling a banana. You’re doing great!
Step 9
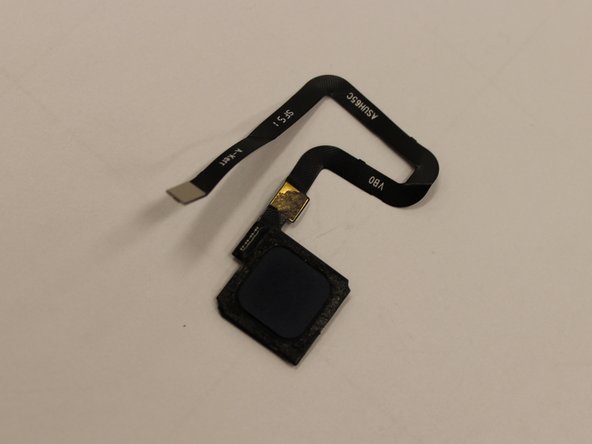

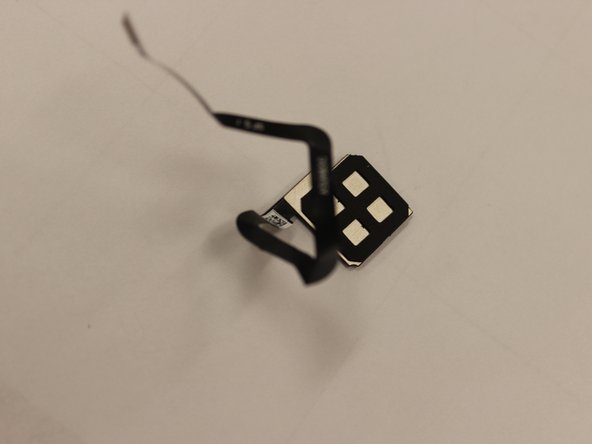
– With a gentle touch, use the plastic opening tool to carefully pop the fingerprint scanner out. You’ve got this!
Success!
If you’re stuck or need a helping hand, you can always schedule a repair. We’re here to help you out!